
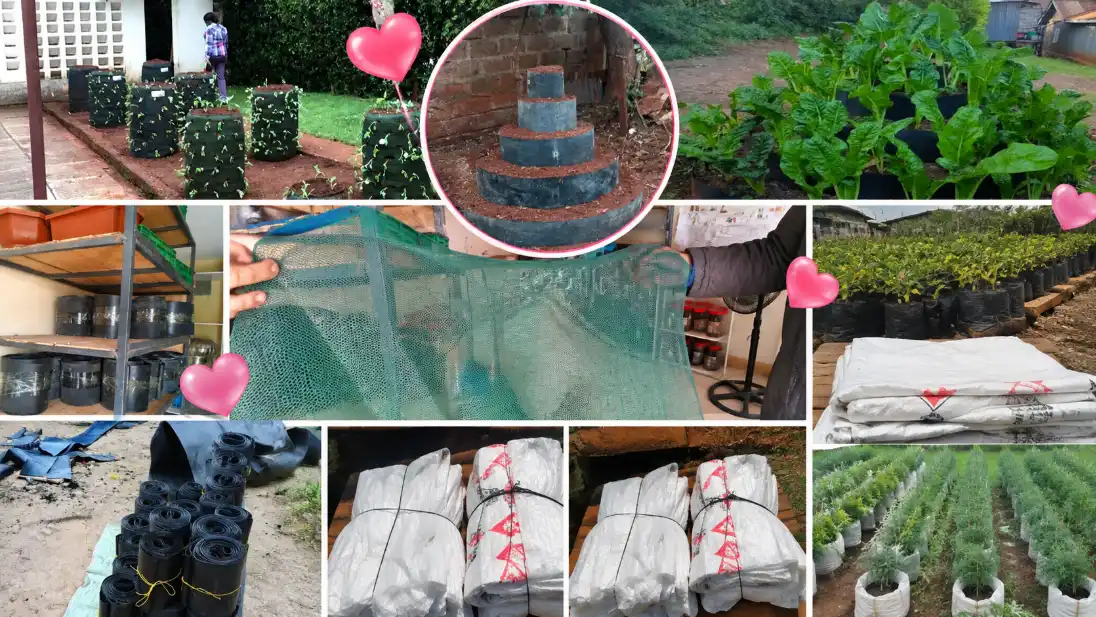
How to Prepare Grow Bags, Vertical Gardens and Hydroponic Trays in Kenya
Buying a quality grow bag or hydroponic tray is only the first step. Correct preparation, drainage, soil mixing, filling and watering determine whether your crops will thrive or fail. This guide explains how to prepare each Crazy Kanairo Farming growing system correctly.
Quick Product Comparison
| Product | Best Use | Preparation Required | Recommended Crops | Product Link |
|---|---|---|---|---|
| White UV-Treated Grow Bags | General vegetable growing, kitchen gardens | Punch 6-10 drainage holes, then fill with soil mix | Sukuma wiki, spinach, tomatoes, capsicum, herbs | View Product |
| Vertical Net Grow Bags | Space-saving vertical growing | Install upright first, build central stone column while filling | Spinach, sukuma wiki, strawberries, lettuce, onions | View Product |
| 6-Layer Multi-Storey Garden | Compact tiered kitchen gardens | Assemble on level ground, fill root zones with fertile mix | Sukuma wiki, spinach, lettuce, strawberries, onions | View Product |
| Black Seedling Bags | Raising seedlings before transplanting | Confirm/add drainage holes, fill with light nursery mix | Vegetable, fruit-tree, flower and forestry seedlings | View Product |
| Hydroponic Fodder Trays | Soil-free livestock fodder production | Add drainage holes, wash and disinfect before first use | Maize, barley, wheat, oats, sorghum (fodder grains) | View Product |
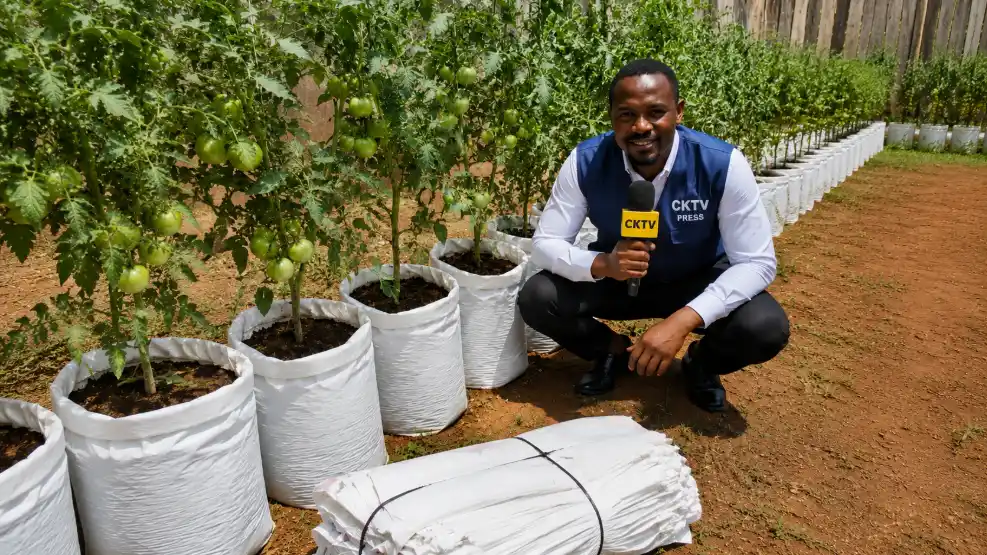
Preparing White UV-Treated Grow Bags
These bags require drainage holes before adding soil. Without drainage, water collects inside the bag, roots lose oxygen, and crops may develop root rot.
- Place the empty bag on a safe, flat surface.
- Hold a medium-sized nail securely using pliers.
- Heat the pointed end carefully.
- Work outdoors and use the hot nail to make approximately 6 to 10 small drainage holes across the bottom.
- Add approximately 4 to 8 small holes around the lower sides, depending on the bag's size.
- Allow the melted areas to cool completely.
- Place the bag in its final growing position.
- Fill it with prepared growing media.
- Leave approximately 5 cm of space at the top for watering and adding compost.
- Water the filled bag and confirm that excess water drains freely before planting.
Best crops can include sukuma wiki, spinach, tomatoes, capsicum, eggplants, herbs and other suitable crops, depending on the bag size.
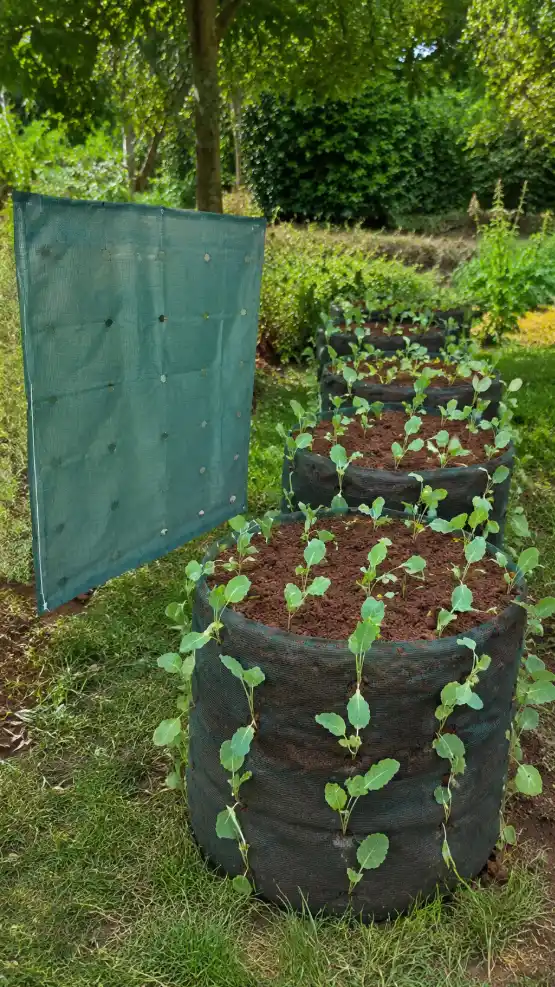
Preparing Vertical Net Grow Bags
The net must be installed in its permanent position before filling, because it becomes extremely heavy once filled with soil.
- Select firm, level ground receiving adequate sunlight.
- Open the net fully and stand it upright.
- Position three strong temporary sticks evenly around the net to hold it open and maintain its shape.
- Place a hollow pipe or open-ended tin vertically in the centre.
- Fill the pipe or tin with small, clean stones.
- Add the prepared soil mixture around the centre pipe.
- Raise the pipe gradually as the soil level rises while continuing to add stones.
- Continue until a central stone column runs from the bottom to the top.
- Fill the surrounding area with growing media.
- Press the mixture gently to remove large air pockets, but do not compact it heavily.
- Water slowly from the top and allow the soil to settle.
- Top up areas where the soil level drops.
- Remove the three temporary support sticks after the filled net becomes stable.
- Plant through the side openings, starting from the bottom and moving upward.
- Plant the top section last.
The vertical net grow bag is approximately 1.3 metres high, 1 metre in diameter, and can accommodate up to 85 plants, depending on crop size and spacing. Suitable crops include spinach, sukuma wiki, strawberries, lettuce, onions and herbs.

Installing a Six-Layer Multi-Storey Garden
The tower must be assembled on firm, level ground in its final location before filling.
- Select a permanent position with adequate sunlight and access to water.
- Assemble the base and all six layers correctly.
- Confirm that every layer is level, stable and properly supported.
- Use ordinary clean soil to fill and stabilize the main structure while constructing the tower.
- Do not use contaminated soil, soil containing construction waste, or soil infested with serious pests.
- Do not compact the soil until it becomes hard.
- Once the tower is standing firmly, remove ordinary soil from the areas where crops will be planted.
- Replace the soil around every planting area with a fertile mixture containing good topsoil, fully decomposed manure or compost, and a material that improves aeration.
- Ensure each planting pocket has enough fertile growing media for proper root development.
- Water the tower slowly to settle the growing medium.
- Add more mixture where the soil level drops.
- If drip irrigation will be used, test every outlet before planting.
- Plant suitable seedlings around every level using proper spacing.
The system has six growing levels, is approximately 1.2 metres high, with a base diameter of approximately 1.6 metres. Suitable crops include sukuma wiki, spinach, lettuce, strawberries, onions, herbs and other shallow- or medium-rooted crops. A drip-irrigated version is also available.
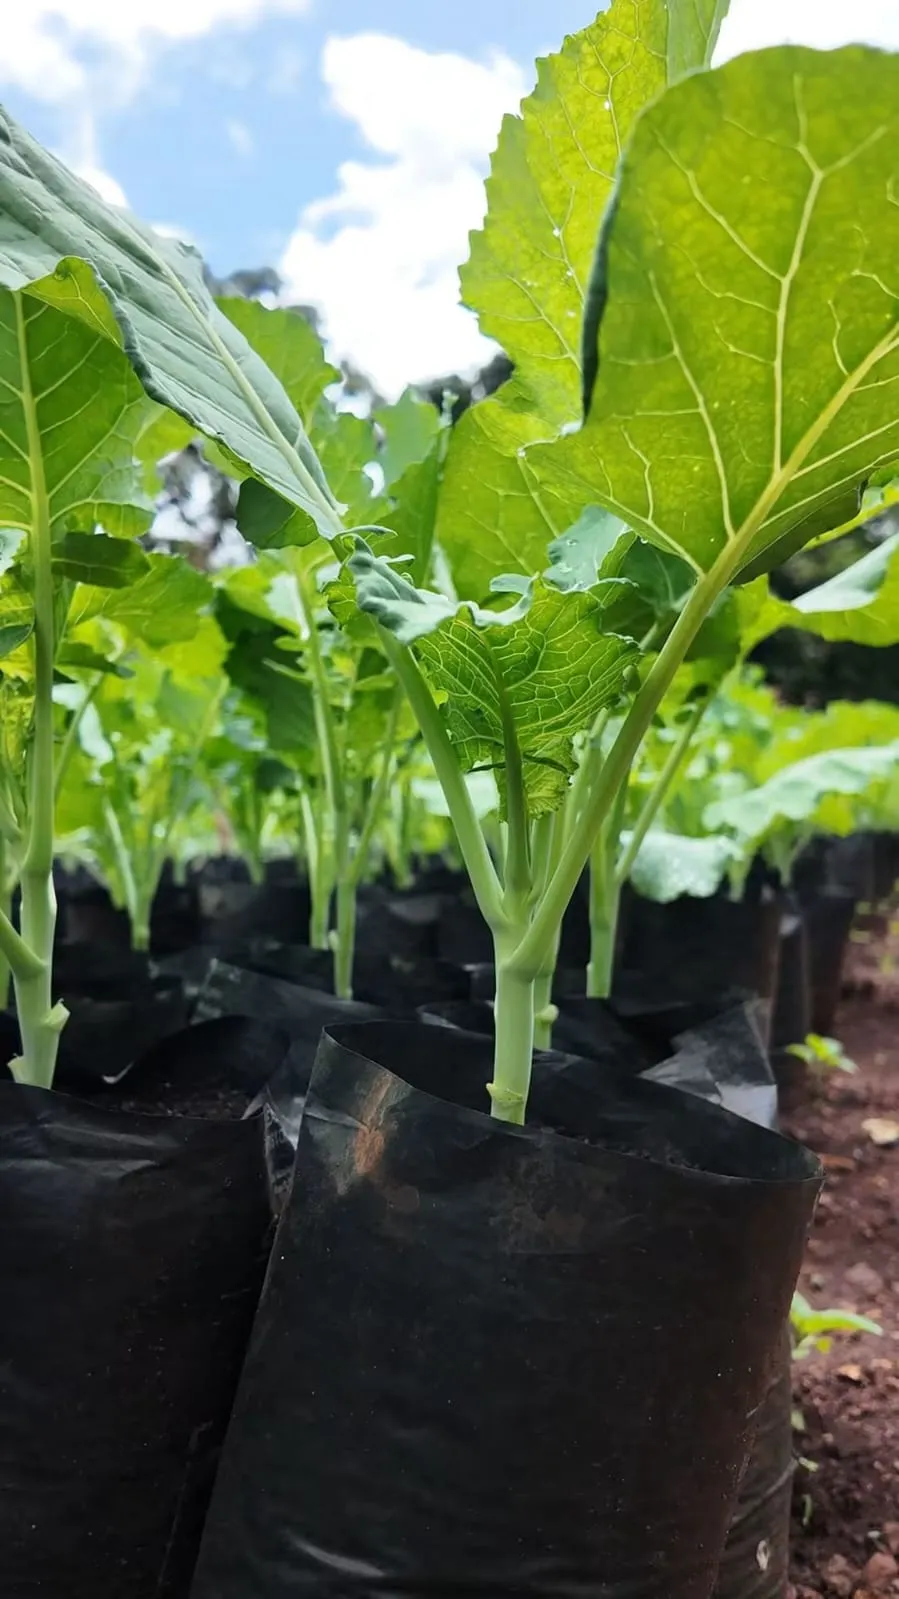
Preparing Black Seedling Bags
Black nursery bags are used to raise seedlings before transplanting them into the farm, orchard or garden.
- Confirm whether the bags already have drainage holes.
- If they do not, create several small holes at the bottom and lower sides.
- Use a light nursery mixture that drains well.
- Fill each bag without compressing the mixture heavily.
- Leave a small space at the top for watering.
- Sow the seed or transplant the young seedling at the correct depth.
- Arrange the bags upright in a nursery bed.
- Water gently to avoid washing away seeds or exposing roots.
- Keep the nursery moist but never waterlogged.
- Harden seedlings gradually before transplanting them to the farm.
Suitable uses include raising vegetable, fruit-tree, flower and forestry seedlings.
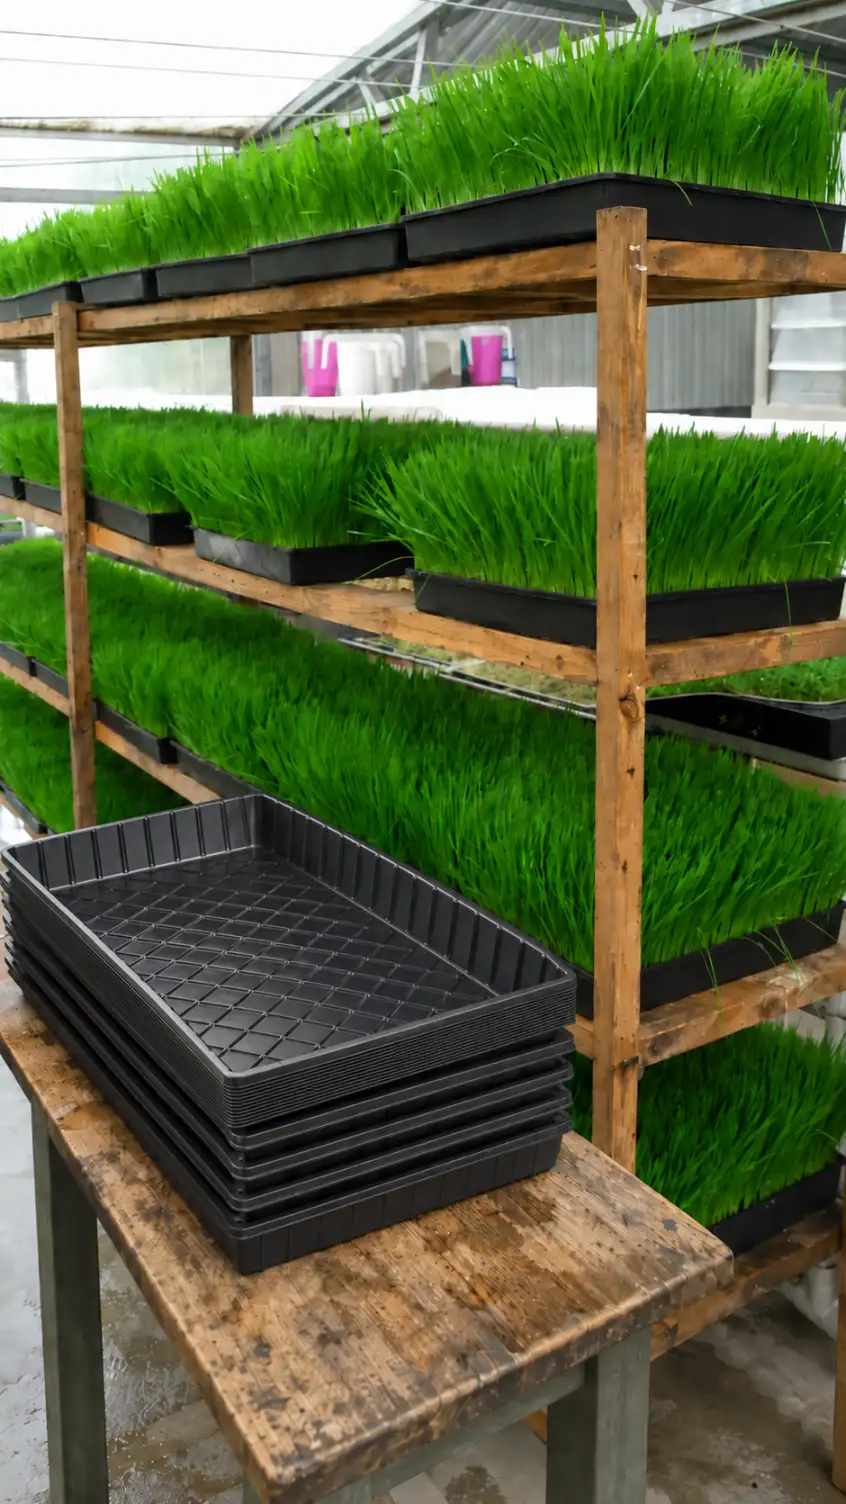
Preparing Hydroponic Fodder Trays
These trays are used for growing fodder without soil. Each tray measures 54cm × 28cm.
- Inspect every tray for cracks or damage.
- Wash the tray thoroughly using clean water.
- Mark evenly distributed drainage points.
- Create small, uniform drainage holes that allow excess water to escape while preventing seeds from falling through.
- Remove sharp plastic edges around newly made holes.
- Wash and disinfect the tray before first use.
- Place it on a level rack with a slight slope that allows drainage.
- Confirm that water leaves the tray evenly and does not form stagnant pools.
- Spread soaked and properly prepared seed in a thin, even layer.
- Avoid overcrowding, because thick seed layers encourage mould and overheating.
- Water or mist according to the fodder-production schedule.
- Clean and disinfect the tray after every growing cycle.
Suitable grains include maize, barley, wheat, oats and sorghum. Hydroponic fodder normally takes approximately 6 to 8 days under proper conditions.
Recommended Soil Mixture
1 Part Topsoil
Good-quality topsoil forms the base of the mixture.
1 Part Compost/Manure
Fully decomposed manure or compost adds nutrients.
1 Part Coco Peat
Coco peat or a similar lightweight material improves moisture retention and aeration.
- Mix everything thoroughly on a clean surface before filling the bags.
- Never use fresh manure, because it can heat up and burn young roots.
- Break large soil clods and remove stones, plastics and construction waste.
- Avoid using plain heavy red soil, because it compacts inside containers.
- Water the mixture after filling and confirm that excess water drains.
- Adjust the mixture for the crop and local climate, rather than treating one ratio as perfect for every situation.
Good Practices for Better Results
- ✓Position systems where crops receive adequate sunlight.
- ✓Install large systems before filling them.
- ✓Use clean water.
- ✓Avoid overwatering.
- ✓Check drainage regularly.
- ✓Add fully decomposed compost when nutrients decline.
- ✓Match crops with the correct bag size and root depth.
- ✓Stake tomatoes and other tall crops.
- ✓Inspect regularly for pests and diseases.
- ✓Replace badly compacted or diseased growing media.
- ✓Clean reusable bags and trays between production cycles.
- ✓Keep hydroponic trays clean to control mould.
Common Mistakes to Avoid
Frequently Asked Questions
Yes. Without drainage holes, water collects inside the bag, roots lose oxygen, and crops can develop root rot.
Approximately 6 to 10 small holes across the bottom, plus 4 to 8 holes around the lower sides, depending on the bag’s size.
A practical starting mixture is 1 part good topsoil, 1 part fully decomposed manure or compost, and 1 part coco peat or a similar lightweight material, adjusted for your crop and climate.
Plain heavy red soil is not recommended on its own, because it compacts inside containers and restricts root growth and drainage.
No. Fresh manure can heat up and burn young roots. Use fully decomposed manure or compost instead.
Water slowly from the top and allow the soil to settle, topping up any areas where the soil level drops.
A central column of small, clean stones improves water distribution and internal drainage throughout the net bag.
Up to 85 plants, depending on the crop size and spacing used.
Ordinary clean soil can help stabilize the structure during installation, but the actual root zones should be filled with a fertile, well-draining growing mixture.
Sukuma wiki, spinach, lettuce, strawberries, onions, herbs and other shallow- or medium-rooted crops.
Yes. Small, uniform drainage holes let excess water escape while keeping seeds in the tray.
Approximately 6 to 8 days under proper conditions.
Avoid overcrowding the seed layer, ensure even drainage with no stagnant water, and clean and disinfect trays after every growing cycle.
Yes, delivery is available across Kenya. See our page of real customer deliveries for examples of orders successfully delivered to different towns and counties.
Looking for pricing before you prepare your system? See our comparison of the best space-saving grow bags in Kenya for types and prices.
Ready to Start Your Kitchen Garden or Hydroponic Fodder System?
Crazy Kanairo Farming supplies durable grow bags, vertical gardens, seedling bags and hydroponic fodder trays, with delivery available across Kenya.
Order with confidence — if there is a problem with your order, our Refund & Return Policy sets out how we will resolve it.