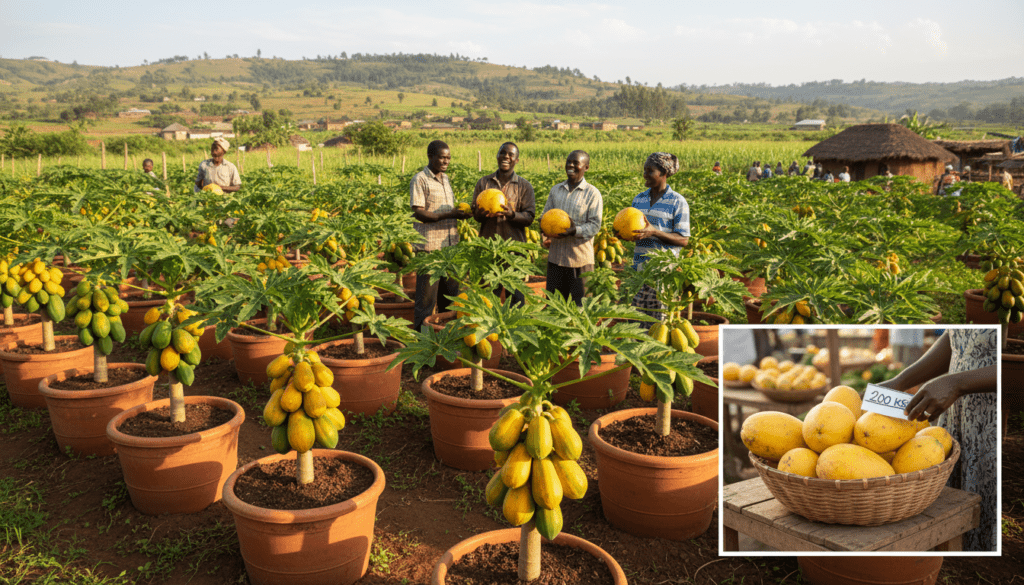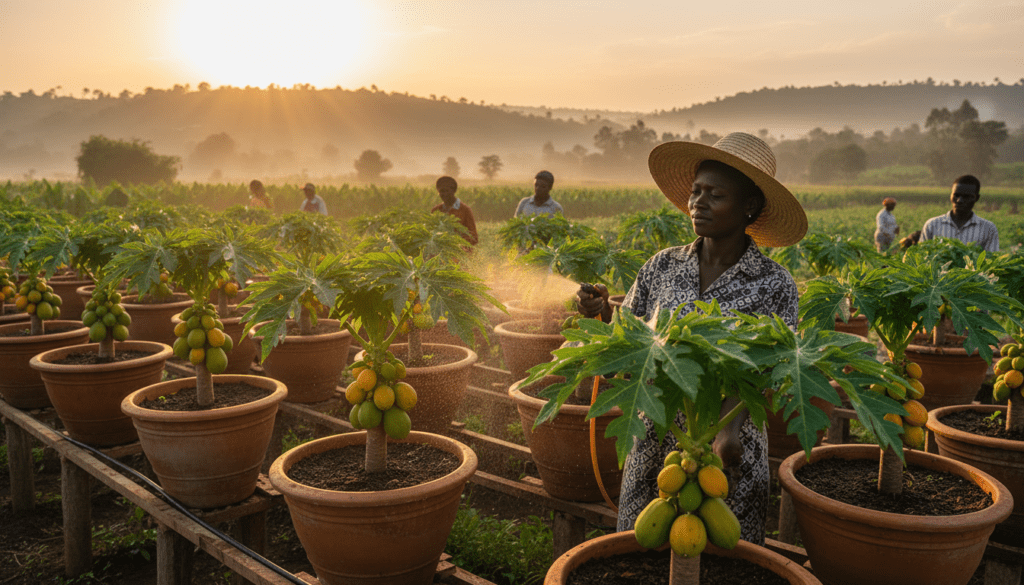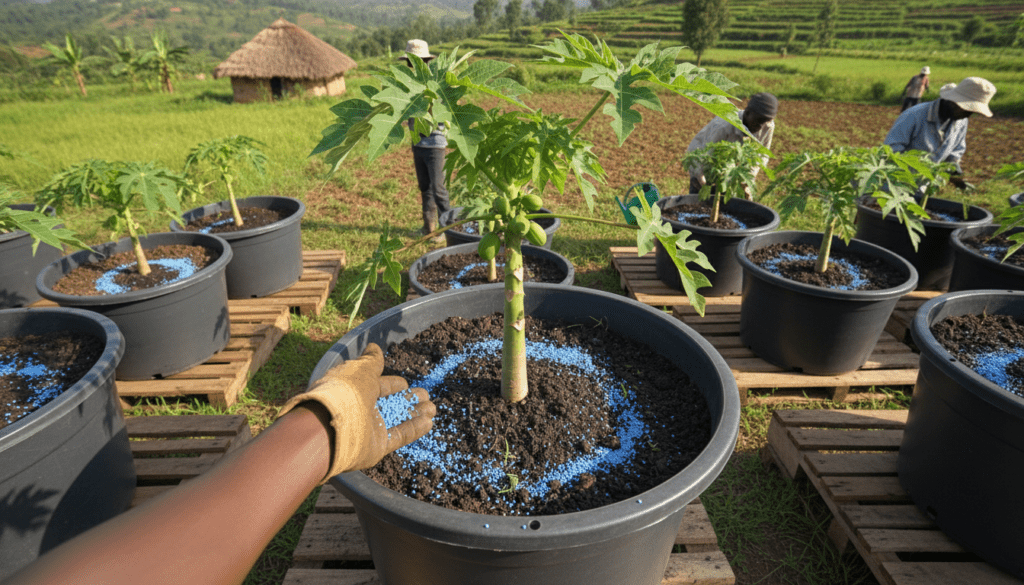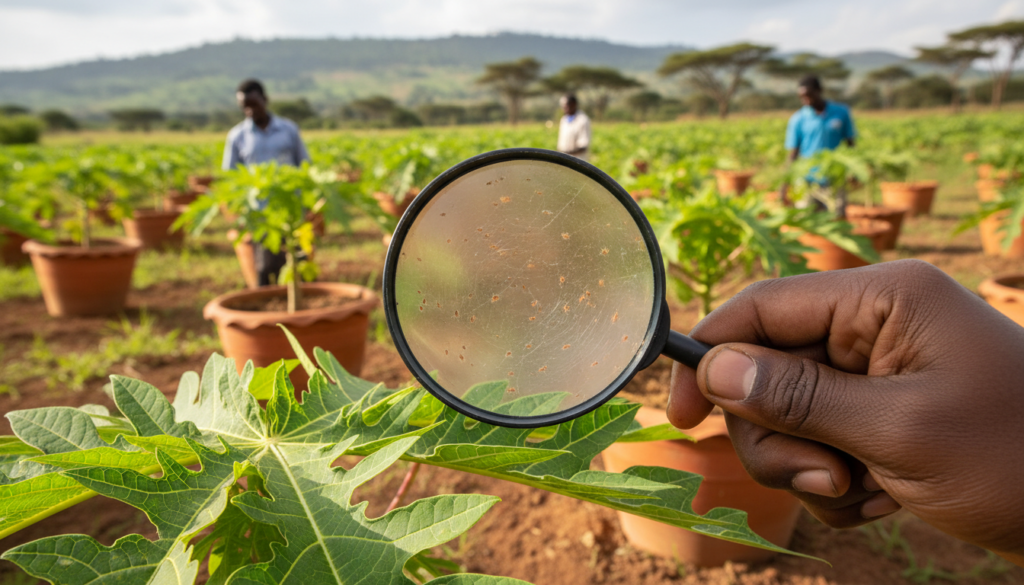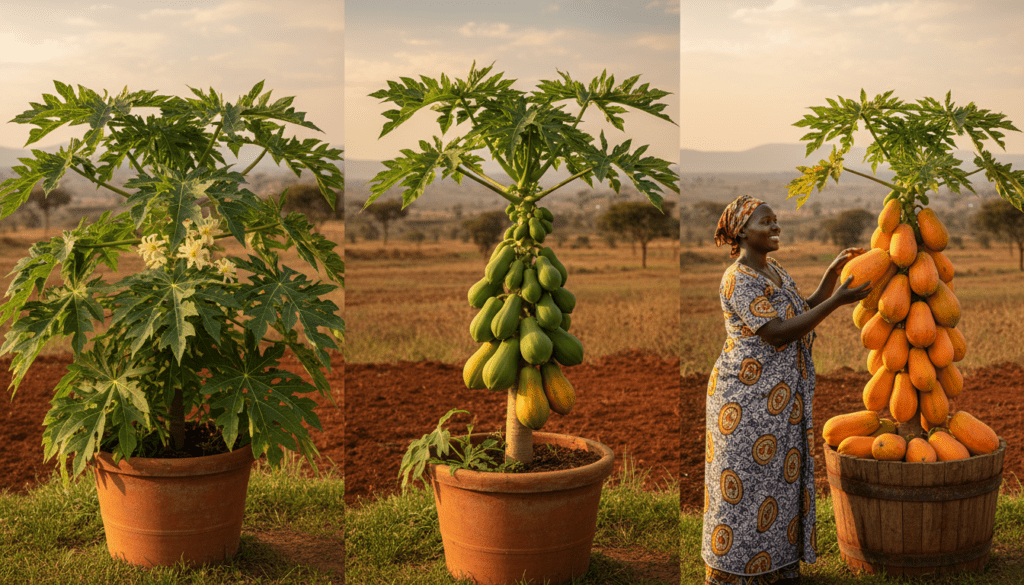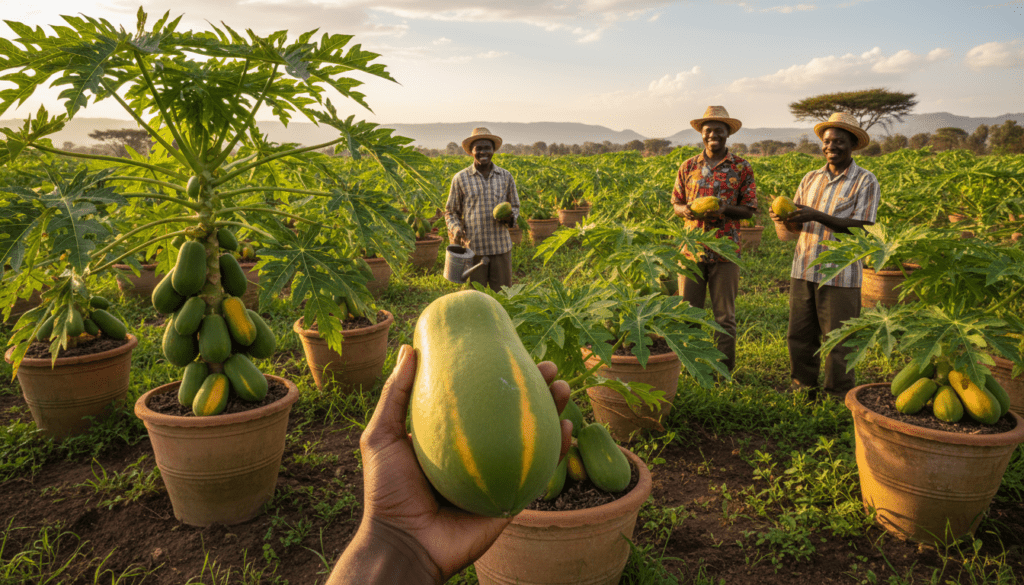
2026 farming guides and tips now live – read, learn, and grow more profit this season.
GROW BIG CABBAGES IN CONTAINERS IN KENYA: HANGING CABBAGE FARMING GUIDE 2026

How to Grow Big Cabbages in Containers 2026 Guide

Farming in Kenya has undergone a radical transformation over the last decade. The romanticized notion that one requires acres of fertile land in Molo, Kinangop, or Timau to cultivate high-value vegetables is officially a relic of the past. As we settle into 2026, the landscape of Kenyan agriculture has shifted from the expansive rift valley fields to the vertical spaces of our rapidly densifying cities. Urban farming in Nairobi, Mombasa, Kisumu, and Nakuru has revolutionized how households produce food, and hanging cabbage farming is currently at the forefront of this agricultural shift.

This comprehensive guide is not designed for the casual hobbyist who merely wants to see something green grow. This is a master-level resource for serious Kenyan farmers, urban entrepreneurs, and sustainability advocates who aim to harvest big, heavy, commercial-grade cabbages weighing between two to four kilograms using strictly limited space. Whether you are managing a small rental plot in Ruai, utilizing a tight balcony in Kilimani, or maximizing a concrete backyard in Eldoret, this guide will provide the technical knowledge required to maximize vertical space. You will learn to grow massive heads of cabbage that rival, and often exceed, the quality of those produced on large-scale open commercial farms.

In the economic climate of 2026, food security is paramount. The market price for a single large cabbage head in Nairobi retail markets such as Marikiti or City Park now fluctuates between KES 80 and KES 150 depending on the season and rainfall patterns. Retail prices per kilogram are hitting highs of KES 111 to 120. By utilizing container gardening techniques, you effectively control the soil composition, water intake, and pest exposure, virtually guaranteeing a premium harvest that is free from the chemicals often found in mass-market produce.

THE REVOLUTION OF URBAN FARMING IN KENYA

The concept of growing food in containers is not new, but the technology and methodology have been refined significantly by 2026. We are living in an era of “Micro-Climate Agriculture.” In a container, you are not just planting a seed; you are acting as the god of a small universe. You control every variable. This is critical in Kenya, where weather patterns have become increasingly erratic due to climate change. The long rains are no longer guaranteed, and the heat intensity in January and February can scorch open-field crops.

Container farming, specifically the hanging and vertical systems detailed here, solves these macroscopic problems on a microscopic level.

Disease Control and Soil Management

Traditional farming in Kenya struggles immensely with soil-borne diseases. Bacterial Wilt (Ralstonia solanacearum) is the scourge of the tomato, potato, and cabbage farmer. Once it infects a field, that field can remain unproductive for years. In a container system, this risk is nearly eliminated. You use fresh, treated soil mixed with compost and manure. If one container gets sick, you simply remove it. The disease cannot travel through the plastic to the next container. This quarantine capability is the superpower of container gardening.

Water Efficiency in a Scarcce Landscape

By 2026, water has become one of the most precious resources in East Africa. Traditional open-field farming is notoriously wasteful, with runoff and evaporation claiming a significant percentage of irrigation water. Container farming is a closed-loop mentality. It uses 40 to 60 percent less water than open-field farming because you target the root zone directly. There are no weeds stealing water from your crop, and the reduced surface area of the soil means less evaporation.

Space Maximization and Verticality

A standard 50 by 100-foot plot in a place like Kitengela or Joska can historically hold about 1,000 cabbages if planted in rows on the ground. However, using vertical hanging systems, you can exploit the “air rights” of your land. By stacking containers or hanging them in rows, you can triple that number to 3,000 heads in the same footprint. This increases the yield per square meter and maximizes the return on investment for the urban farmer.
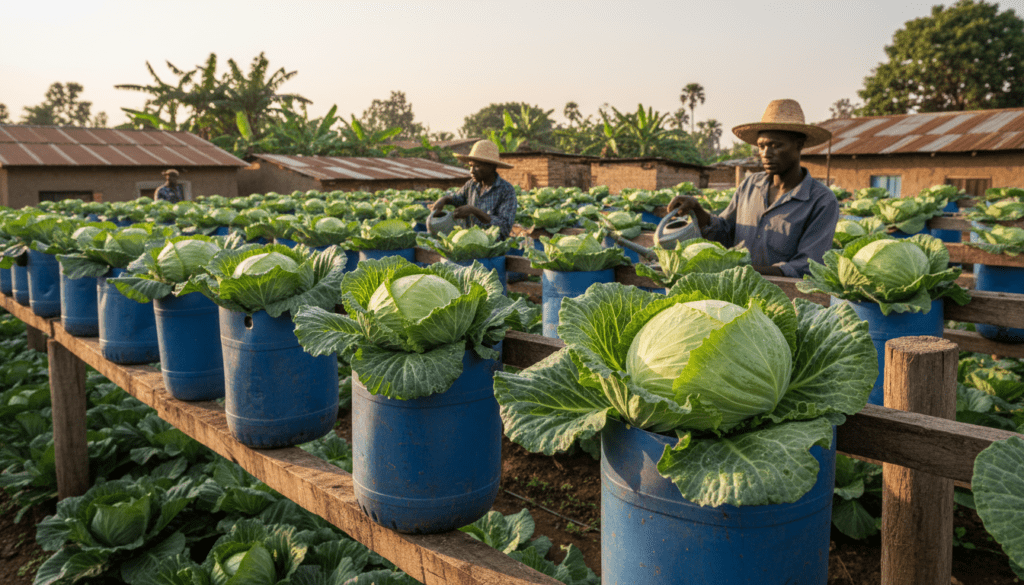
Healthy cabbage growing in a hanging plastic container in a Nairobi backyard garden.

CHOOSING THE RIGHT CONTAINER AND SETUP

One of the most common mistakes beginners make is underestimating the root mass of a brassica plant. You cannot grow a commercial-grade cabbage in a small Kasuku tin or a two-liter soda bottle. Cabbages have extensive, albeit shallow, root systems that require lateral width to anchor the heavy head, and they are voracious feeders that need a large reservoir of nutrients.

The Jerrican Method

The gold standard for cost-effective container farming in Kenya remains the recycled 20-Liter Jerrican. These are readily available at practically every marketplace or recycling center for a low cost.

To prepare the jerrican, lay it on its side. You want to maximize the surface area for the plant to spread its leaves. Cut a large rectangular window on the upper side, but crucially, leave the handle and the spout intact. These structural elements prevent the plastic from buckling under the weight of wet soil and a heavy cabbage.

Drainage is the single most critical factor in container preparation. Cabbages hate having “wet feet.” If water stagnates at the bottom of the container, the roots will suffer from oxygen deprivation and eventually rot. You must drill at least 10 to 15 holes at the bottom of the jerrican using a hot nail, a soldering iron, or a drill bit. Ensure these holes are distributed evenly.

The hanging mechanism requires engineering precision. A mature cabbage in a jerrican filled with wet soil can weigh upward of 10 to 12 kilograms. You cannot use flimsy strings or old nylon ropes that degrade in the UV sun. Use strong binding wire, preferably gauge 16. Loop it securely through the handle and the neck of the jerrican. When hanging them on a line, ensure your support structure-whether it is a clothesline post, a timber beam, or a metal pipe-can support the cumulative weight. A line of 10 cabbages equals 100 kilograms or more.

Why Soda Bottles Fail

It is important to address a common myth. Many internet tutorials suggest using 2-liter soda bottles for vertical farming. This works for kale (sukuma wiki) or spinach, which are harvested by the leaf. It does not work for heading cabbages. The root ball of a cabbage will become “root-bound” in a small bottle long before the head forms. This stress causes the plant to bolt (produce seeds) prematurely or produce a “tennis ball” sized head that is woody and bitter. You need a minimum of 15 to 20 liters of soil volume to achieve a 3-kilogram head.

BEST CABBAGE VARIETIES FOR CONTAINERS IN KENYA 2026

Genetic selection is half the battle. Not all cabbages are created equal, and in 2026, the seed market has evolved to offer hybrids that are specifically suited for high-density planting. For container farming, you require varieties that possess a “compact” growing habit. This means they have smaller wrapper leaves (the outer leaves) but produce a heavy, dense inner head. This allows you to hang containers closer together without the plants overshadowing each other.

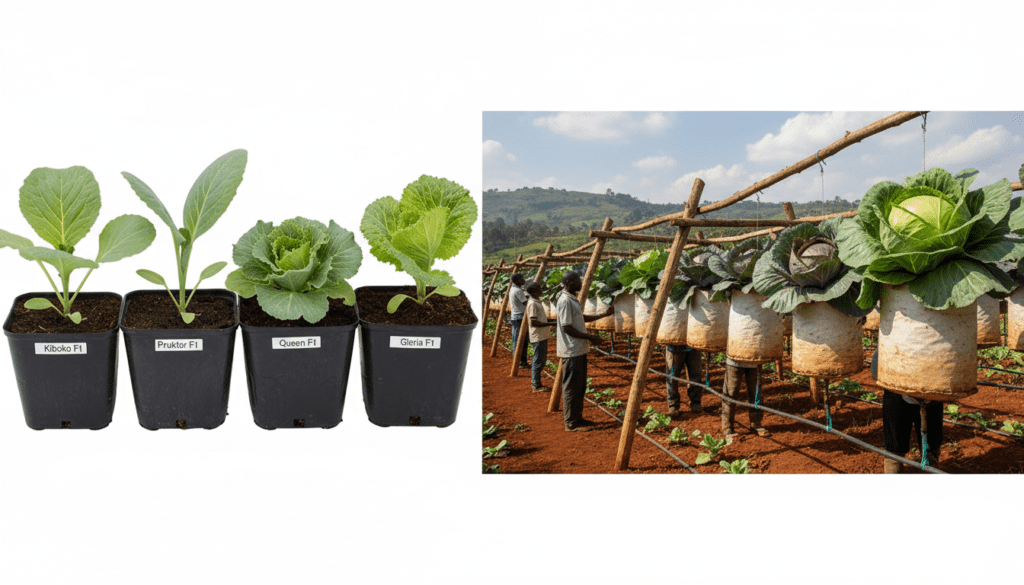
Kiboko F1 The 2026 Champion

This variety is currently the most robust option for disease resistance in the Kenyan market. It has been bred to be highly resistant to Black Rot (Xanthomonas campestris), which is the number one killer of cabbages in wet or humid conditions. Kiboko F1 produces a dark green head weighing between 4 and 5 kilograms and matures in approximately 80 to 90 days. It is perfect for containers because its stalk is thick and sturdy, supporting the heavy head without snapping.

Pruktor F1

Pruktor is a favorite among container farmers because of its architectural efficiency. It is a compact plant that does not spread its leaves as wide as traditional varieties. This is known as a “high-population” variety. It matures relatively fast, in about 80 days, and produces a solid, round head weighing 3 to 4 kilograms. Its ability to stand in the field without bursting makes it ideal for farmers who may not be able to harvest everything in one day.

Queen F1

If your goal is a quick turnover to catch a specific market window, Queen F1 is the variety of choice. It is an early maturing variety, often ready in 75 to 80 days. While it yields slightly smaller heads in the range of 2.5 to 3 kilograms, the heads are very uniform, sweet, and crisp. This makes Queen F1 excellent for home consumption and local grocery sales where quality is preferred over sheer size.

Gloria F1

Gloria F1 is the legendary variety of Kenya, known by almost every farmer. It is reliable, heat tolerant, and capable of producing massive heads up to 5 kilograms or more. However, Gloria is a heavy feeder. If you choose this variety for containers, you must be extremely disciplined with your fertilizer application. It requires a lot of fuel to build that massive size, and in a container, nutrients can run out quickly.

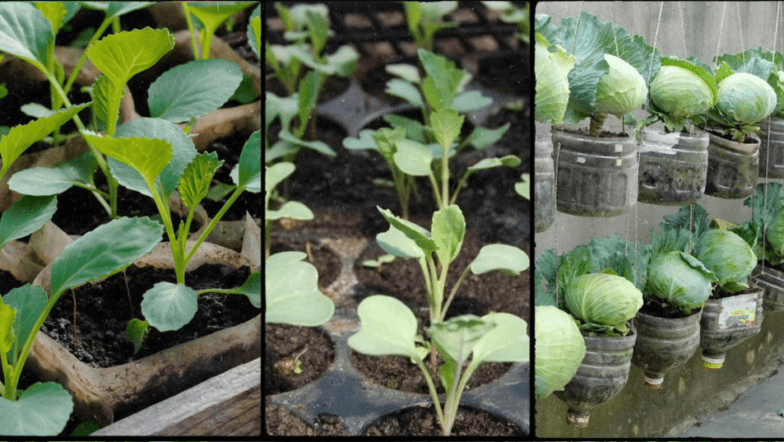
Comparison of Kiboko F1, Pruktor F1, Queen F1, and Gloria F1 cabbage seedlings,
Comparison of Kiboko F1, Pruktor F1, Queen F1, and Gloria F1 cabbage seedlings

SOIL PREPARATION AND THE MAGIC MIX

The soil in your container is the engine of your farm. In open-field farming, roots can travel meters deep to find nutrients. In a container, they can only eat what you put in the bucket. Therefore, you cannot simply dig up red soil from the roadside and expect miracles. Roadside soil is often compacted, acidic, and devoid of organic life.

The Magic Mix Formula

To grow a prize-winning cabbage, you must construct a growing medium that is loose, rich in organic matter, and holds moisture without becoming waterlogged. For every one container, you should mix the following ratios:

One Part Topsoil

Use good quality garden soil. Preferably, collect this from a forest area or a spot in your garden that has not grown crops recently. This soil provides the mineral backbone and stability for the plant.

One Part Well-Rotten Manure

Cow or goat manure is the best for cabbages. It provides a slow-release source of Nitrogen. It is absolutely critical that the manure is fully decomposed. It should be black, crumbly, and odorless. If you use fresh, wet manure, the high ammonia levels will “burn” the tender roots of the cabbage, killing the plant within days.

One Handful of Wood Ash

Cabbages prefer a neutral to slightly alkaline soil pH (around 6.5 to 7.0). Kenyan soils are often acidic. Wood ash helps to raise the pH and also provides Potassium, which is essential for fruit and head firmness.

One Tablespoon of DAP

Mix one tablespoon of Di-ammonium Phosphate (DAP) thoroughly into the bottom half of the soil mix. DAP provides the high levels of Phosphorus needed for strong root development during the first few weeks of growth.

Sterilizing Your Soil

This step separates the masters from the amateurs. Soil often contains nematode eggs, weed seeds, and fungal spores. Before filling your containers, you should sterilize the mix. You can do this by pouring boiling water over the soil mix and letting it drain. Alternatively, you can use “solarization.” Moisten the soil, pile it up, cover it tightly with a black plastic sheet, and leave it in the hot sun for two weeks. The heat generated under the plastic will cook the pests and pasteurize the soil.

NURSERY MANAGEMENT AND TRANSPLANTING

Never plant cabbage seeds directly into the final hanging container. The tiny seeds need a controlled nursery environment to thrive. Start your seeds in a separate nursery tray or a basin.

Sowing Seeds

Use a plastic seedling tray with cocopeat if possible, as this ensures 100 percent germination and easy root extraction. If using soil, make fine furrows in a basin. Drop the seeds thinly; do not overcrowd them. Cover them very lightly with fine soil. Water gently using a mist sprayer or your hand. In the warm climate of Nairobi or Mombasa, they will germinate in 4 to 6 days.

Hardening Off

Before moving the babies to the big containers, they must be “hardened off.” This means gradually exposing them to harsher conditions. A week before transplanting, reduce the watering frequency and expose the nursery tray to direct sunlight for longer periods. This thickens the cuticle of the leaves and prepares the plant for the real world.

The Transplanting Stage

Transplant the seedlings when they have developed four true leaves, which is usually about four weeks after germination.

Timing is everything. Water the seedlings heavily one hour before moving them to ensure they are fully hydrated. Perform the transplanting late in the evening, ideally around 5:00 PM or on a cloudy day. This prevents the harsh midday sun from causing transplant shock, which can stunt the plant’s growth for a week.

Dig a hole in your container soil large enough to accommodate the root ball. Place the seedling in the hole and firm the soil gently around the stem to remove air pockets.

The Cutworm Trick

Cutworms are nocturnal pests that slice young seedlings at the base. To prevent this, place a small “collar” around the stem at soil level. This can be cut from a plastic straw or a small section of a plastic bottle. Push it slightly into the soil. This physical barrier prevents the cutworm from wrapping around the stem.
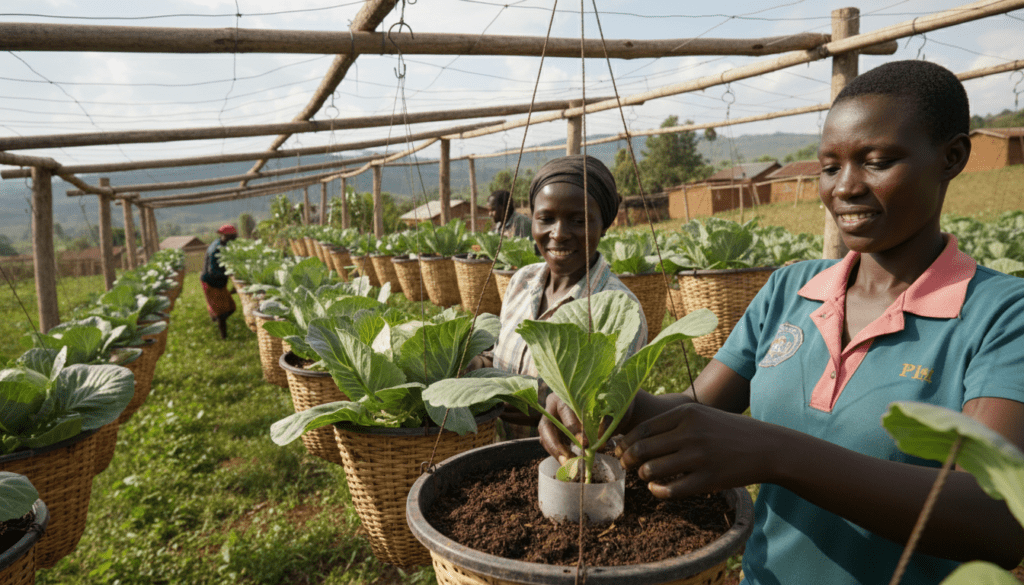
Farmer transplanting cabbage seedling into a hanging jerrican with cutworm protection.

FEEDING YOUR CABBAGE: THE BIG HEAD REGIMEN

You cannot starve a plant and expect a harvest. To get a 4-kilogram cabbage, you must feed the plant aggressively. Cabbages are known as “heavy feeders.”

Week 1 to 2 Root Establishment

During the first two weeks after transplanting, do not apply fertilizer. The DAP you put in the soil mix is sufficient. Water only. Keep the soil moist but not soggy. Allow the roots to explore the container.

Week 3 The Nitrogen Boost

At week three, the plant needs to build a massive factory of leaves. The bigger the outer leaves, the more energy the plant can generate to fill the head. Top dress with one teaspoon of CAN (Calcium Ammonium Nitrate) or NPK 23:23:0 per plant. Place the fertilizer in a ring about 2 inches away from the stem. Do not let the chemical fertilizer touch the stem, or it will burn the plant tissue. Water immediately after applying to dissolve the granules into the root zone.

Week 6 Head Formation

When you see the center leaves starting to curl inward, a process known as “cupping,” the plant is shifting its energy from leaf growth to head formation. At this stage, apply one tablespoon of NPK 17:17:17. This balanced fertilizer supports the structural integrity and dense packing of the head.

Micronutrients and Liquid Gold

Chemical fertilizers often lack micronutrients like Boron and Magnesium. Every two weeks, apply “Liquid Gold,” which is a manure tea. Make this by soaking a sack of manure or Tithonia (Mexican sunflower) leaves in a drum of water for seven days. Dilute this mixture 1:1 with clean water and pour it into your containers. This adds beneficial bacteria and essential micronutrients, giving your cabbage a sweeter taste and a deep, dark green color that buyers love.
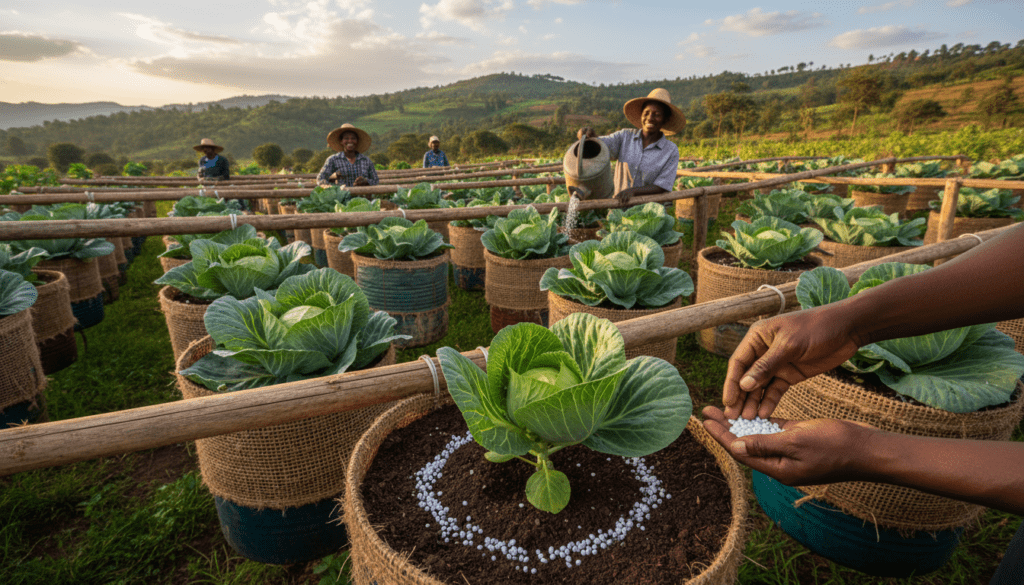
Correct fertilizer application method for cabbage in containers using the ring method.

WATERING PROTOCOLS FOR KENYAN CLIMATES

Watering is the most frequent task in container gardening, and it requires consistency. Inconsistent watering is the primary cause of “Splitting.” Splitting occurs when the soil gets too dry, causing the cabbage head to harden, and then receives a sudden flush of water. The internal pressure builds up faster than the outer leaves can stretch, causing the head to crack open like a dropped watermelon. Once a cabbage splits, it is unmarketable.

The Finger Test

Do not water by a strict schedule; water by feel. Stick your finger one inch into the soil. If it feels dry, it is time to water. If it feels damp, wait.

The best time to water is early morning, between 6:00 AM and 8:00 AM. This allows the plant to hydrate before the sun gets hot. Avoid evening watering if possible. Wet leaves at night encourage fungal diseases like Downy Mildew because the water does not evaporate quickly in the cool night air.

Volume Requirements

Each mature cabbage needs about 500ml to 1 liter of water per day during hot weather. In the cool season, this may drop to 300ml.

Mulching In Containers

In 2026, temperatures are rising. Mulching is not optional; it is mandatory. Place a layer of dry grass, straw, or dry leaves on top of the soil in your container. This mulch acts as an insulator. It reduces water evaporation by up to 50 percent, saving you water. It also keeps the roots cool. Cabbages are cool-weather crops; if the roots in a black plastic jerrican get too hot, the plant will stress and stop growing. The mulch reflects the sun and keeps the soil temperature stable.

PEST AND DISEASE WARFARE

In a container garden, you have the advantage of being able to inspect every single plant. You can fight pests manually without resorting to heavy chemical warfare.

Aphids (Wadudu wa kijani)

These are small green or black insects that suck sap and curl the leaves. They usually hide on the undersides of leaves.

The solution is simple: Mix one tablespoon of liquid dish soap with one liter of water and spray the undersides of the leaves. The soap suffocates the aphids. Neem oil is also highly effective.

Diamondback Moth (DBM)

The Diamondback Moth is the arch-nemesis of the Kenyan cabbage farmer. The larvae are small green caterpillars that eat holes in the leaves, making them look like a window pane.

Inspect your plants daily. Handpick the green caterpillars and destroy them. If the infestation is severe, use a biological pesticide like Bacillus thuringiensis (Bt), which is available at most agrovets. This bacteria kills the caterpillar but is safe for humans and pets.

Black Rot

This bacterial disease presents as yellow V-shaped lesions on the leaf edges.

There is no cure for Black Rot. Prevention is the only strategy. Use resistant varieties like Kiboko F1. If you see a plant with these symptoms, remove it immediately and burn it. Do not compost it. Do not touch healthy plants after touching sick ones, as you will spread the bacteria on your hands.

HARVESTING AND POST-HARVEST

Patience is the final test. Your cabbage is ready for harvest when the head feels rock-hard when squeezed. If it feels spongy or gives way under pressure, it is not yet full. It needs more time to pack in leaves.

Cutting

Use a sharp, clean knife. Cut at the base of the head, leaving three to four wrapper leaves attached. These loose outer leaves act as a shock absorber and packaging during transport, protecting the valuable head inside from bruising.

Market Prices 2026

Understanding the market is key to profitability.

In Nairobi markets like Marikiti, a large head fetches KES 80 to 120.

In Mombasa (Kongowea), prices can reach KES 150 due to the high demand and the difficulty of growing cool-weather crops in the coastal heat.

At the Farm Gate (selling to neighbors), you can sell for KES 70 to 100 per head, cutting out the transport costs entirely.

Storage

Store your harvested cabbages in a cool, dark place. Do not wash the cabbage until you are ready to sell or use it. Washing introduces moisture which promotes rot. A dry, cool cabbage can stay fresh for weeks.
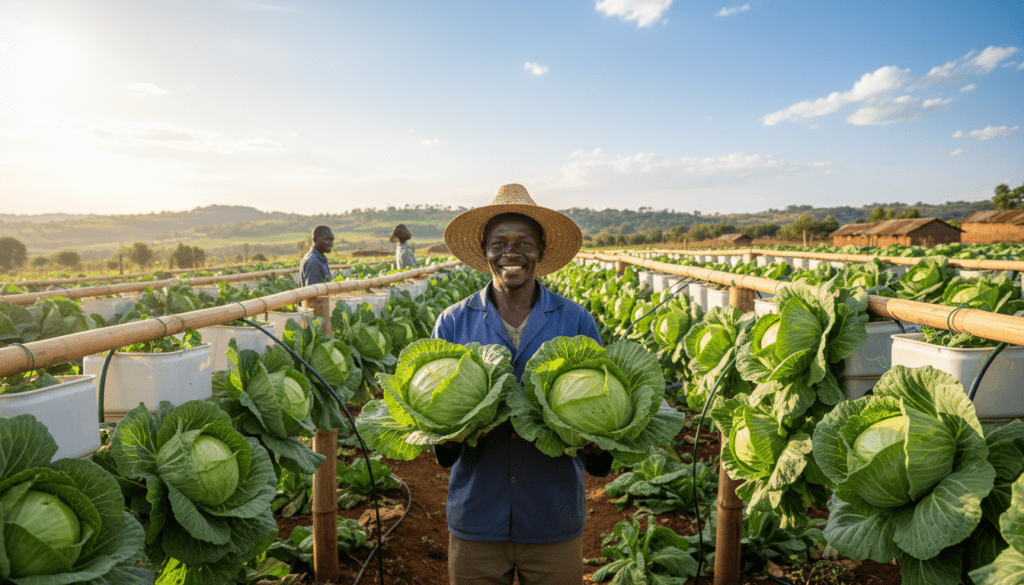
Successful harvest of large cabbages from a container garden in Kenya.

ONLINE SEED PURCHASE GUIDE KENYA 2026

Accessing genuine seeds is critical. The market is flooded with counterfeit seeds that have low germination rates or are not the variety claimed on the package. Buy only from certified distributors.

Simlaw Seeds (Kenya Seed Company)

This is the most trusted source for heritage varieties like Gloria F1 and Queen F1. Their quality control is stringent.

Website: simlaw.co.ke

AgriJibu Online Store

AgriJibu has become a major player by 2026, stocking a wide range of imported seeds from Syngenta and Continental, including Pruktor F1. They often offer delivery services across the country.

Website: agrijibu.co.ke

Royal Seedlings and Kenya Hybrids

If you do not want to go through the hassle of a nursery, these companies sell ready-to-plant seedlings. This saves you four weeks of time but costs slightly more per plant.

Search on royalseedlings.com or check local agrovet listings in your town.
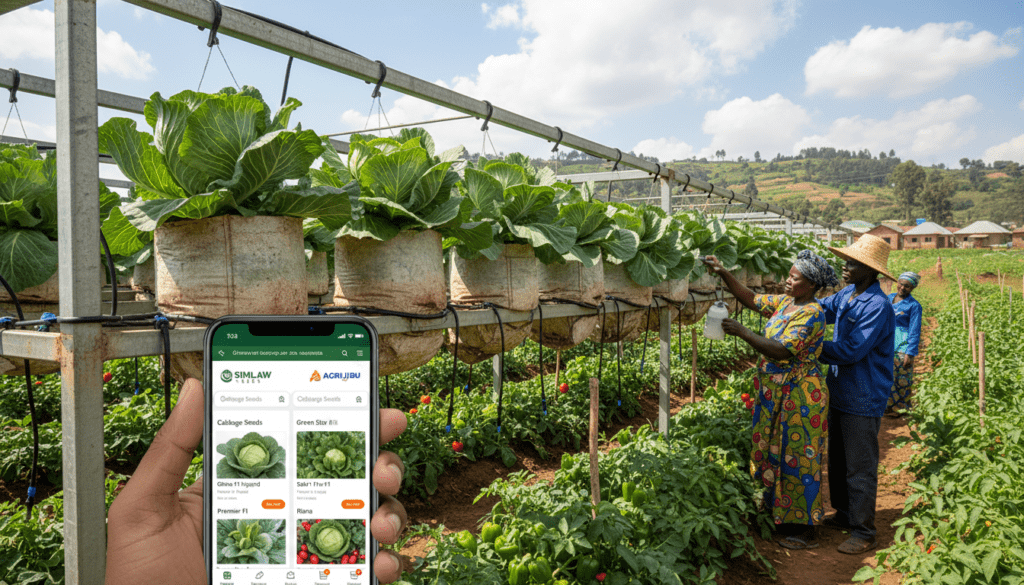
How to Grow Big Cabbages in Containers in Kenya: Hanging Cabbage Farming Guide 2026
Where to buy genuine cabbage seeds online in Kenya.

ECONOMIC BREAKDOWN: IS IT WORTH IT?

Farming is a business, and every business requires a balance sheet. Let us perform the math for a small 50-container setup in your backyard.

Expenses (Estimated)

50 Recycled Jerricans: KES 2,500 (at KES 50 each).

Seeds (10g sachet): KES 600.

Manure (2 sacks): KES 500.

Fertilizer (DAP/CAN): KES 500.

Insecticides/Fungicides: KES 800.

Total Initial Capital: KES 4,900.

Revenue (Conservative Estimates)

Harvest of 45 Marketable Heads (allowing 5 for loss or home consumption).

Average Price per head: KES 100.

Total Revenue: KES 4,500.

Analysis

In the first cycle, you essentially break even. However, your biggest cost was the jerricans, which are a one-time asset.

For the Second Cycle, your costs drop significantly. You already own the containers. Your only costs are seeds, manure, and fertilizer, totaling perhaps KES 1,000.

Second Cycle Revenue: KES 4,500.

Second Cycle Profit: KES 3,500.

While a profit of KES 3,500 will not make you a millionaire, the savings on your grocery bill are significant. If you buy one cabbage a week at KES 100, that is KES 5,200 a year saved. Furthermore, the quality of chemical-free food for your family is priceless. If you scale this up to 500 containers, which is possible on a standard 50×100 plot, you are looking at a potential profit of KES 35,000 to KES 40,000 every three months as a supplementary income stream.

ADVANCED TIP: MULTI-STOREY GARDENS

If you find the process of cutting and hanging jerricans too messy or labor-intensive, consider investing in “Multi-Storey Garden” liners. These are heavy-duty HDPE plastic sheets that are welded into tiered cones, resembling a wedding cake.

Cost and Efficiency

These units typically cost around KES 2,500 for a structure that holds 100 plants. They use vertical space even better than jerricans because they are a single cohesive unit.

Suitability for Cabbage

Can you grow cabbages in them? Yes, but there is a catch. The soil pockets get smaller as you go up the tiers. Therefore, you should only plant cabbages on the bottom and middle tiers where the soil volume is largest and the base is most stable. Use the top tiers for lighter crops like Sukuma Wiki, Spinach, or Coriander (Dhania). This creates a complete vegetable ecosystem in one square meter.

CONCLUSION

Growing big cabbages in containers in Kenya is not just a theoretical possibility; it is a proven, smart strategy for the year 2026. As urbanization continues to swallow arable land, the future of farming is vertical. By choosing the right variety like Kiboko F1, preparing a nutrient-rich soil mix, and mastering the water schedule, you can turn your empty airspace into a productive farm.

The market is ready. The prices are high. The demand for clean, traceable food in Nairobi and other major cities is insatiable. The only missing ingredient is your effort. Start today. Go find those jerricans, order your seeds, and get growing.

Farmers Also Ask (FAQ)

Can I really grow cabbages in 10-liter buckets?

Yes, you can, but you must manage your expectations. A 10-liter bucket restricts the root mass.

Why are my cabbages forming heads but they are soft and loose?

This condition is usually caused by two factors: high temperatures preventing the head from tightening, or a lack of Nitrogen and water.

How do I stop my hanging containers from falling due to weight?

A mature wet container can weigh up to 15kg. It is physics. You must use 16-gauge binding wire and secure it to a 4×2 inch timber beam or a metal pipe.

liquid fertilizer” from the agrovet better than manure tea?

Commercial foliar fertilizers are excellent for a quick fix or correcting a specific deficiency rapidly. However, manure tea provides long-term soil health and beneficial bacteria that synthetics cannot offer.

Can I re-use the soil for the next season?

No, not immediately for cabbage. Cabbages are heavy feeders and they deplete the soil of specific nutrients.

What is the most profitable month to harvest cabbage in Kenya?

Supply and demand dictate prices. The market is often flooded during the rainy seasons. The best prices are usually found in January to March.

My cabbage leaves are turning purple. What is wrong?

This is a classic sign of Phosphorus deficiency. It often happens if you did not use DAP during planting, or if the weather is very cold, which locks up phosphorus in the soil.

How many cabbages can I grow on a 10ft by 10ft balcony?

With a well-designed 3-tier hanging system, you can comfortably fit 30 to 40 plants in that space. This is enough to feed a family and sell the surplus to neighbors.
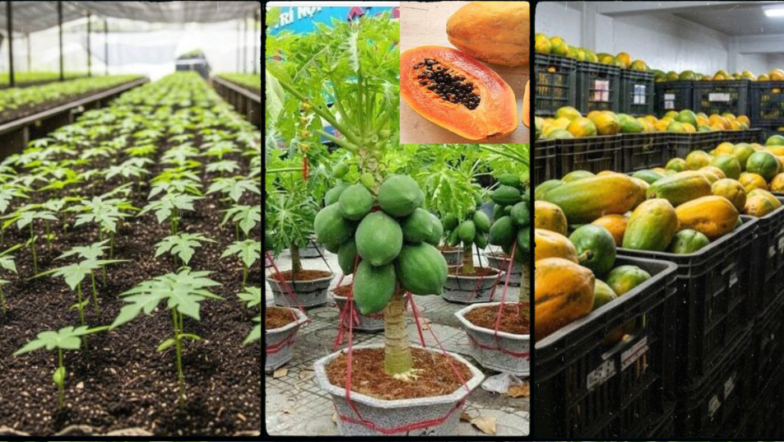
How to Grow Dwarf Papaya Trees in Containers for Massive Harvests in Kenya

How to Grow Dwarf Papaya Trees in Containers for Massive Harvests in Kenya 2026

The Ultimate Manual for Urban Kenyan Farmers: Growing Dwarf Papayas in Pots

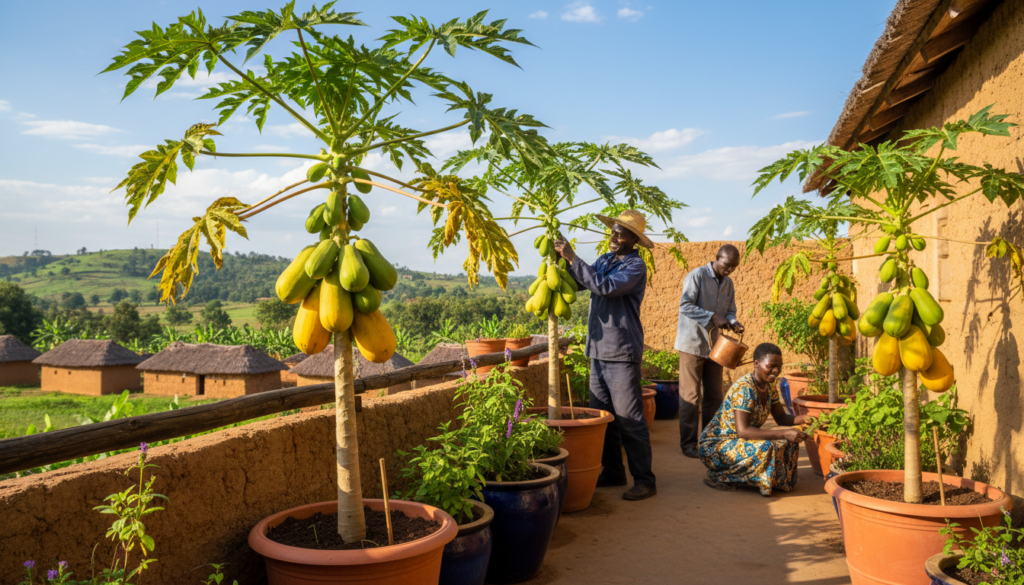
Farming in Kenya is currently undergoing a radical transformation, shifting from the traditional, vast acres of the Rift Valley and Central Highlands to the concrete jungles of our growing cities. From the windy balconies of Kilimani apartments to the sun-drenched rooftops of Mombasa and the compact backyards of Kisumu, urban agriculture is taking root.

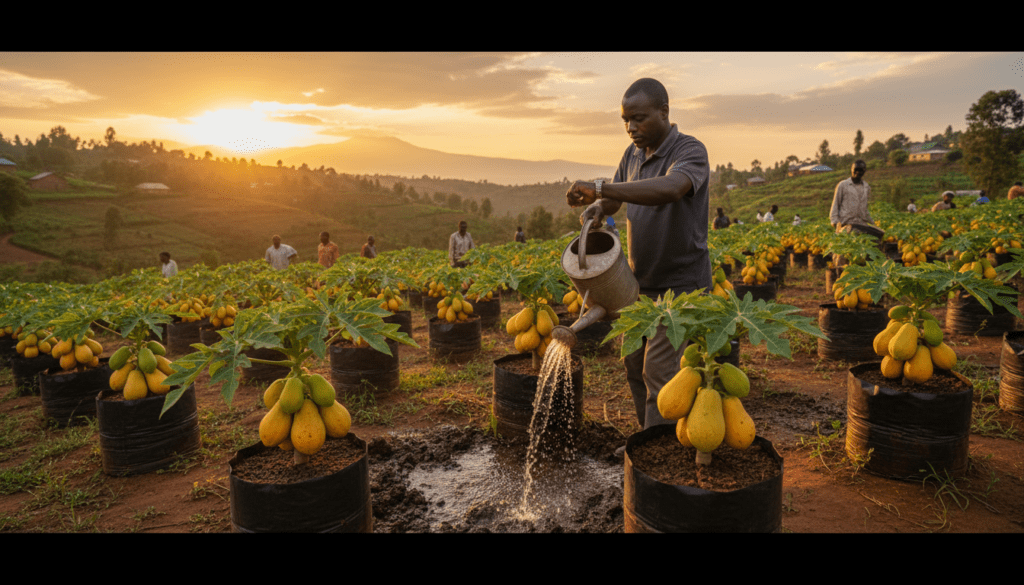
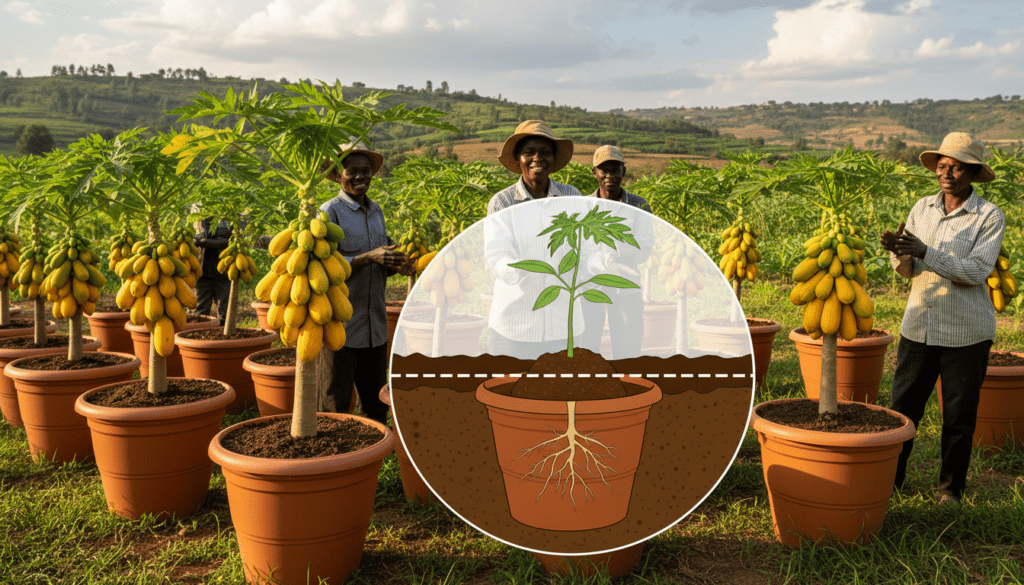
One of the most lucrative, visually stunning, and satisfying crops to spearhead this urban farming revolution is the Dwarf Papaya. Unlike the towering indigenous varieties that require massive root space, deep soils, and years to mature, modern dwarf hybrids are genetically engineered to remain compact often growing no taller than 2 meters. This compact nature makes them the perfect candidate for container gardening, allowing city dwellers to bypass land constraints entirely.

How to Grow Dwarf Papaya Trees in Containers for Massive Harvests in Kenya
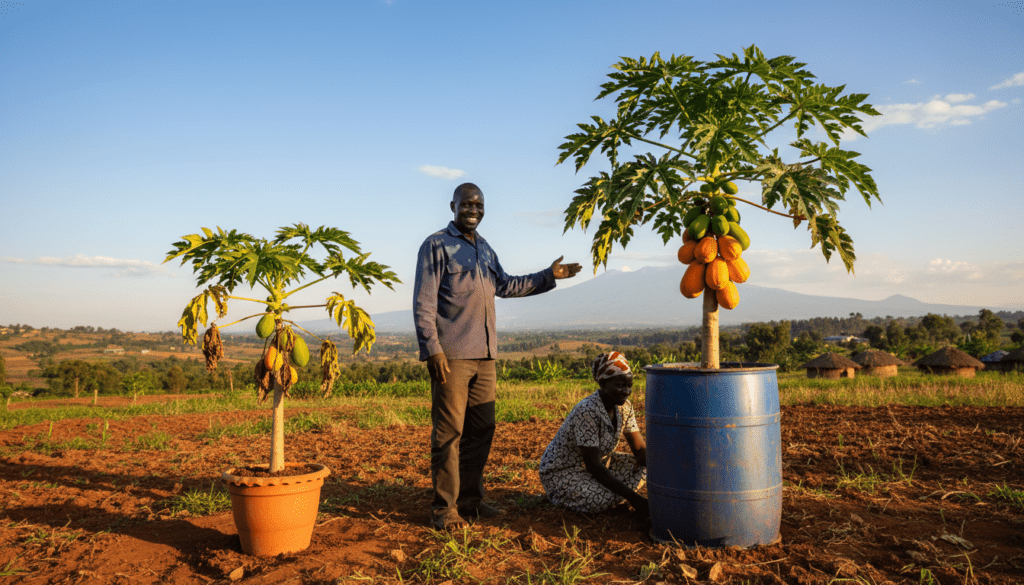
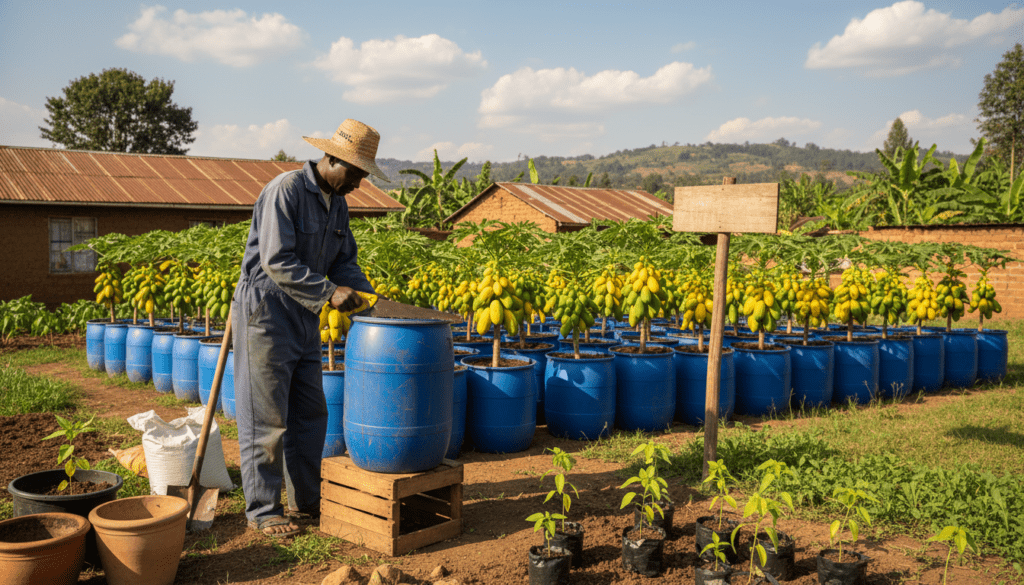
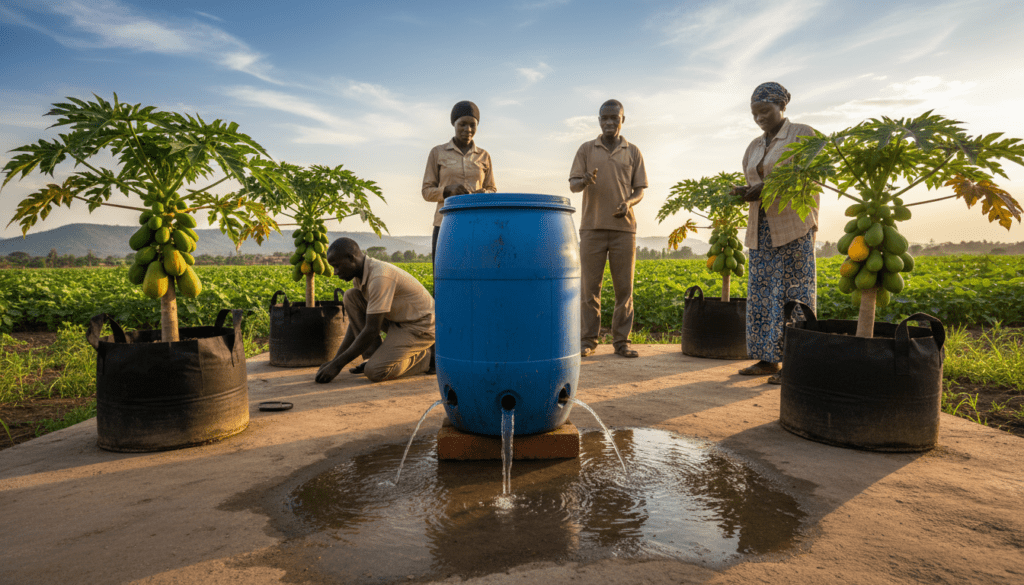
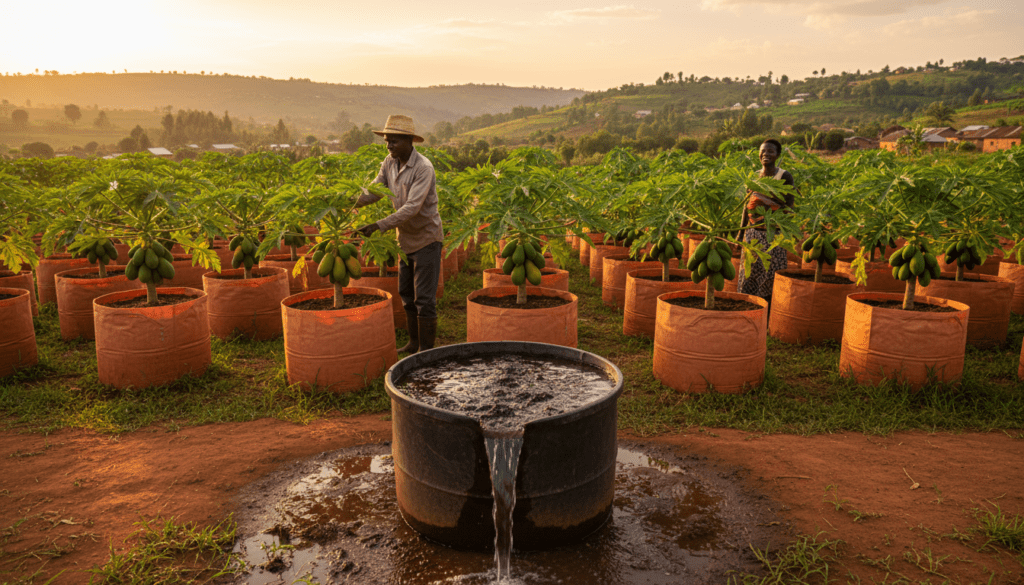
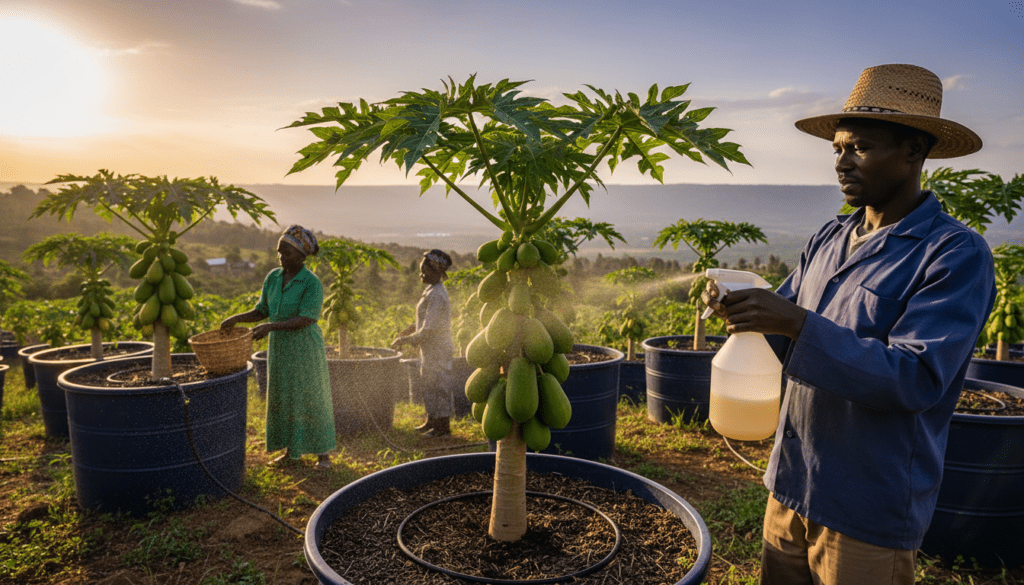
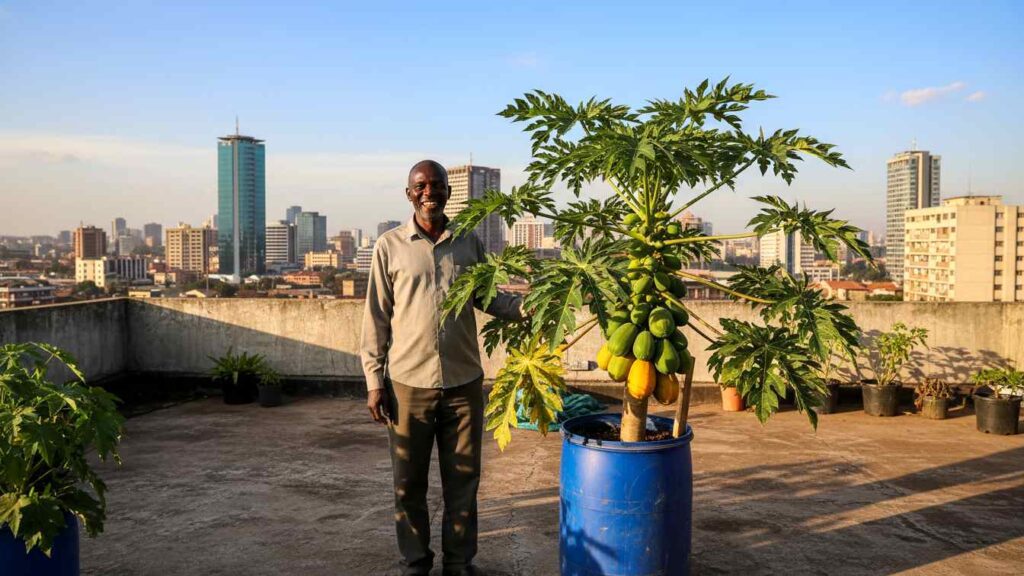
Papaya Growing in blue tank

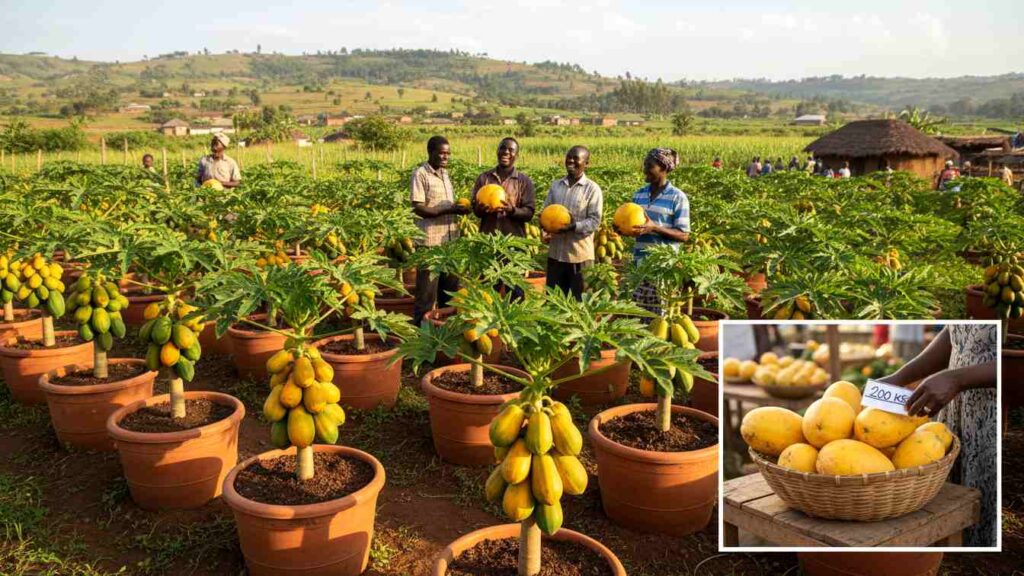
For the beginner farmer facing land constraints, growing dwarf papaya in containers represents a low-entry barrier to high-value agriculture. It offers fresh, organic fruit for the family and a potential income stream by selling to neighbors or local *mama mbogas*. In the current Kenyan market, where food inflation is a genuine concern, a single large, sweet papaya can fetch between KES 100 and KES 200 depending on the season and location.

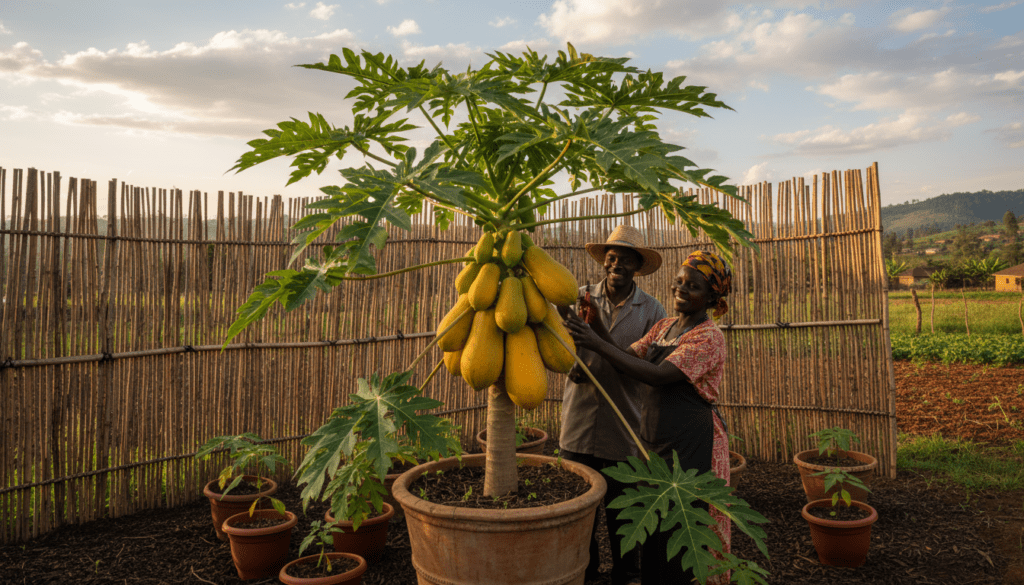
A well-maintained container tree, if fed correctly, can produce 30 to 50 fruits per season. This translates to significant household savings or a tidy profit margin, all generated from a few square feet of unused balcony space.

How to Grow Dwarf Papaya Trees in Containers for Massive Harvests in Kenya
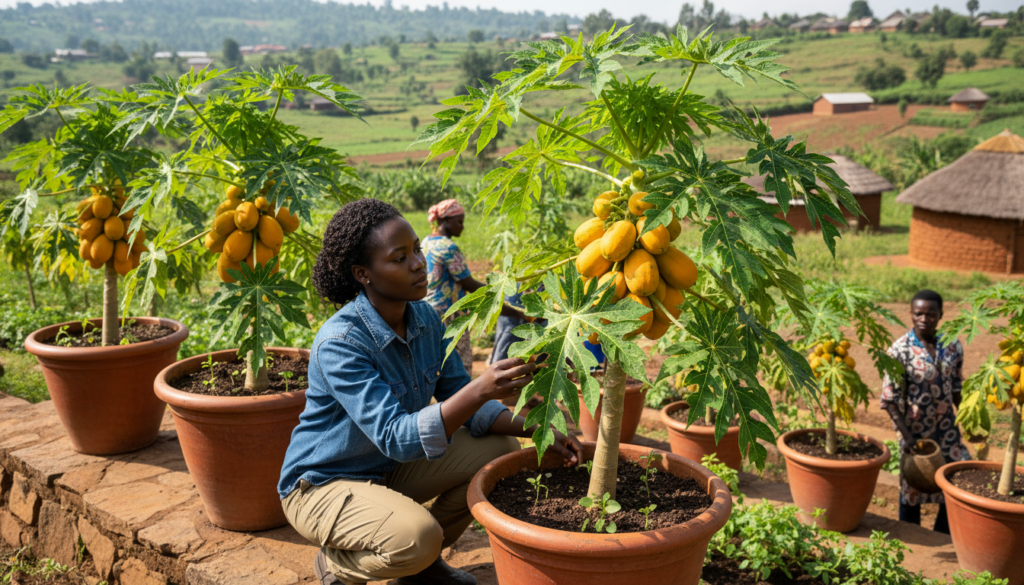
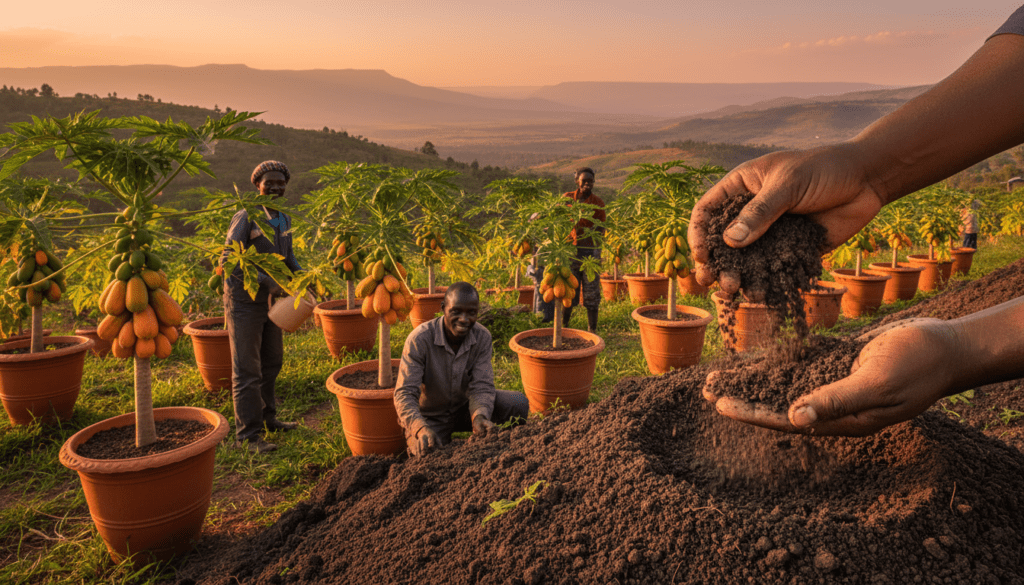
Papaya Growing in pots

However, achieving these massive yields in a container is not accidental; it requires a deep understanding of the specific physiological needs of the *Carica papaya* plant when its root system is confined. The “container environment” presents unique challenges regarding moisture retention, temperature fluctuation, and nutrient availability that differ vastly from open-field farming in places like Meru or Machakos.

In the open ground, roots can travel meters to find water; in a container, the plant is entirely dependent on you. If you miss a watering cycle during the dry January heat, the plant suffers immediately. Therefore, mastering the soil mix and irrigation schedule is the difference between a yellowing, stunted plant and a lush, fruit-bearing tree.

How to Grow Dwarf Papaya Trees in Containers for Massive Harvests in Kenya
Papaya Growing in pots

Step 1: Selecting the Perfect Container

The size and material of your container are the first determinants of your papaya’s potential size, health, and lifespan. A papaya tree, even a dwarf hybrid, is a heavy feeder with a rigorous fibrous root system that demands significant volume to anchor the plant and forage for nutrients.

Many beginners make the fatal mistake of using standard 10 or 20-liter flower pots commonly sold along Ngong Road or highway nurseries. These are far too small. The roots will hit the walls of the pot within three months, become “root-bound,” and the plant will stunt, refusing to flower or fruit.

How to Grow Dwarf Papaya Trees in Containers for Massive Harvests in Kenya
Papaya Growing in blue tank and pot

You need a container with a volume of at least 60 to 100 liters to guarantee a full harvest. The most cost-effective and durable solution for many Kenyan farmers is recycling blue plastic industrial drums. These drums are ubiquitous in industrial areas and hardware stores. Cutting a standard 200-liter drum in half horizontally provides two excellent 100-liter pots.

Plastic is preferred over clay (terracotta) for papaya because clay is porous and wicks moisture away from the soil too fast in the hot African sun, whereas plastic retains moisture, which papaya roots crave.

How to Grow Dwarf Papaya Trees in Containers for Massive Harvests in Kenya
Papaya Growing in blue tanks

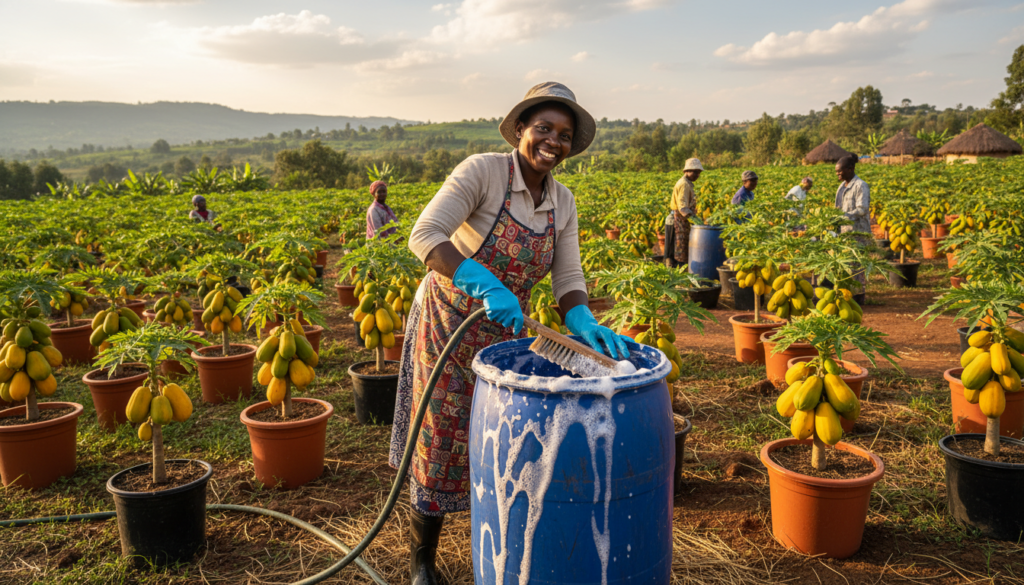
Safety is paramount when repurposing industrial containers. If you are buying used drums, you must ensure they are thoroughly washed and decontaminated. Ideally, source drums that were used for food products (like glucose, juice concentrate, or cooking oil) or mild detergents, rather than heavy industrial chemicals or petroleum products. Scrub the interior with soapy water and bleach, and let them sit in the sun for two days. This ensures that no toxic residue leaches into the soil and enters the fruit you intend to eat.

How to Grow Dwarf Papaya Trees in Containers for Massive Harvests in Kenya
woman washing tank

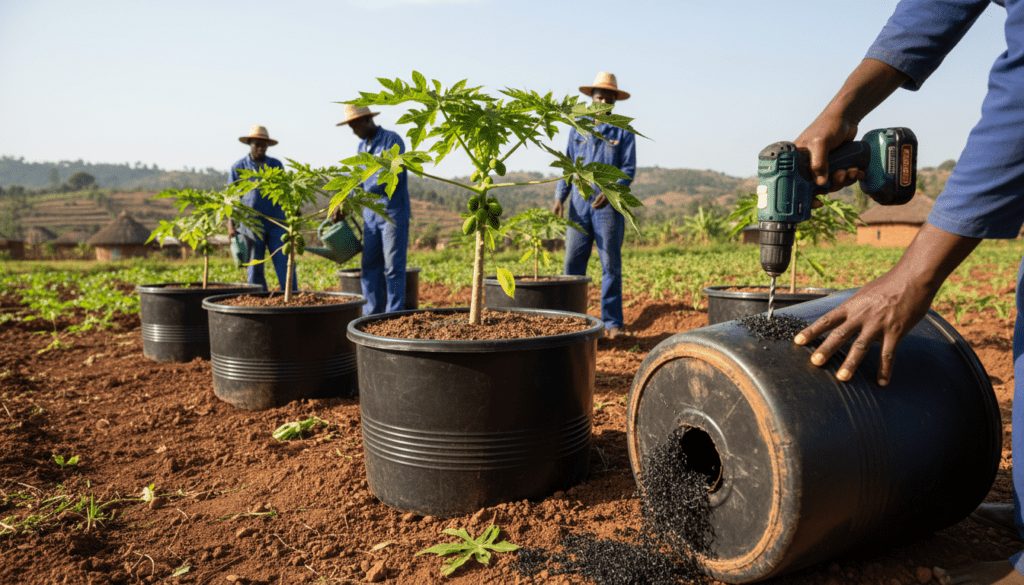
Drainage is the single most critical technical aspect of container preparation because papaya roots are notoriously susceptible to “wet feet” or root rot (Phytophthora). Unlike rice or arrowroots, papaya roots need oxygen as much as they need water. If water sits at the bottom of the drum for even 48 hours, the roots will rot, turning mushy and black, and the tree will die. You must drill or cut at least 8 to 10 holes, each about the size of a shilling coin, at the bottom and the lower sides of the container.

How to Grow Dwarf Papaya Trees in Containers for Massive Harvests in Kenya
Preparing containers for papaya trees.

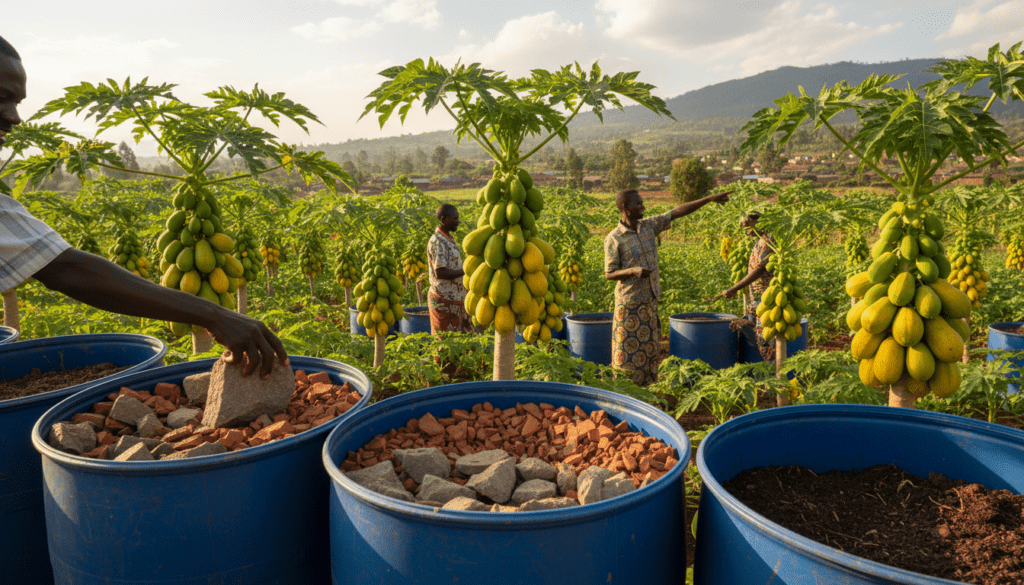
Once the holes are drilled, do not just dump soil in. You must create a “drainage layer.” Place a 2-inch layer of large gravel, broken clay pot pieces (crocks), or medium-sized stones at the very bottom of the drum. This physical barrier ensures that even if the soil compacts over time, the drainage holes will not get clogged with mud. During the heavy long rains in April, this layer allows excess water to escape freely, saving your plant from drowning.

How to Grow Dwarf Papaya Trees in Containers for Massive Harvests in Kenya
Papaya Farm

Finally, consider the placement mechanics. Never place your container directly on flat concrete or tiles without elevating it slightly. If the drainage holes are flush with the ground, a vacuum seal can form, preventing water from draining out, or the water can pool around the base, damaging your patio. Place the drum on three or four bricks or a custom metal stand. This airflow under the pot also helps “air-prune” the roots at the bottom, preventing them from circling endlessly and keeping the root system healthy.

How to Grow Dwarf Papaya Trees in Containers for Massive Harvests in Kenya
Papaya Growing In containers

Step 2: The “Magic” Soil Mix for Kenyan Climate

Garden soil alone is the enemy of container gardening. If you dig up red soil from a shamba and put it in a pot, it will compact into a concrete-like brick after a few waterings. This suffocation prevents roots from expanding and accessing nutrients. For dwarf papayas, you need a potting mix that is friable (crumbly), nutrient-dense, and exceptionally free-draining. The goal is to mimic the forest floor—rich in organic matter but loose enough for water to pass through instantly.

How to Grow Dwarf Papaya Trees in Containers for Massive Harvests in Kenya
Hands holding black rich soil

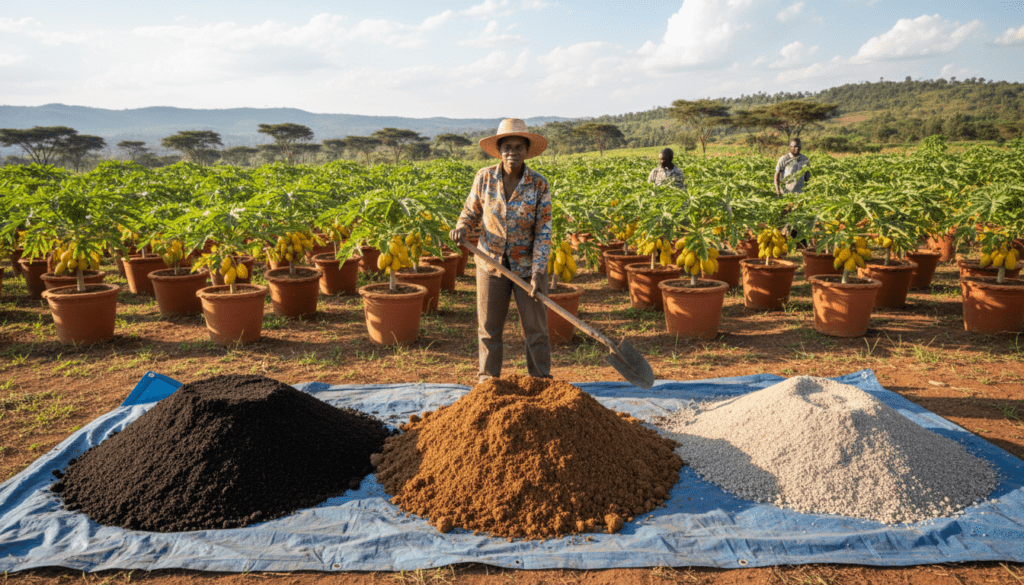
The ideal formula for the Kenyan climate—balancing moisture retention for the dry season and drainage for the wet season—is a 2:1:1 ratio. This translates to 2 parts Topsoil (preferably loamy forest soil or garden center soil), 1 part well-decomposed Manure (cow or goat manure is superior to chicken manure for bulk volume), and 1 part Coarse Sand (river sand). Do not use ocean sand from the coast as it contains salt, which kills plants. The sand is the structural component that ensures drainage.

How to Grow Dwarf Papaya Trees in Containers for Massive Harvests in Kenya
papayas soil mix

To supercharge this mix and ensure your tree has food for the first few crucial months, you should add amendments. Mix in a handful of Bone Meal per pot. Bone meal is rich in phosphorus, which is essential for strong root development in the early stages. Additionally, add Neem Cake powder. Neem cake is an organic fertilizer that also acts as a systemic pesticide, protecting the young roots from soil-borne nematodes, which are a common plague in many agricultural soils across Kenya.

How to Grow Dwarf Papaya Trees in Containers for Massive Harvests in Kenya
Papaya Growing in pots

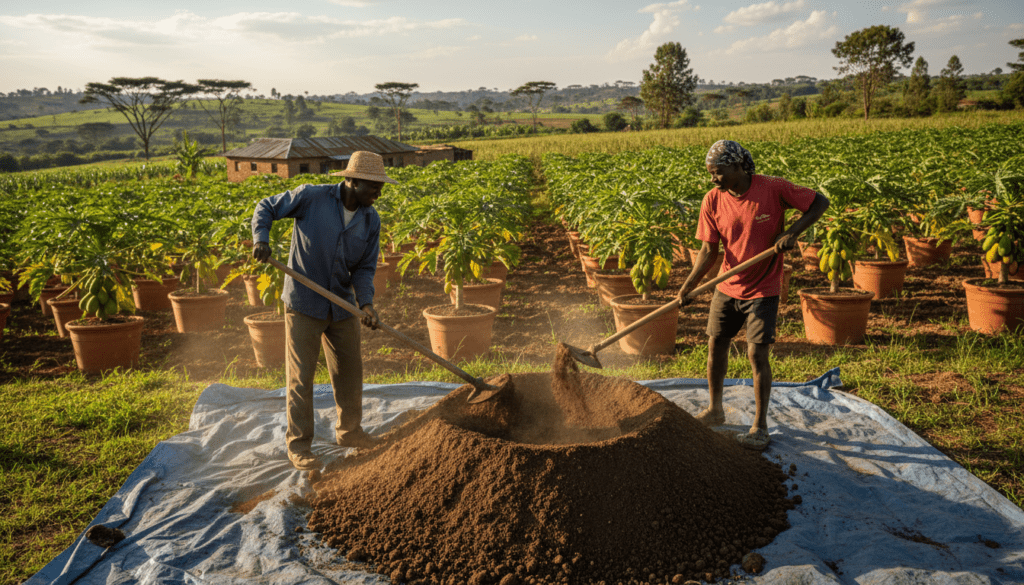
Mixing is a physical process that requires attention. You must blend the topsoil, manure, and sand thoroughly until the color is uniform. If you leave pockets of pure manure, it might burn the roots; pockets of pure sand will hold no water. Use a shovel to turn the pile over multiple times. If the mixture feels too dry and dusty, sprinkle it with water as you mix to bind the dust and start the microbial activity in the manure.

How to Grow Dwarf Papaya Trees in Containers for Massive Harvests in Kenya
Mixing soil for planting papaya

Once the mix is ready, fill your container but—and this is crucial—do not fill it to the brim. Leave about 4 to 6 inches of space from the rim. This space is known as “headspace.” It is essential for holding water during irrigation so it can soak down slowly rather than spilling over the sides immediately. It also allows space for you to add more compost or mulch later as the soil level naturally sinks over time.

How to Grow Dwarf Papaya Trees in Containers for Massive Harvests in Kenya
Papaya seeds packet

Before you even think about planting, you must “water in” the pot. Water the soil in the drum thoroughly until water runs out of the bottom holes. This serves two purposes: first, it settles the soil and eliminates large air pockets that could dry out roots. Second, it flushes out any excess salts or acidity from the manure. Let the pot sit for a day or two after this initial watering before planting your seedling.

How to Grow Dwarf Papaya Trees in Containers for Massive Harvests in Kenya
Watering papaya trees

Step 3: Sourcing and Sowing Seeds

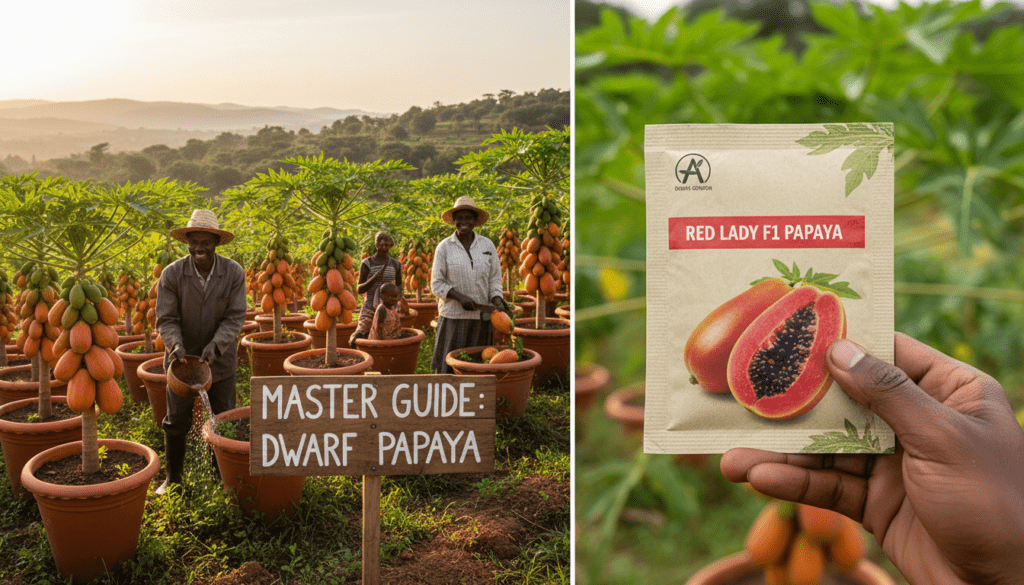
The genetic quality of your seed determines 80% of your success. You cannot cheat this step. In Kenya, the most popular, tested, and reliable dwarf variety is the Red Lady F1 Hybrid. This variety is an agricultural marvel: it is early maturing (producing fruit in 7-8 months), highly resistant to the Papaya Ring Spot Virus (a major destroyer of papaya in East Africa), and most importantly, it is a productive hermaphrodite. Other excellent varieties available in the Kenyan market include Sinta F1 and Calina IPB9.

image 77
Packet of papaya seedlings

Trusted Papaya Seed Suppliers in Kenya

You should only buy seeds from certified companies. This ensures you get high germination rates and the specific qualities promised by the hybrid variety.

Here are the reliable suppliers for commercial papaya farming:

  • Simlaw Seeds: This is an official distributor for the Red Lady F1 papaya. This variety is popular for its high yields and large, sweet fruit.
  • Syngenta Kenya: They supply premium hybrid seeds that are bred to resist common pests and diseases. Use these if you are farming for export or large-scale commercial markets.
  • iShamba Platform: This is a mobile service that connects you directly to verified local agrovets. It is very useful if you live far from big towns.
  • Continental Seeds: They focus on seeds that grow well in East African weather. These seeds are a good choice for medium or low rainfall regions.

Papaya Seed Pricing and Quality

Be prepared to pay a premium for hybrid seeds because they produce a much higher return on your investment.

  • Cost: A 10g packet of F1 hybrid seeds, which contains roughly 50 to 70 seeds, typically costs between KES 800 and KES 1,500.
  • Germination: You should expect a 85 to 95 percent success rate with these genuine seeds.

Important Warning: Never send money to unverified social media accounts. Always check the official website of the company. When buying from a local shop, always ask to see the seed certification and keep your receipt in case the seeds fail to sprout.

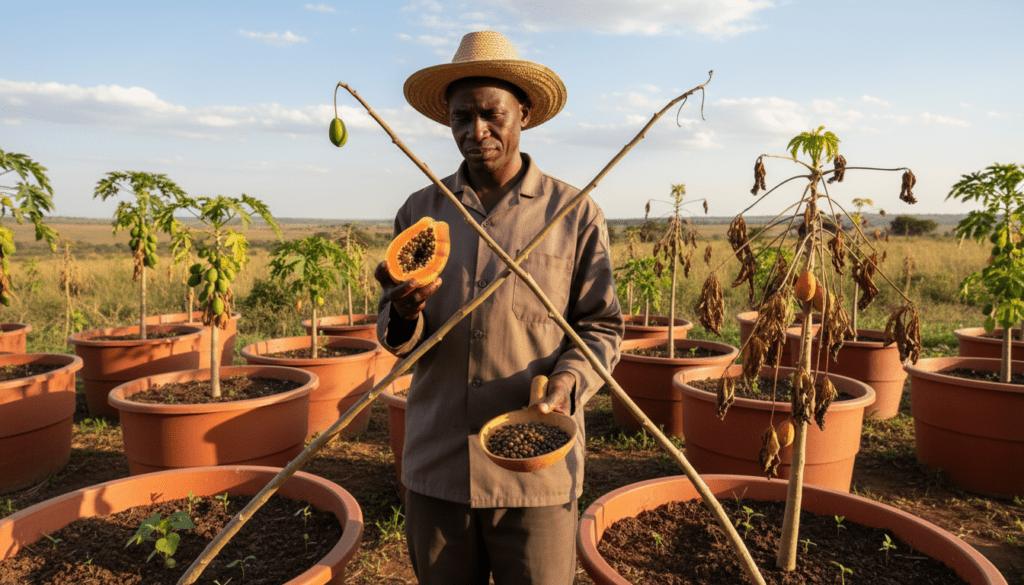
Do not under any circumstances use seeds from a papaya you bought at the supermarket or *soko*. Supermarket papayas are usually F1 hybrids themselves. If you plant their seeds (the F2 generation), the offspring will be genetically unstable. You will likely end up with tall, male trees that bear no fruit, or trees with tiny, unsweet fruits.

You will have wasted 8 months of water and effort on a tree that gives you nothing. Invest the KES 800 – 1,500 for a certified seed packet; it pays for itself with the first two fruits harvested.

How to Grow Dwarf Papaya Trees in Containers for Massive Harvests in Kenya
Farmer holding papaya seedlings

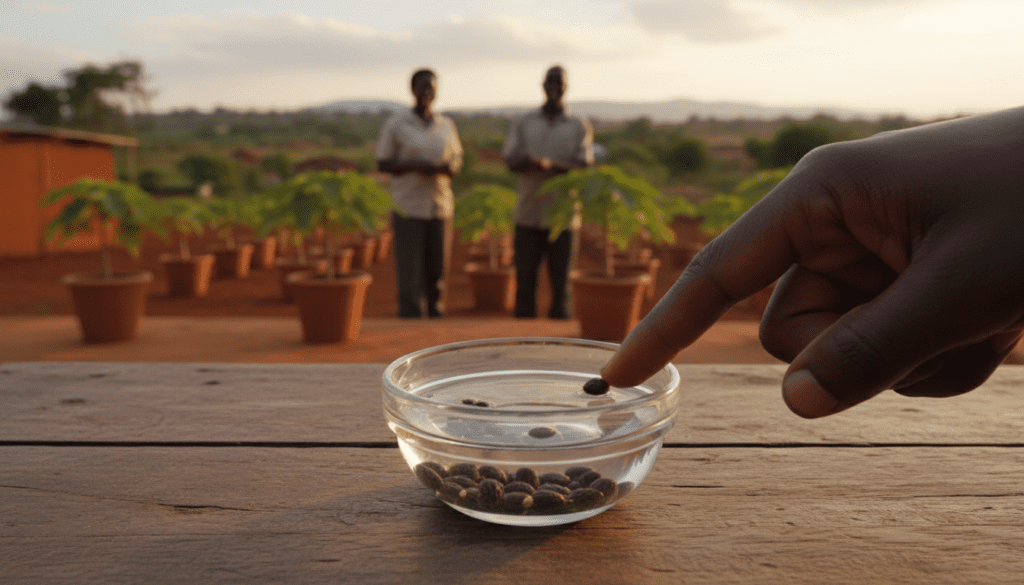
To maximize germination, treat your seeds like royalty. Papaya seeds have a hard, dark coating that can delay sprouting. Soak your seeds in lukewarm water for 24 hours before planting. This softens the shell. For even better results, you can add a pinch of fungicide or even a drop of hydrogen peroxide to the water to kill any surface mold. If any seeds float after 24 hours, discard them—they are likely empty and will not grow.

How to Grow Dwarf Papaya Trees in Containers for Massive Harvests in Kenya
Papaya Soaked seeds

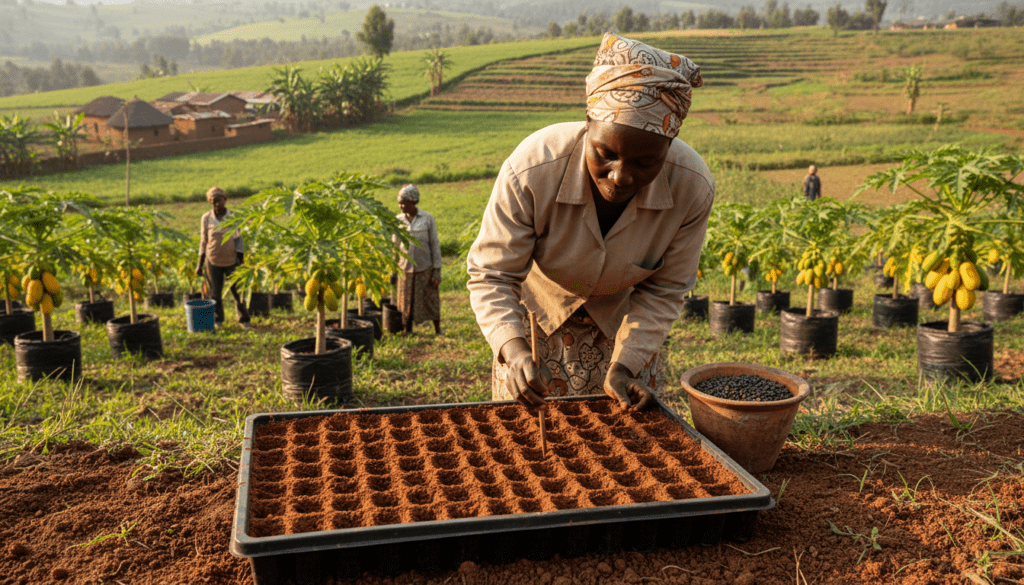
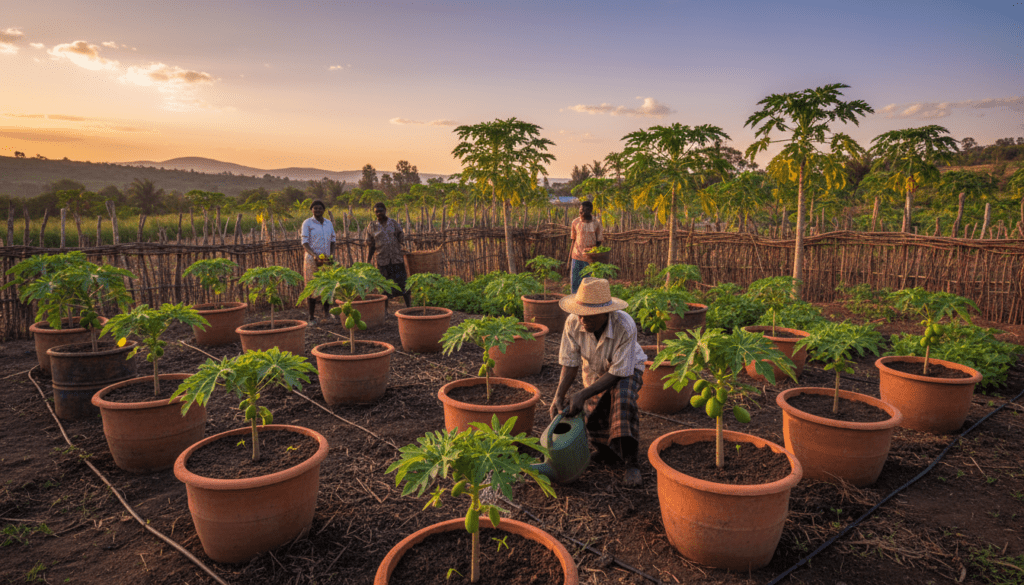
It is highly recommended to start your seeds in a nursery setup rather than sowing directly into the large 100-liter drum. A small environment allows you to control humidity and temperature better. Use a plastic seedling tray or small polythene planting bags (4×6 inches). Fill them with a light starting mix—Cocopeat (coconut fiber dust) is excellent and widely available in Kenya. It is sterile and holds moisture perfectly. Sow 2 seeds per bag at a depth of roughly 1 centimeter.

How to Grow Dwarf Papaya Trees in Containers for Massive Harvests in Kenya
Farmer planting papaya seeds

Placement of your nursery is key. Keep the trays or bags in a warm area that receives bright but indirect light. Direct midday sun will cook the seeds in the black plastic. In the Kenyan climate, germination should occur within 2 to 3 weeks. You will first see a tiny white loop emerging, which will straighten into a stem with two embryonic leaves (cotyledons). Keep the soil consistently moist, like a squeezed-out sponge but not dripping wet.

How to Grow Dwarf Papaya Trees in Containers for Massive Harvests in Kenya
Papaya seedling growing in pots

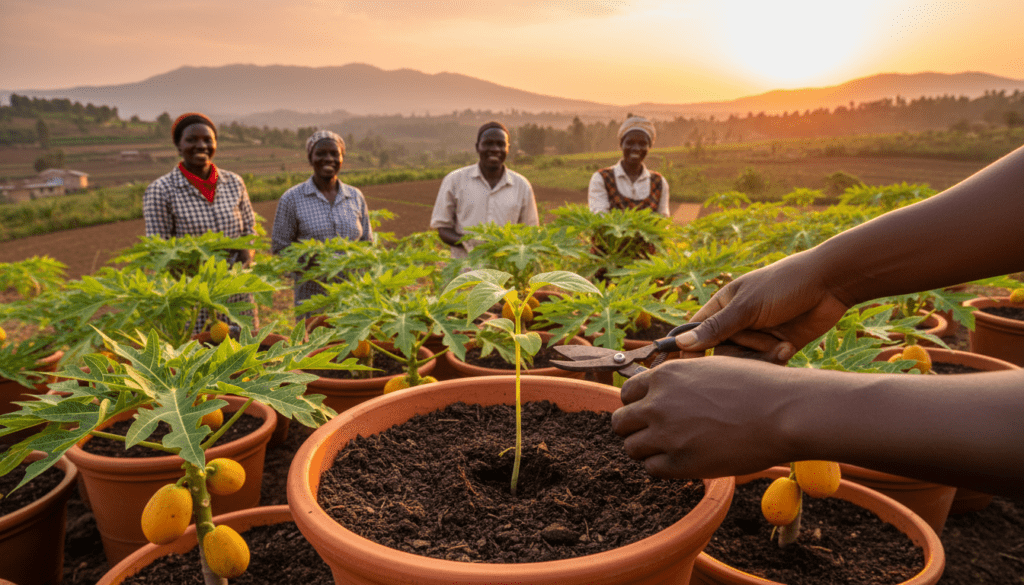
Once the seedlings reach about 15cm tall (roughly 6 weeks old) and have several sets of “true leaves” (leaves that look like papaya leaves), they are ready for selection. If both seeds in your bag germinated, you must be ruthless. Choose the strongest, thickest, and shortest seedling. Snipping off the weaker one ensures the survivor gets all the resources. Do not pull the weak one out, as this might damage the roots of the winner; simply cut it at the soil line with scissors.
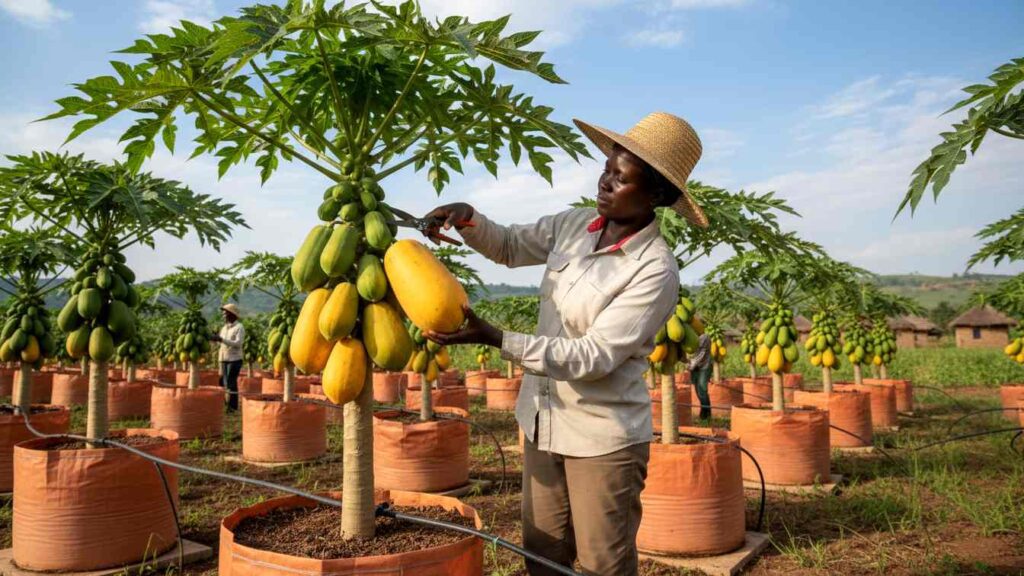
image 72
Planting papaya in pots

Step 4: Transplanting and Location

Transplanting is a surgical procedure for plants. Papayas are notoriously sensitive to root disturbance. If the root ball breaks or crumbles during the move, the plant may go into “transplant shock,” halting growth for weeks or even dying. To transplant safely, water your seedling thoroughly one hour before moving it. This binds the soil together, keeping the root ball intact.

How to Grow Dwarf Papaya Trees in Containers for Massive Harvests in Kenya
Watering papaya in containers

Dig a hole in the center of your large container that is slightly larger and deeper than the root ball of the seedling. The depth is critical. You must plant the seedling at the exact same depth it was growing in the nursery bag. If you bury the stem deeper, the moisture in the soil will rot the soft stem (collar rot). If you plant it too shallow, the upper roots will be exposed to the hot sun and dry out.

How to Grow Dwarf Papaya Trees in Containers for Massive Harvests in Kenya
papaya growing in pots

The actual move requires gentle hands. Cut the plastic nursery bag down the side with a razor blade or knife. Gently peel the plastic away rather than trying to shake the plant out. Support the bottom of the root ball with your hand and lower it into the hole in the drum. Backfill with your soil mix and gently press down with your fingers to remove air pockets. Do not stomp or press too hard, as this compacts the soil.

How to Grow Dwarf Papaya Trees in Containers for Massive Harvests in Kenya
Soil Mixing For papaya

Timing is everything in Kenya. Perform this transplanting operation in the late afternoon, ideally after 4:00 PM or on a cloudy day. By transplanting when the sun is going down, you give the plant 12 hours of cool darkness to recover and establish water connections before it has to face the intense heat of the next day. Immediately after planting, water the area around the stem gently.

How to Grow Dwarf Papaya Trees in Containers for Massive Harvests in Kenya
Dwarf papaya in pots

Positioning your container is the next vital step. Papayas are sun-worshipers. They are tropical plants that convert sunlight directly into sugar. They require 6 to 8 hours of direct sunlight daily. In Nairobi or the highlands, a north-facing wall is often ideal as it captures the most sun as it moves across the sky. If you put them in the shade, the tree will grow tall and spindly (etiolated) seeking light, and will produce little to no fruit.
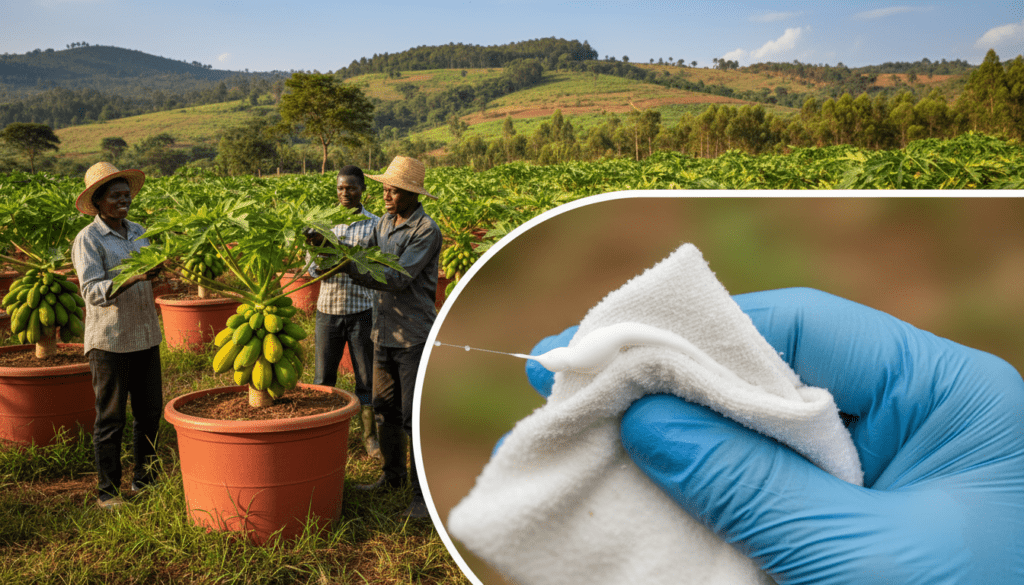
How to Grow Dwarf Papaya Trees in Containers for Massive Harvests in Kenya
Display of papaya growing

Wind is a hidden enemy. Papaya stems are hollow and succulent. While they can bend, strong gusts—common in areas like Kitengela, Rongai, or coastal beachfronts—can snap the tree or shred the large leaves. If you are in a windy area, place the container near a wall or windbreak. Additionally, because the fruit load is heavy, a strong wind can blow a top-heavy container over. Ensure your container is stable on its brick base.
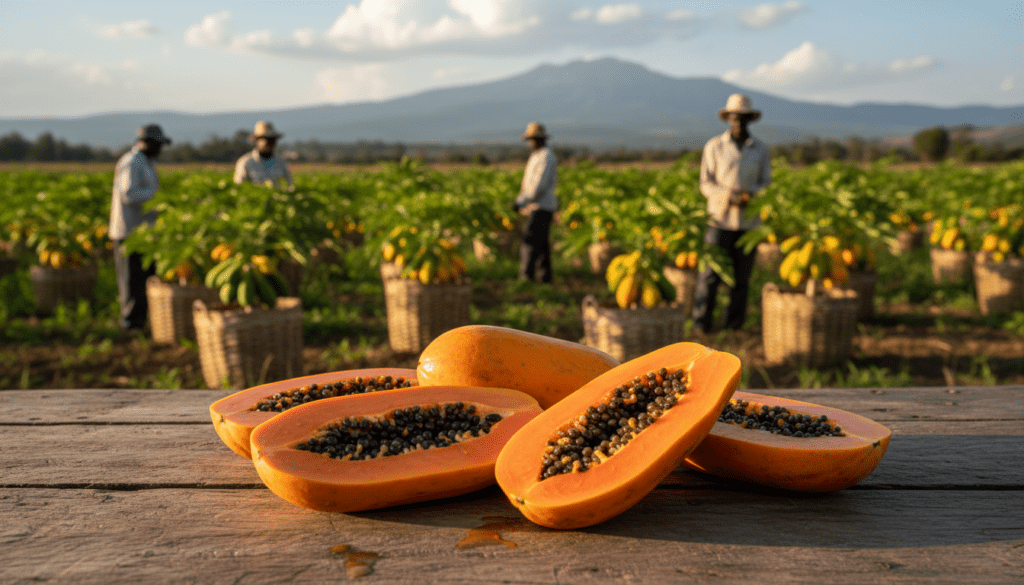
image 80
farmers inspecting Papaya

Step 5: Fertilization and Water Management

Papayas are thirsty plants. Their large leaves have a high surface area for transpiration (water loss). In the hot months (January through March), you may need to water your container every single day. However, guessing is dangerous. The rule of thumb is the “Finger Test”: Stick your index finger into the soil up to the second knuckle (about 2 inches deep). If it feels dry, water immediately. If it feels damp or cool, wait.

How to Grow Dwarf Papaya Trees in Containers for Massive Harvests in Kenya
Papaya seedlings preparation

Mulching is not optional in Kenya; it is mandatory. The African sun hitting the side of a plastic drum can heat the soil to dangerous levels, cooking the roots. You must apply a thick layer (3-4 inches) of organic mulch on top of the soil. Use dry grass, sugarcane bagasse, or rice husks (common in Mwea). This blanket keeps the soil cool, prevents water from evaporating, and suppresses weeds. As it rots, it adds organic food to the soil.

How to Grow Dwarf Papaya Trees in Containers for Massive Harvests in Kenya
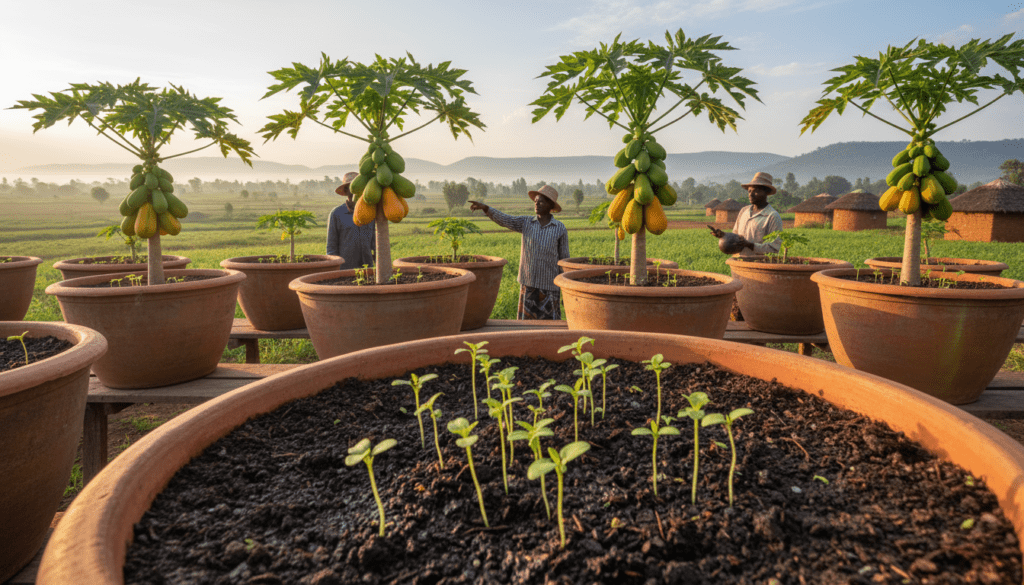
Many Dwarf Papaya Trees Growing in pots

When you water, technique matters. Always water at the base of the plant, directly onto the mulch or soil. Never shower the leaves. Wet leaves, especially in the evening, invite fungal diseases like Powdery Mildew and Anthracnose, which are prevalent during the cold, damp months of June and July (“Baridi” season). Keep the foliage dry to keep the plant healthy.

How to Grow Dwarf Papaya Trees in Containers for Massive Harvests in Kenya
Papaya farm

For massive harvests, you must follow a strict feeding schedule. A container plant cannot send roots out to find food; you must bring the food to it.**Vegetative Stage (Month 1-3):The plant needs Nitrogen to build its green factory (leaves and trunk). Apply a nitrogen-rich fertilizer like CAN (Calcium Ammonium Nitrate) or well-rotted chicken manure every 4 weeks.

A handful of manure or a tablespoon of CAN sufficient. Flowering/Fruiting Stage (Month 4 onwards): The needs shift. Too much nitrogen now will make leaves, not fruit. Switch to a high-potassium and phosphorus fertilizer. Use NPK 17:17:17 or Murate of Potash. Potassium is the “sweetener” for the fruit and helps the plant support the heavy load.

How to Grow Dwarf Papaya Trees in Containers for Massive Harvests in Kenya
Papaya Growing in pots, farmers mixing soil

Micronutrients are the secret weapon. Kenyan soils are often deficient in Boron and Zinc. Boron deficiency causes “bumpy” or deformed fruit (a condition where the papaya looks lumpy like a gourd).

Once a month, spray a foliar fertilizer rich in trace elements. Products like EasyGro or Osho foliar feeds are readily available in agro-vets. Spray this on the underside of leaves early in the morning for best absorption.

How to Grow Dwarf Papaya Trees in Containers for Massive Harvests in Kenya
papaya fruits growing in pots

Critical Warning: When applying granular chemical fertilizers, never place them directly against the stem. They are concentrated salts and will chemically burn the plant tissue, causing the stem to rot and snap. Sprinkle the fertilizer in a ring around the extreme edge of the container, as far from the stem as possible, then water it in immediately to dissolve it.

How to Grow Dwarf Papaya Trees in Containers for Massive Harvests in Kenya
Papaya Growing in buckets

Step 6: Pest and Disease Control

Container gardening reduces some pest risks, but not all. In the urban Kenyan environment, the biggest enemies are Spider Mites and Mealybugs.

Spider Mites: These are microscopic pests that thrive in dry, dusty weather. They look like moving red dust. They suck the chlorophyll from leaves, causing yellow stippling or a “sandblasted” look. If you see fine webbing between leaves, you have a severe infestation.

Mealybugs: These appear as white, cotton-like fluffy masses on the stem and under leaves. They suck sap and secrete a sticky “honeydew” that attracts ants and causes black sooty mold.

How to Grow Dwarf Papaya Trees in Containers for Massive Harvests in Kenya
Papaya pests

For organic control, which is best for home gardens, use a mixture of Neem Oil and soap. Mix 1 tablespoon of Neem Oil and 1 teaspoon of liquid dish soap (like sunlight liquid) in 1 liter of warm water. Shake vigorously. Spray the plant thoroughly, focusing heavily on the undersides of the leaves where these pests hide. Repeat this every 7 days. The soap breaks the pest’s shell, and the Neem disrupts their breeding.

How to Grow Dwarf Papaya Trees in Containers for Massive Harvests in Kenya
Papaya Growing in tanks

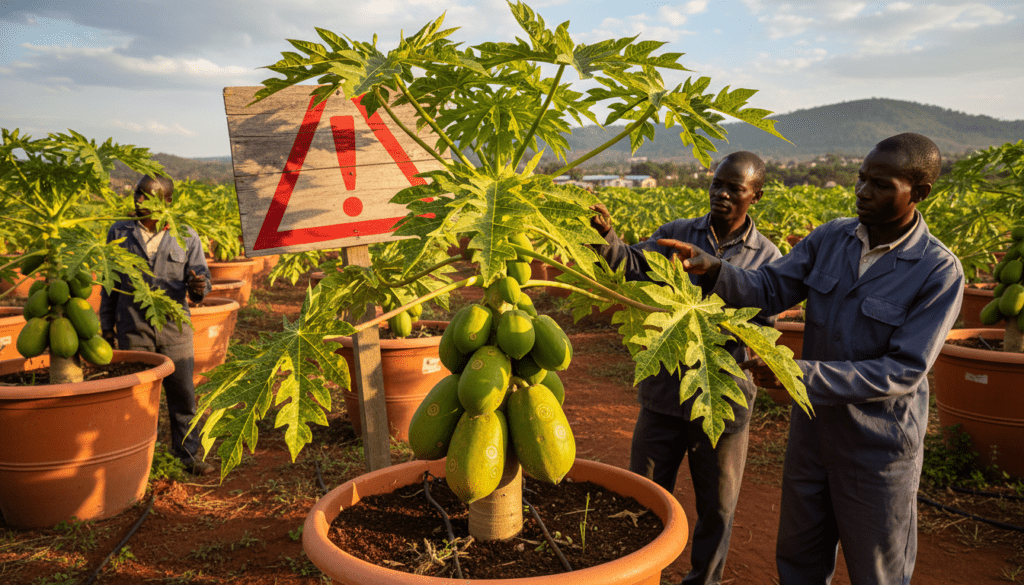
Viruses are the silent killers. The Papaya Ring Spot Virus (PRSV) is incurable. It is characterized by dark green “oil spots” or rings on the fruit, and yellow mosaic patterns on distorted leaves. If you see a tree with these symptoms, you must be brave: uproot it and burn it or bag it for trash immediately. Do not compost it. If you leave it, aphids will carry the virus to your healthy trees. Growing resistant varieties like Red Lady F1 is your best defense.

How to Grow Dwarf Papaya Trees in Containers for Massive Harvests in Kenya
papaya fruits trees looking healthy

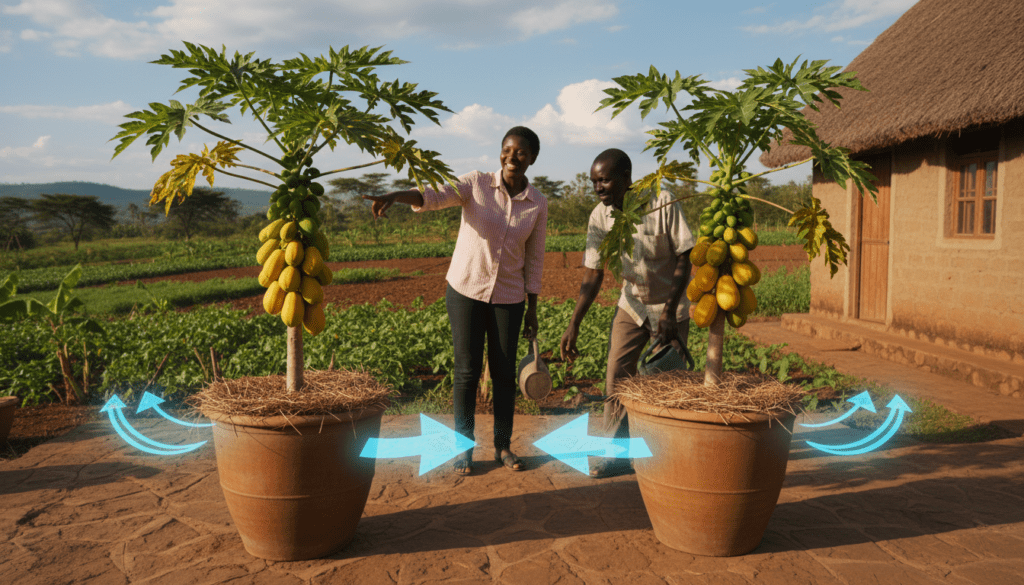
Fungal issues like Anthracnose cause sunken, water-soaked spots on the fruit that turn black and mushy as the fruit ripens. This is common during the rains. To prevent this, ensure good airflow around your containers. Do not crowd the pots together; leave at least 1 meter between drums. If you spot affected fruits or leaves, prune them off immediately with sterilized shears and bury them far away from the garden.

image 65
papaya container spacing

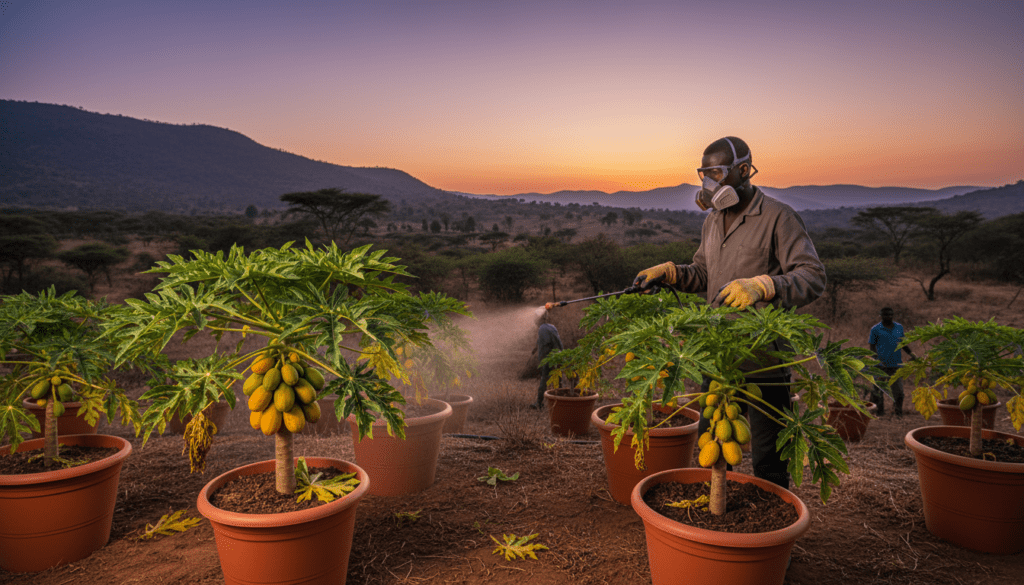
Critical Warning: Avoid spraying pesticides even organic ones, when the flowers are open and bees are active. Although dwarf hybrids are self-pollinating, bees and other insects assist significantly in increasing the fruit set and quality. Spray in the late evening (dusk) when bees have returned to their hives.

How to Grow Dwarf Papaya Trees in Containers for Massive Harvests in Kenya
spray papaya in the late evening

Step 7: Harvesting the Massive Yield

Patience is a virtue in farming. Dwarf papayas usually start flowering 4 to 5 months after transplanting. You will see small buds forming in the axils (where the leaf meets the stem). From flower to ripe fruit takes another 4 to 5 months. So, expect your first harvest roughly 8 to 9 months from seed. It is a long wait, but the yield is continuous once it starts.

How to Grow Dwarf Papaya Trees in Containers for Massive Harvests in Kenya
sweet looking papaya in pots

The sign of maturity is a change in skin color. Do not harvest the fruit when it is solid dark green; it will be rubbery and tasteless. For the local market or home consumption, wait until the fruit skin changes from dark green to having yellow streaks running from the bottom upwards. This is called the “color break” stage (about 25-50% yellow). At this stage, the fruit has developed its full sugar content but is still firm enough to handle without bruising.

How to Grow Dwarf Papaya Trees in Containers for Massive Harvests in Kenya
Harvesting papaya

To harvest, hygiene and technique are important. Twist the fruit gently to snap it off the stem. If it resists, do not pull hard, or you might damage the main trunk or knock off the small, unripe fruits growing directly above it. Use a sharp knife or sanitized pruning shears to cut the peduncle (fruit stem) cleanly.

How to Grow Dwarf Papaya Trees in Containers for Massive Harvests in Kenya
Harvesting papaya using sharp knife

Critical Warning: When you cut the fruit, a white milky sap (latex) will ooze from the stem. This latex contains papain, an enzyme that digests protein. It can be very irritating to the skin and dangerous if it gets in your eyes. Always wear long sleeves or wash your hands immediately after harvesting. If latex gets on the fruit skin, wipe it off, as it can burn the skin of the fruit and leave ugly brown marks.

How to Grow Dwarf Papaya Trees in Containers for Massive Harvests in Kenya
Papaya latex

After harvesting, store the papayas at room temperature on a kitchen counter or in a crate cushioned with newspaper to finish ripening. Do not refrigerate them until they are fully ripe (soft to the touch and fully orange/yellow). Cold temperatures stop the ripening process permanently. A healthy dwarf tree in a container can produce fruit continuously for 2 to 3 years if well fed. However, after the third year, yields usually drop, and the tree may get too tall. It is best to start new seedlings when your current trees are 2 years old to ensure a continuous supply.

How to Grow Dwarf Papaya Trees in Containers for Massive Harvests in Kenya
Ripe papaya fruits cut

Where to Buy Papaya Seeds Online in Kenya

Buying genuine F1 hybrid papaya seeds is critical. Avoid unbranded seeds sold in open markets. They are often mixed or fake and lead to losses.

Can I grow papaya from the seeds of the fruit I ate?

No. Fruits from supermarkets are often hybrids. If you plant their seeds, the offspring will vary wildly most will be male (non-fruiting) or very tall with poor fruit quality. Always buy Certified F1 seeds for containers.

How many years does a dwarf papaya tree live?

A papaya tree can live for 5-10 years, but for farming purposes, it is economically viable for only 3 years.

My papaya tree has flowers but they are falling off. Why?

This is called “flower drop.” It is a stress response. Common causes include extreme temperature fluctuations, irregular watering (letting the soil get bone dry then flooding it), or a lack of Boron.

How much space do I need for one pot?

You need about 1.5 to 2 square meters per pot. This allows sunlight to reach the lower leaves and gives you enough space to walk around the plant to check for pests and harvest fruit without damaging the leaves.

What is the best season to plant papaya in Kenya?

You can plant year-round in containers if you have a reliable water source. However, planting roughly a month before the long rains (March) or short rains (October) helps the young seedlings establish with higher humidity and natural soft rain, reducing your workload.

Can I use 100% manure in the pot?

NO! Pure manure is too strong and will burn the roots (ammonia burn). It also holds too much water, leading to rot. Always stick to the 2:1:1 ratio (Soil:Manure:Sand) to dilute the manure to safe levels.

0

Search for products

Back to Top
Toggle Dark Mode
Product has been added to your cart
Enable Notifications OK No thanks