2026 farming guides and tips now live – read, learn, and grow more profit this season.
How to Start Bulb Onion Farming in Kenya: Complete 2026 Guide, Costs & Profit Per Acre

How to Start Bulb Onion Farming in Kenya: Complete 2026 Guide, Costs & Profit Per Acre

Bulb onion farming is one of the most lucrative agribusiness ventures in Kenya today. The demand for onions in major cities like Nairobi, Mombasa, and Kisumu remains consistently high throughout the year. Despite this demand, Kenya still imports a significant percentage of its onions from neighboring Tanzania to meet local consumption needs. This gap in supply presents a massive opportunity for local farmers to step in and make substantial profits.

Bulb Onion Farming in Kenya
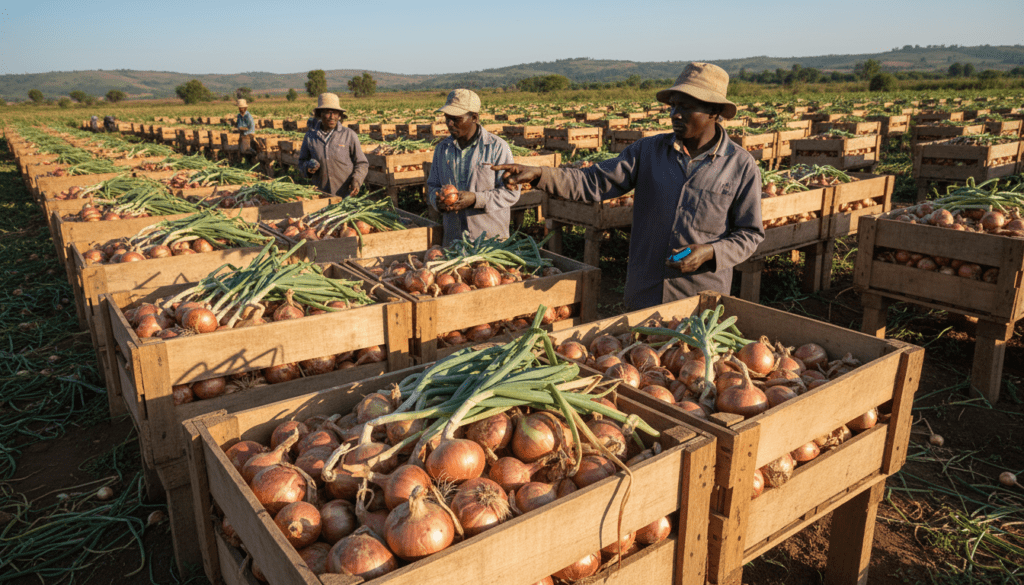
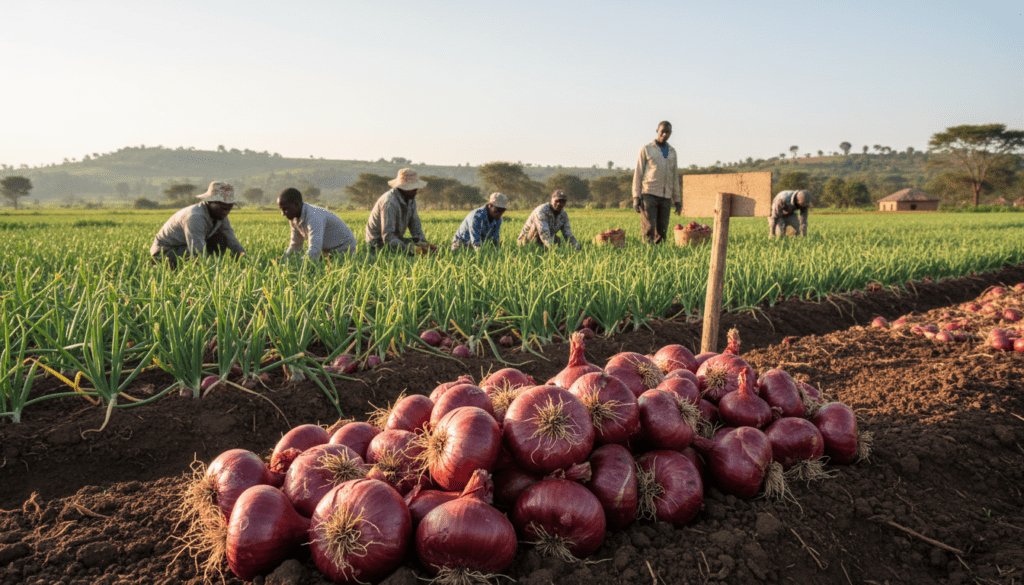
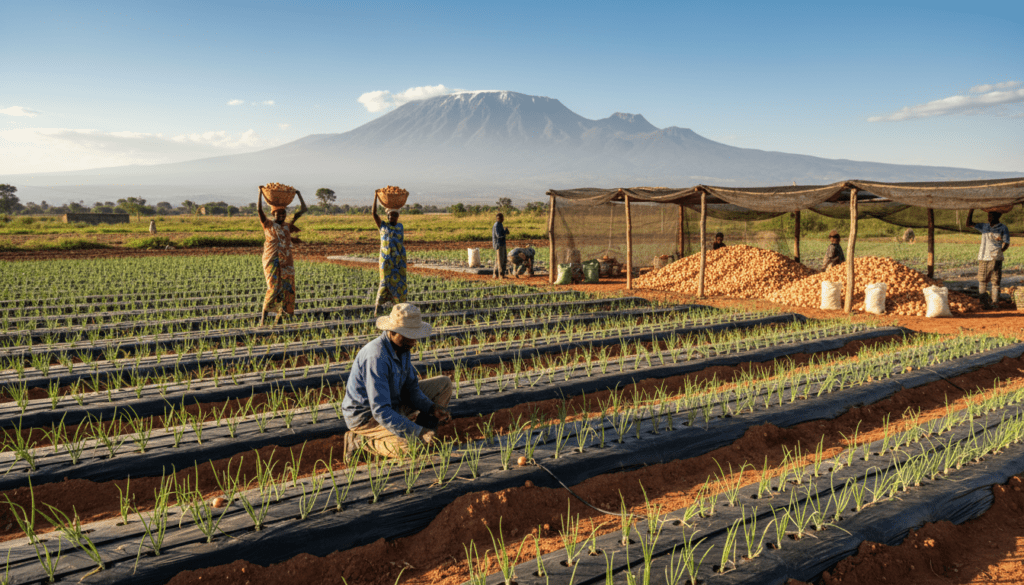
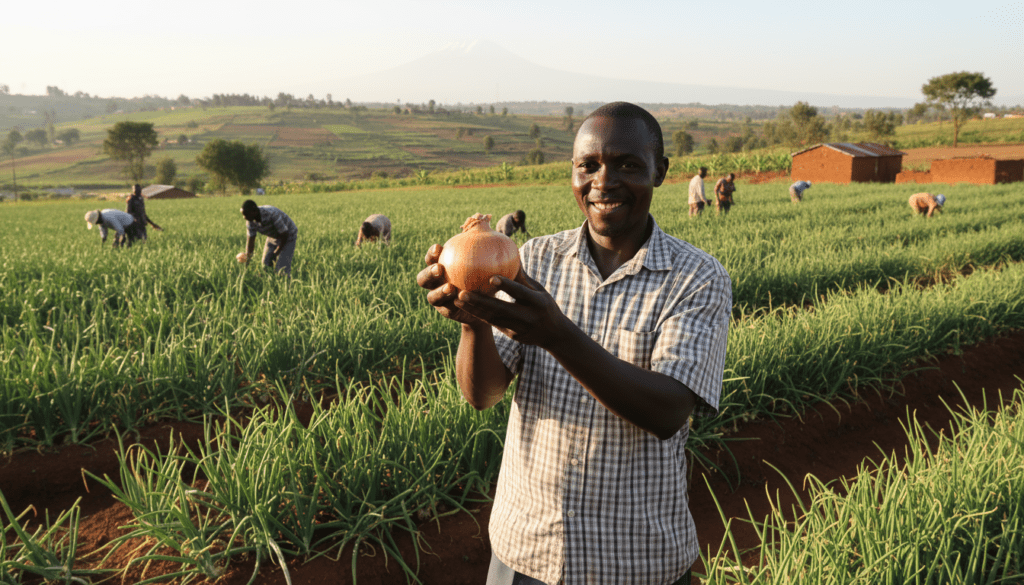
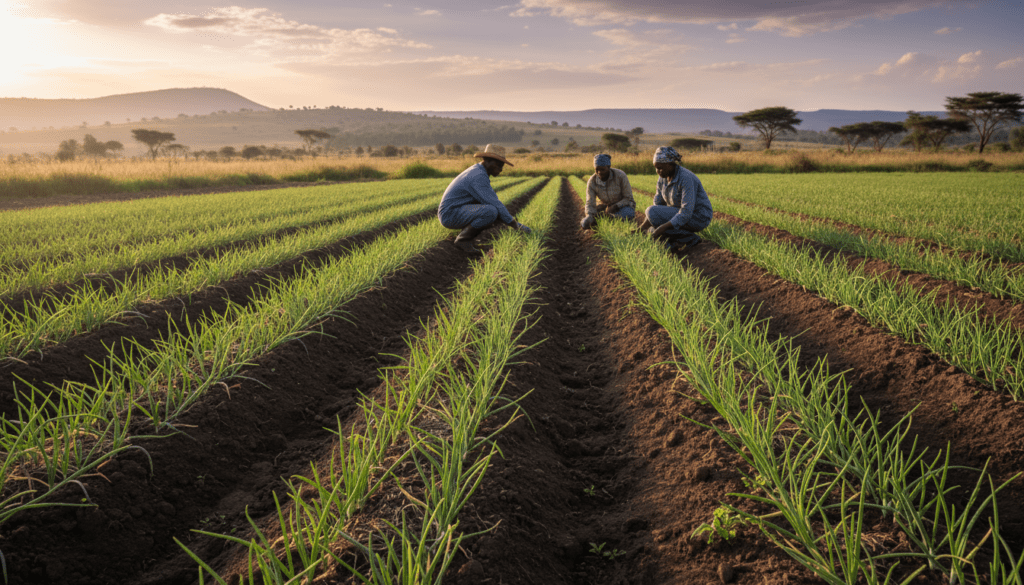
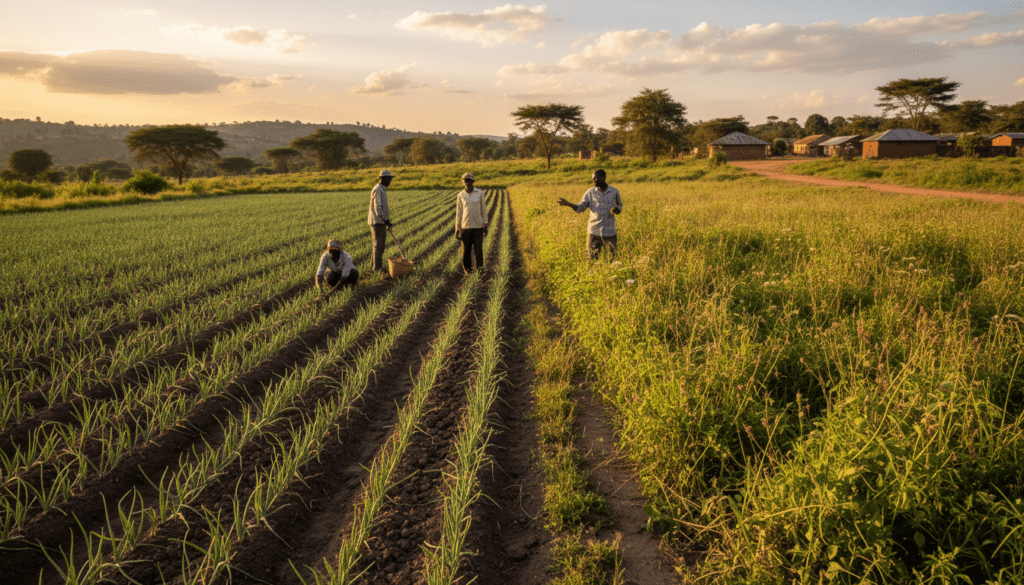
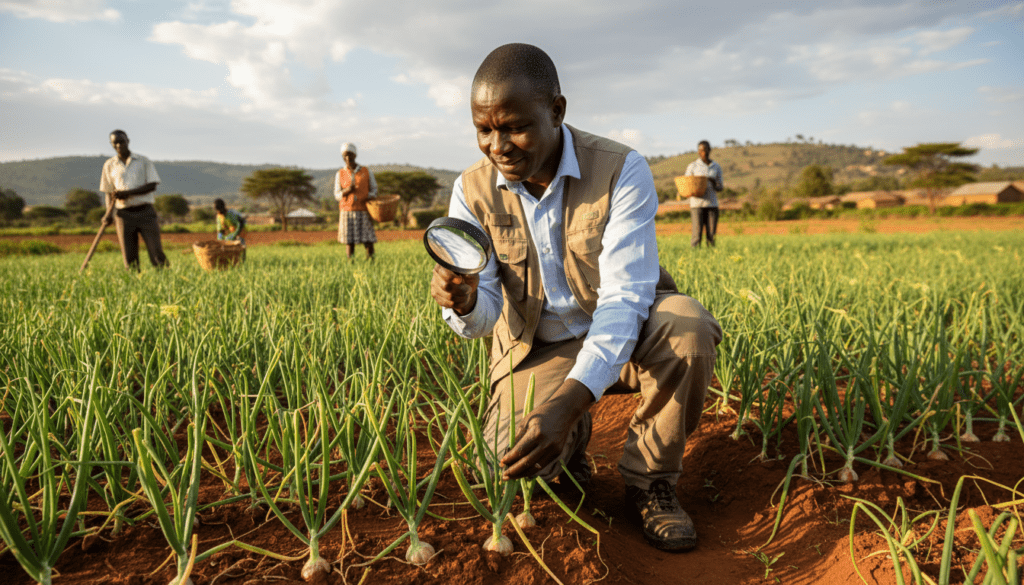
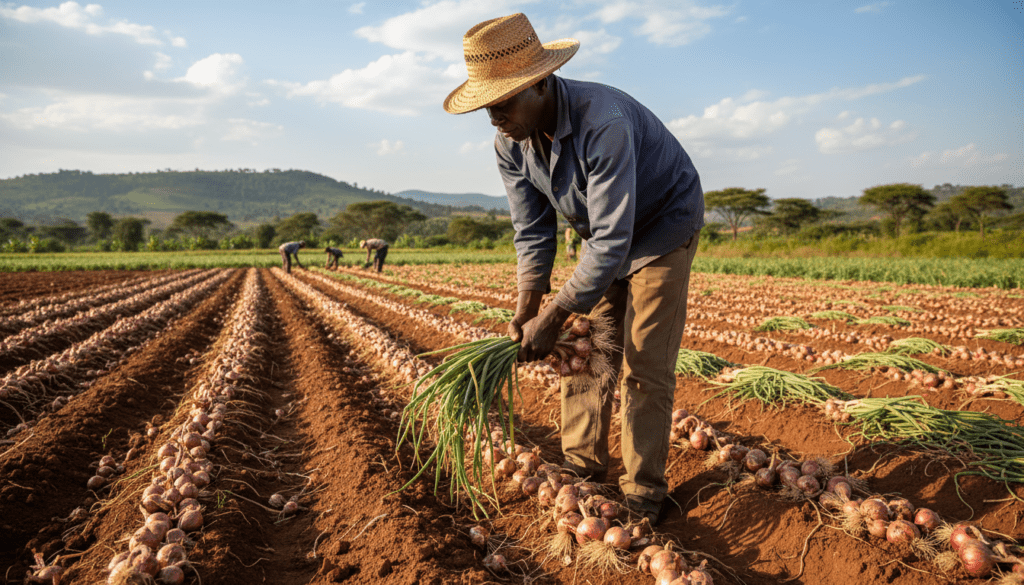
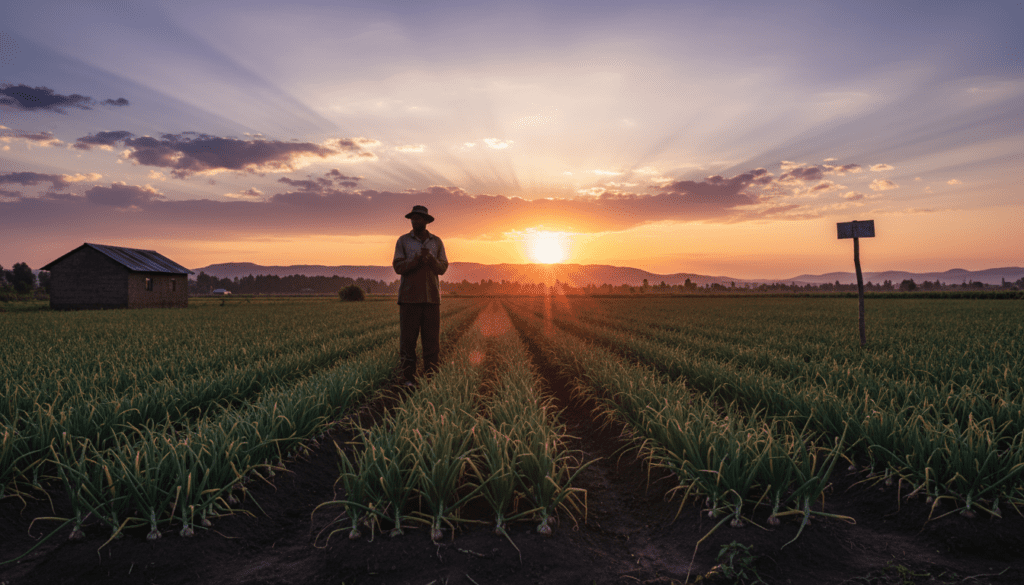
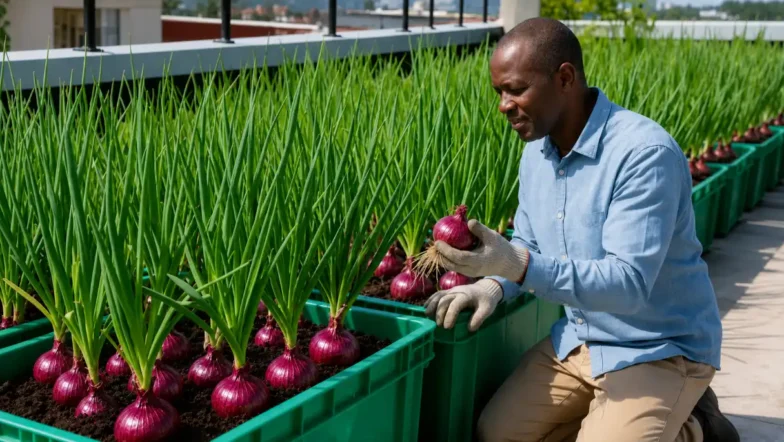
 Successful bulb onion farming field in Kenya with a farmer inspecting the crop.

The journey to successful onion farming requires more than just planting seeds in the ground. It demands a clear understanding of ecological requirements, proper variety selection, and strict adherence to crop management practices. Farmers who ignore the technical aspects often face lower yields or poor bulb quality that the market rejects. This guide provides a comprehensive roadmap for beginners looking to start commercial onion farming in 2026.

image 31
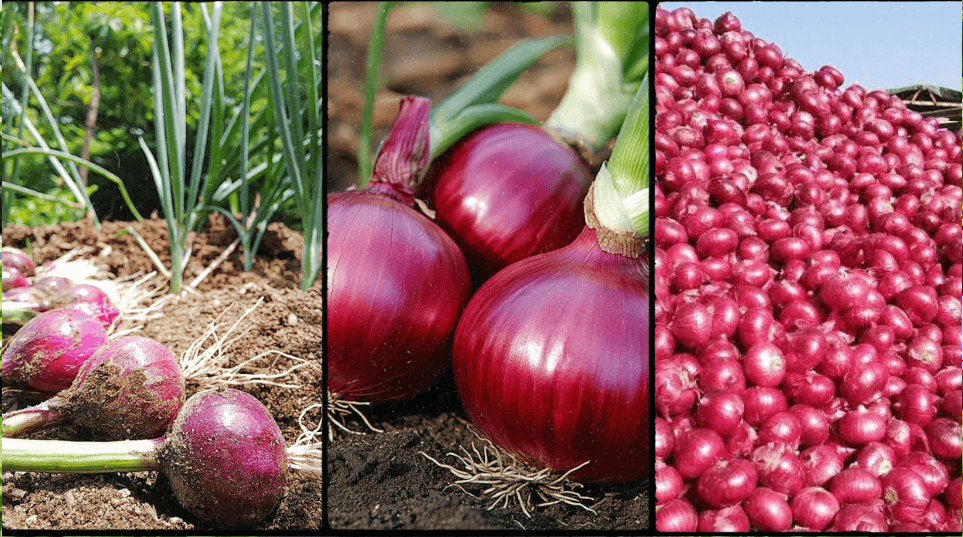
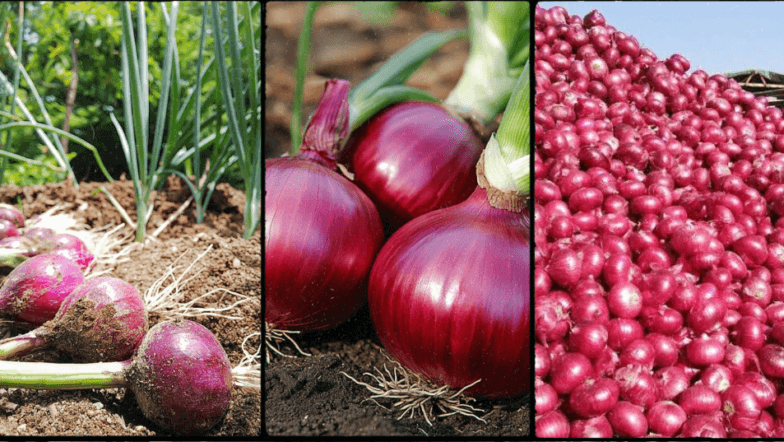
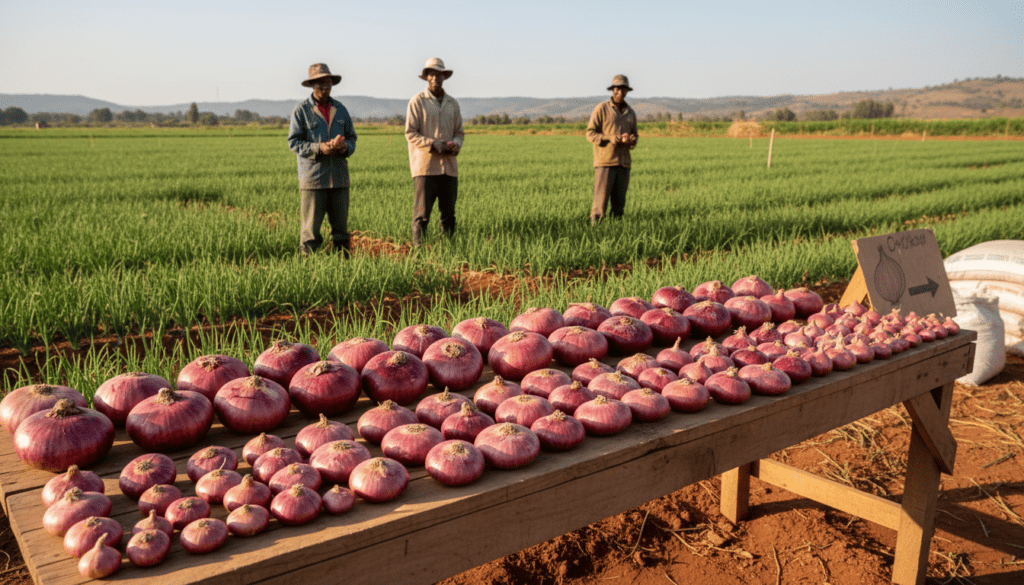
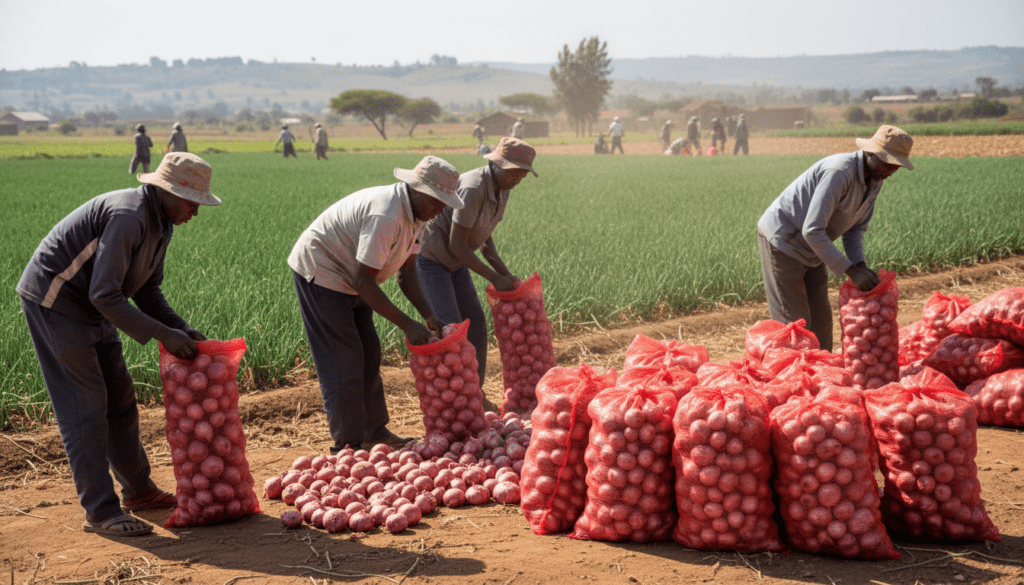
High-quality red bulb onions harvested from a Kenyan farm.

We will cover everything from soil preparation and nursery management to pest control and post-harvest curing. You will also find a detailed financial breakdown of the costs involved per acre and the expected profit margins. By following these expert steps, you can transform a single acre of land into a highly profitable business asset.

How to Start Bulb Onion Farming in Kenya: Complete 2026 Guide, Costs & Profit Per Acre
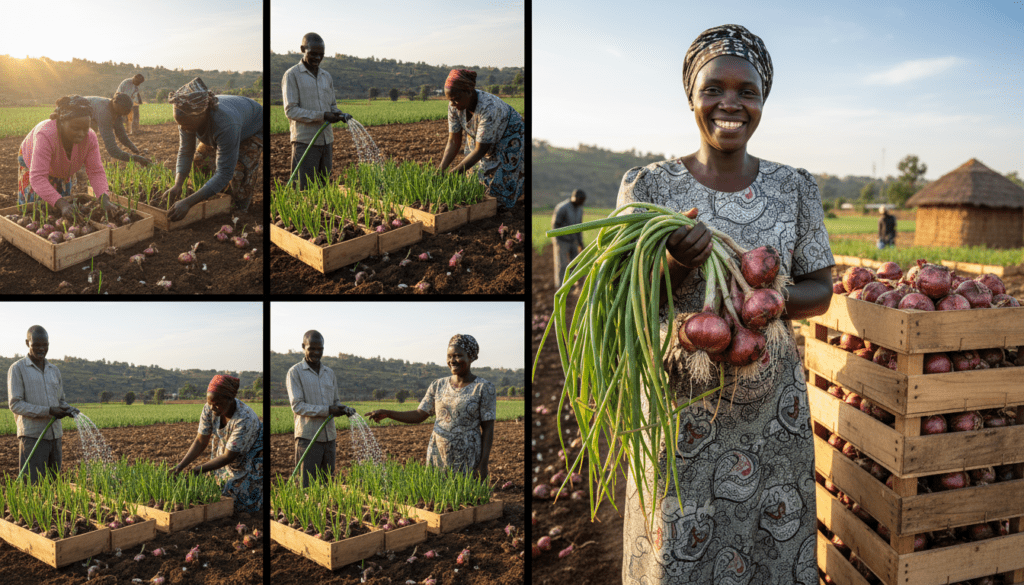
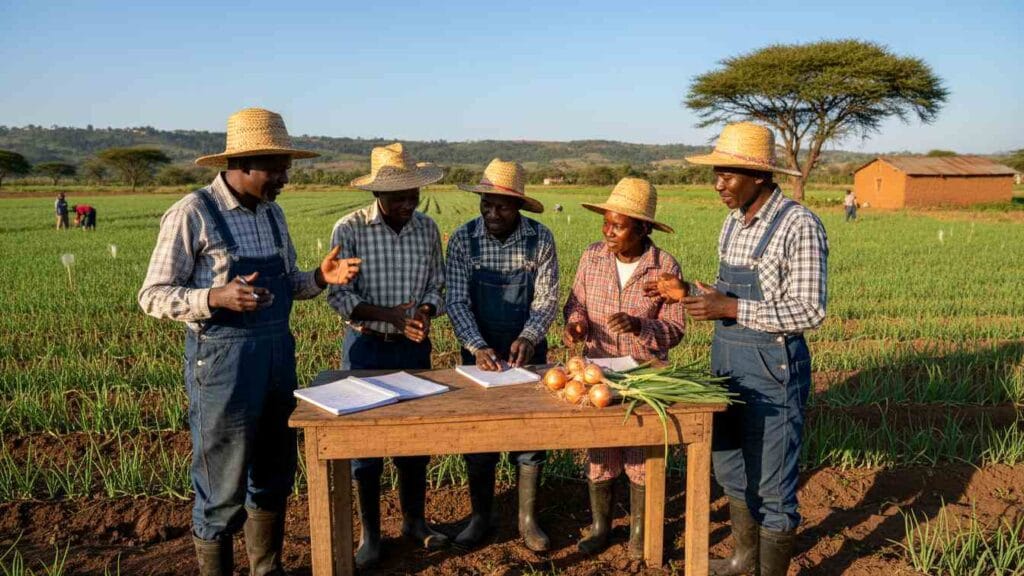
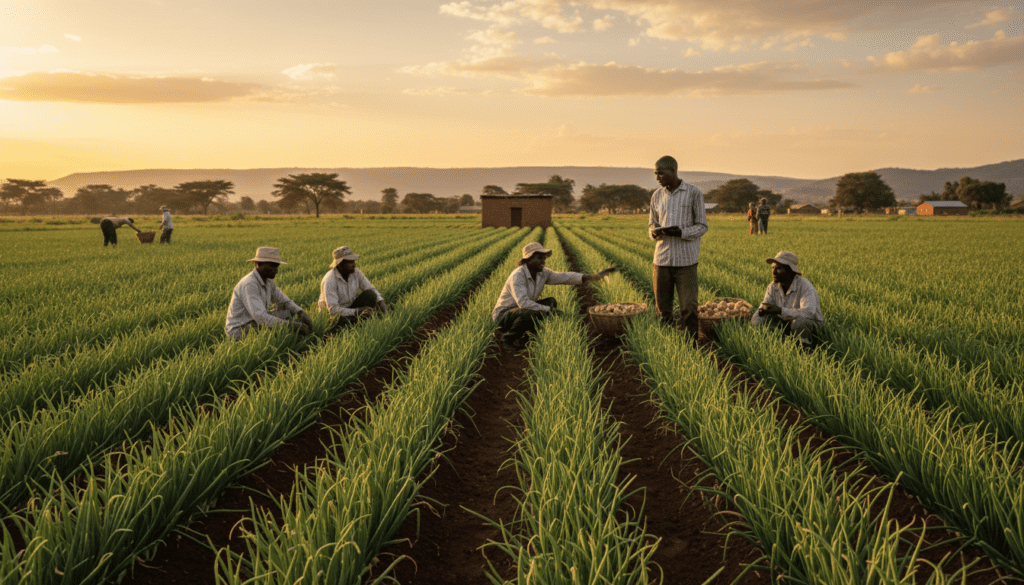
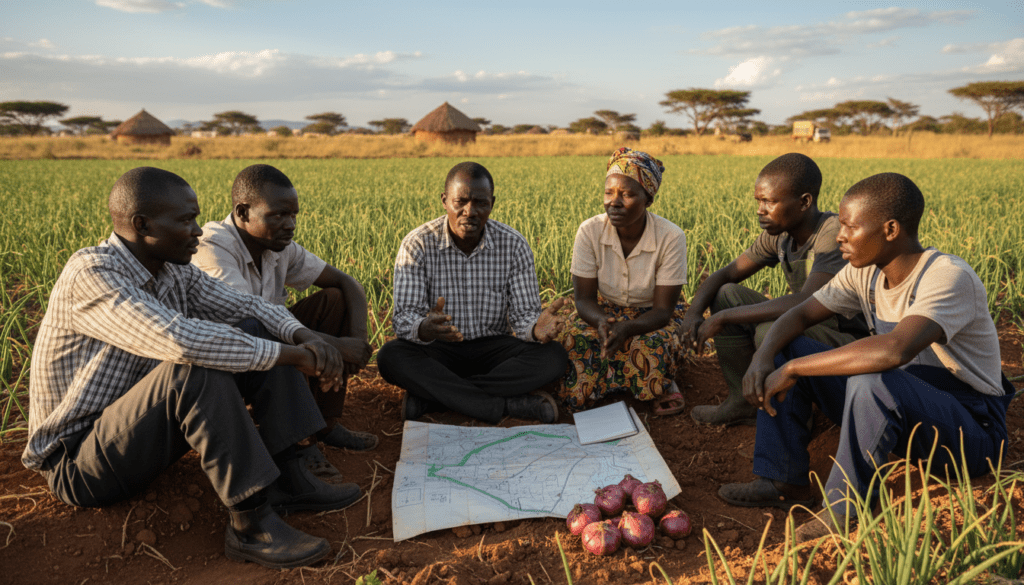
Kenyan farmers planning their onion production season.

Ecological Requirements for Onion Farming in Kenya

Onions are distinct from many other vegetable crops because they react heavily to day length and temperature. In Kenya, we mostly grow short-day varieties that are adapted to our 12-hour daylight cycle. Planting the wrong variety in the wrong climate will result in onions that produce plenty of leaves but fail to form bulbs.

How to Start Bulb Onion Farming in Kenya: Complete 2026 Guide, Costs & Profit Per Acre
Ideal semi-arid landscape for onion farming in Kenya with irrigation systems.

Altitude and Temperature

Onions perform best in altitudes between 500m and 2,000m above sea level. This covers many agricultural zones in Kenya, including Oloitoktok, Naivasha, Rumuruti, and parts of Meru. The ideal temperature range for bulb formation is between 15 degrees Celsius and 30 degrees Celsius. Hot weather contributes to better curing and lower disease incidence, which is why dry areas with irrigation are preferred over cold, misty highland regions.

How to Start Bulb Onion Farming in Kenya: Complete 2026 Guide, Costs & Profit Per Acre
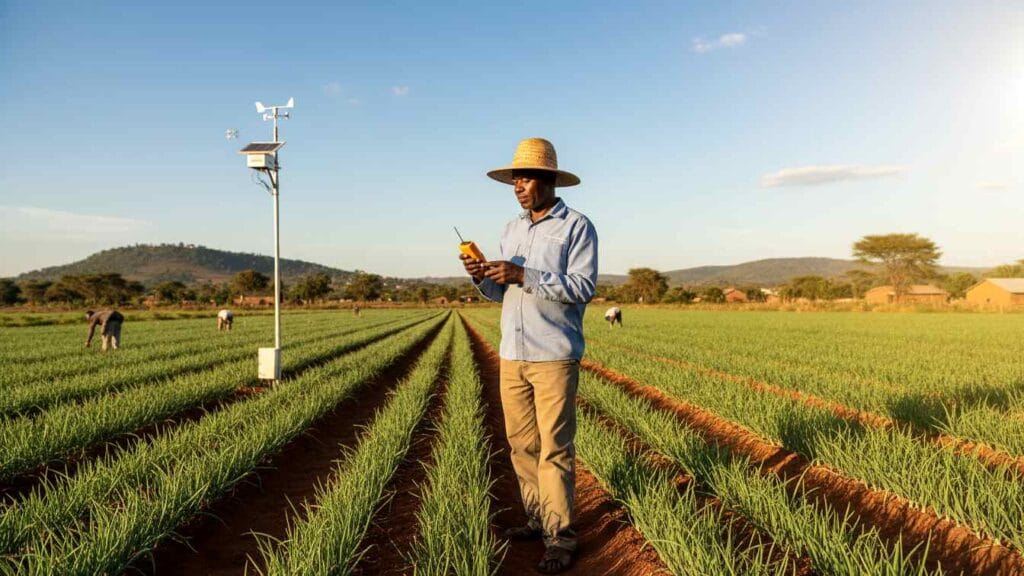
Farmer monitoring temperature conditions for optimal onion growth.

Soil Characteristics

The soil is the foundation of your onion crop. Onions have a shallow root system and require loose, friable soil to expand their bulbs without resistance. Heavy clay soils are discouraged because they restrict bulb expansion and can lead to waterlogging, which causes rot. Sandy loam soils are the gold standard for onion production.

How to Start Bulb Onion Farming in Kenya: Complete 2026 Guide, Costs & Profit Per Acre
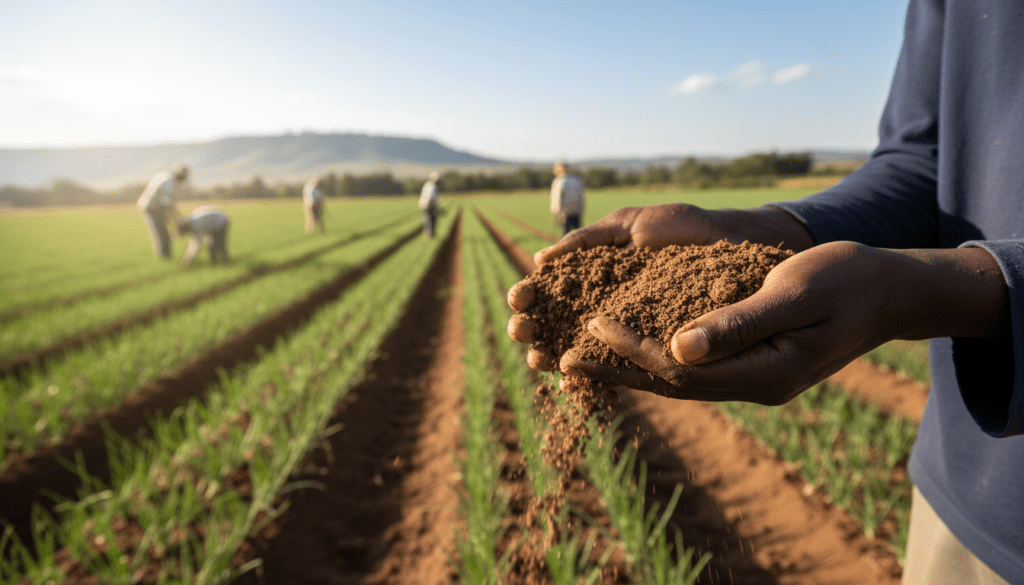
Ideal sandy loam soil texture for growing bulb onions.

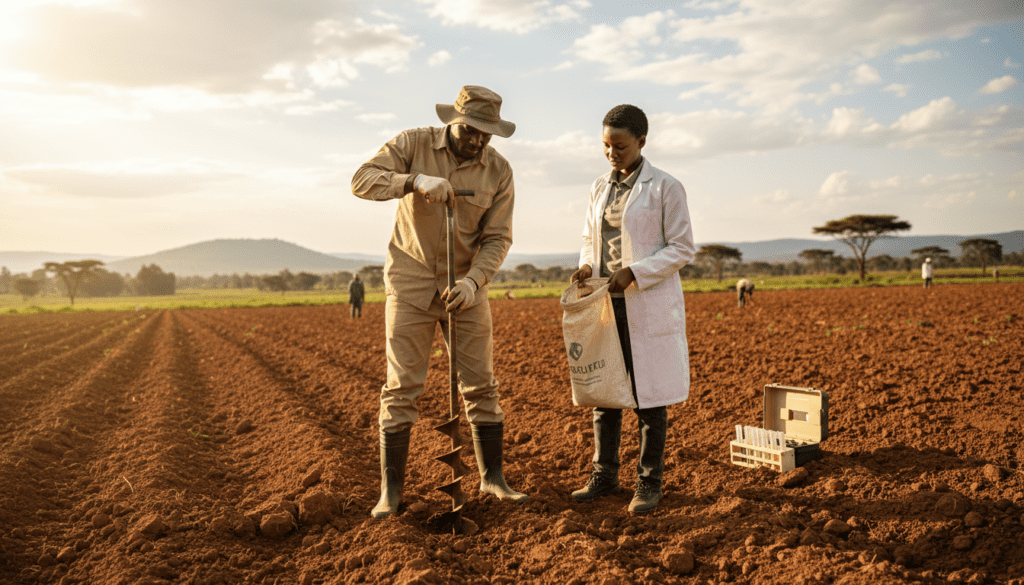
Soil pH is another critical factor that is often overlooked. Onions prefer a pH range of 5.8 to 6.5. If your soil is too acidic (below pH 5.5), nutrients like phosphorous become unavailable to the plant, leading to stunted growth. It is highly recommended to take a soil sample to a KALRO center or a private lab for analysis before ploughing your land.

How to Start Bulb Onion Farming in Kenya: Complete 2026 Guide, Costs & Profit Per Acre
Soil testing process for onion farming in Kenya.

Best Onion Varieties for the Kenyan Market

The Kenyan market has a strong preference for Red Onions. While white and yellow onions exist, red onions account for over 90 percent of the market share due to their pungency and longer shelf life. When choosing a variety, you must decide between Open Pollinated Varieties (OPVs) and Hybrid (F1) varieties.

How to Start Bulb Onion Farming in Kenya: Complete 2026 Guide, Costs & Profit Per Acre
Comparison of different red onion seed varieties available in Kenya.

Jambar F1

Jambar F1 is currently one of the most popular varieties among commercial farmers. It is known for its high yield potential and large bulb size. It has a flat-globe shape and a deep red color that traders love. Jambar F1 matures in about 90 days after transplanting and has excellent storage qualities, allowing farmers to wait for better market prices.

How to Start Bulb Onion Farming in Kenya: Complete 2026 Guide, Costs & Profit Per Acre
High-yielding Jambar F1 onion variety.

Red Creole

Red Creole is a standard open-pollinated variety that has been farmed in Kenya for decades. It is pungent and has a very long shelf life. However, its yield is generally lower than F1 hybrids, and it takes slightly longer to mature. It is a good starting point for farmers with a limited budget for seeds, as the seed cost is significantly lower than hybrids.

How to Start Bulb Onion Farming in Kenya: Complete 2026 Guide, Costs & Profit Per Acre
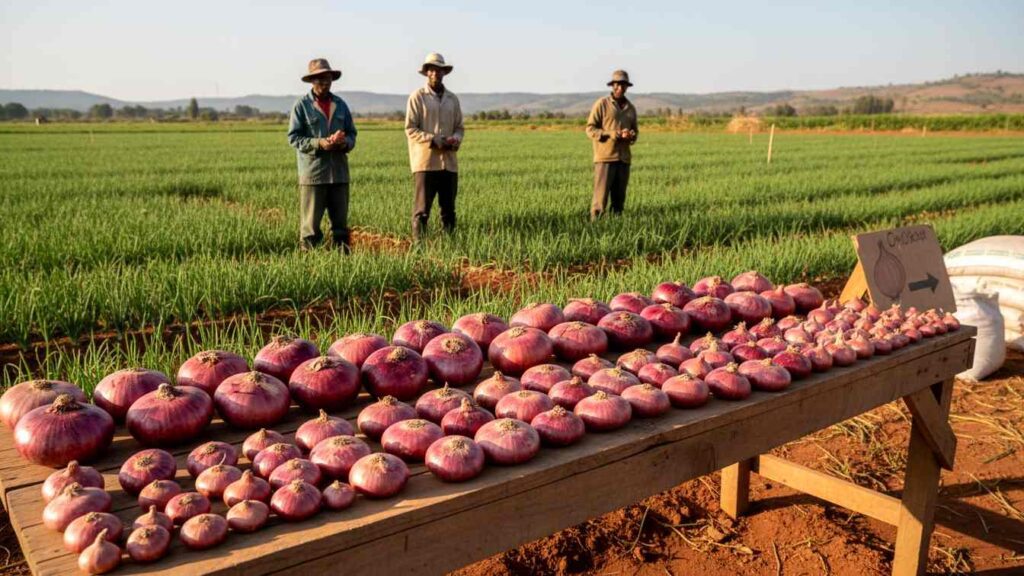
Red Creole onions displayed for sale.

Neptune F1

Neptune F1 is an early maturing hybrid that is gaining traction. It is uniform in shape and highly resistant to pink root disease. This variety is excellent for farmers targeting a specific market window where speed to market is essential. It produces consistent medium-to-large bulbs that pack well in net bags.

How to Start Bulb Onion Farming in Kenya: Complete 2026 Guide, Costs & Profit Per Acre
Uniform growth of Neptune F1 onion variety in a Kenyan field.

Red Pinoy F1

Red Pinoy is another heavy yielder with a strong deep red color. It is well adapted to East African conditions and shows good tolerance to downy mildew, which is a major challenge in cooler or wetter areas. The bulbs are globe-shaped and have a high market demand in Nairobi.

How to Start Bulb Onion Farming in Kenya: Complete 2026 Guide, Costs & Profit Per Acre
Packing Red Pinoy onions for the Nairobi market.

Nursery Management: The Foundation of Success

You should never plant onion seeds directly into the main field. They are too small and weak to compete with weeds or survive erratic watering. You must establish a nursery to raise healthy seedlings for the first 6 to 8 weeks. The success of your crop is 50 percent determined by the quality of your seedlings.

How to Start Bulb Onion Farming in Kenya: Complete 2026 Guide, Costs & Profit Per Acre
Professional onion nursery setup with shade nets.

Preparing the Nursery Bed

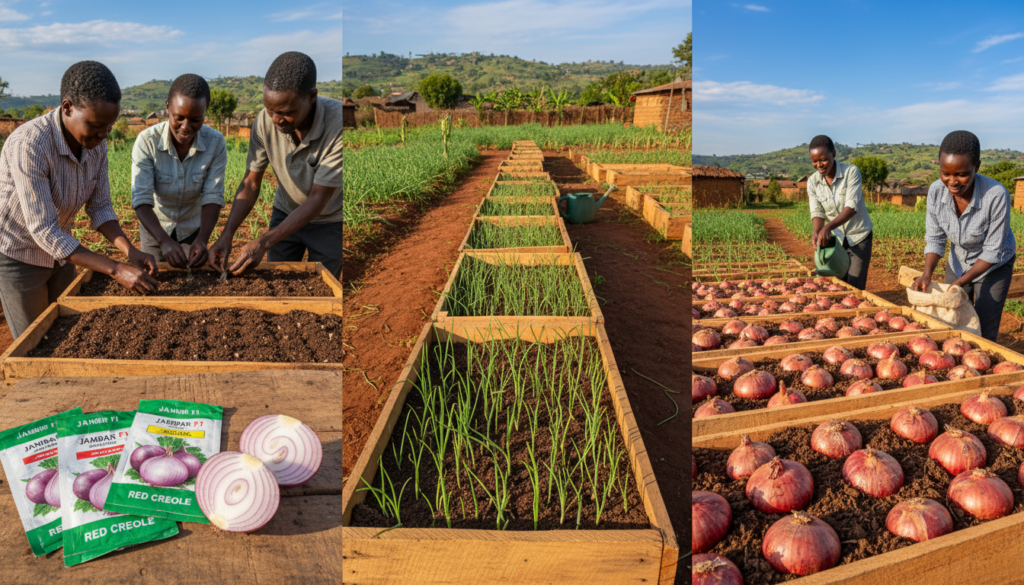
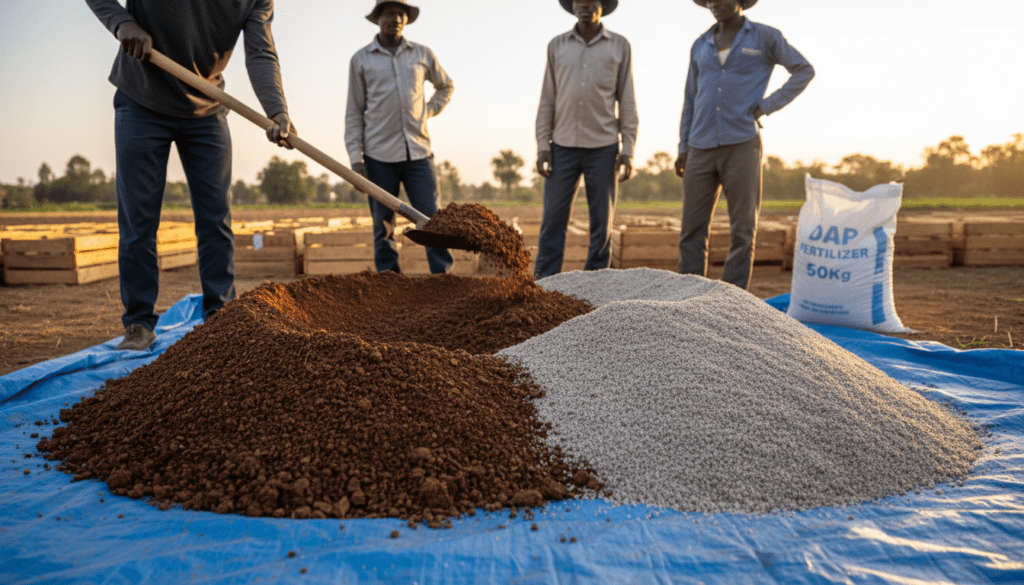
Select a site that has not grown onions or garlic for at least three years to avoid soil-borne diseases. Dig the soil deeply and break all clods until you have a fine tilth. Make raised beds that are 1 meter wide and of any convenient length. Raising the beds prevents waterlogging during heavy rains. Incorporate well-decomposed manure and a phosphate fertilizer like DAP into the topsoil.
How to Start Bulb Onion Farming in Kenya: Complete 2026 Guide, Costs & Profit Per Acre
 Preparing a fine soil tilth for onion seeds.

Sowing the Seeds

Create shallow drills (furrows) running across the bed, spaced 15cm apart. Sowing in rows makes weeding and management much easier than broadcasting seeds. Drop the seeds thinly along the drills and cover lightly with soil. Mulch the bed with dry grass to retain moisture and water immediately.
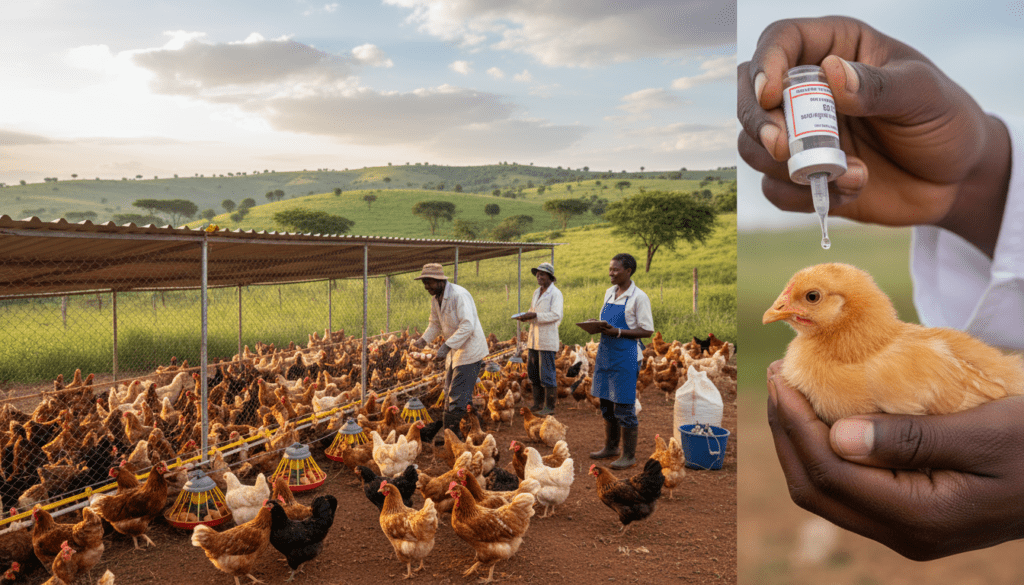
How to Start Bulb Onion Farming in Kenya: Complete 2026 Guide, Costs & Profit Per Acre
Sowing onion seeds in rows in a nursery bed.

Management and Hardening Off

Water the nursery twice daily until germination, which takes 7 to 10 days. Once the seedlings emerge, remove the dry grass mulch to prevent them from becoming spindly. As the transplanting date approaches (around week 6), reduce the watering frequency. This process, known as hardening off, toughens the seedlings and prepares them for the harsh conditions of the open field.

How to Start Bulb Onion Farming in Kenya: Complete 2026 Guide, Costs & Profit Per Acre
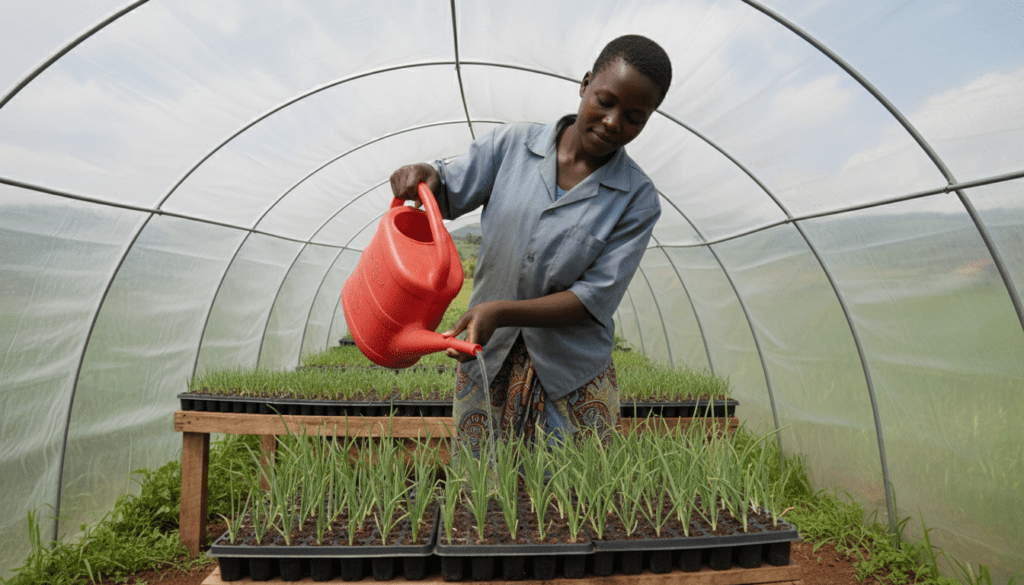
Healthy onion seedlings growing in a nursery.

Land Preparation and Transplanting

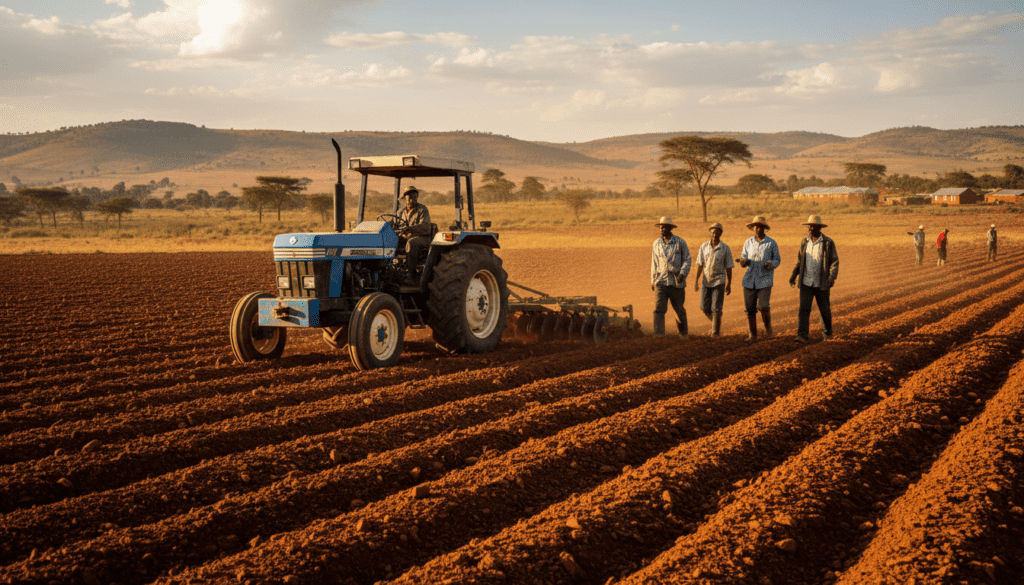
While your seedlings are growing in the nursery, you must prepare the main field. Onions require a very fine seedbed. Plough the land deep and harrow it using a tractor or hand tools to break all large lumps of soil. If the soil is clumpy, the bulbs will be deformed, reducing their market value.
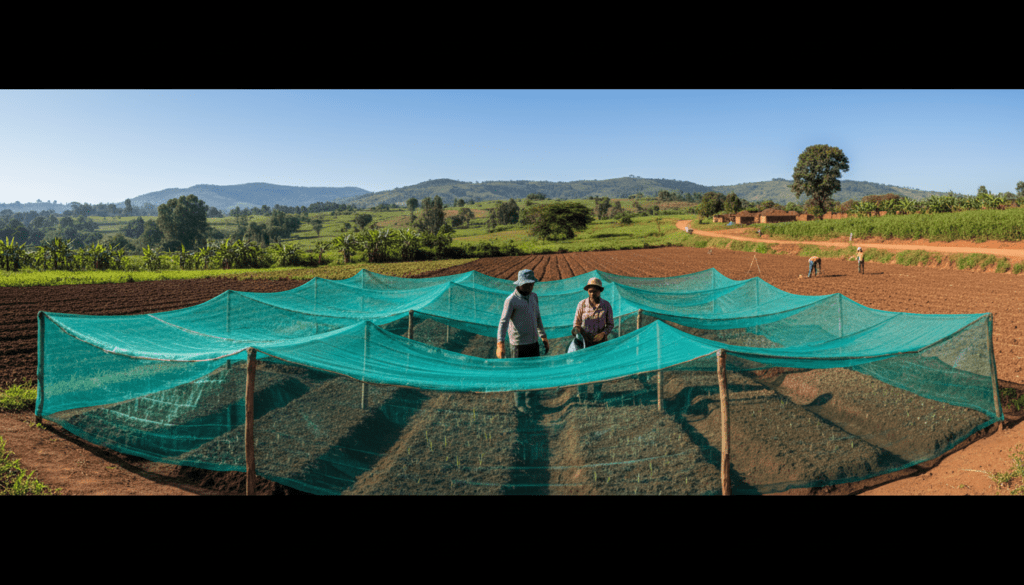
How to Start Bulb Onion Farming in Kenya: Complete 2026 Guide, Costs & Profit Per Acre
Tractor preparing land for onion farming.

Drip Irrigation Installation

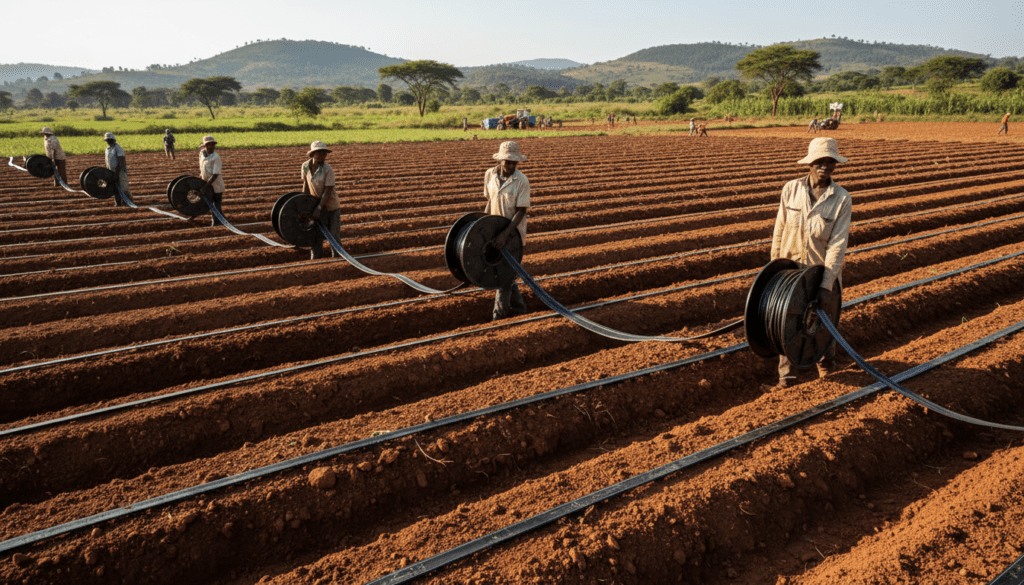
For commercial success, drip irrigation is highly recommended. It saves water, reduces fungal diseases by keeping the leaves dry, and allows for fertigation (applying fertilizer through water). Lay out your drip lines on raised beds. The standard bed width is 1 meter, with 3 drip lines per bed.

How to Start Bulb Onion Farming in Kenya: Complete 2026 Guide, Costs & Profit Per Acre
Installing drip irrigation for efficient onion farming.

Transplanting Procedure

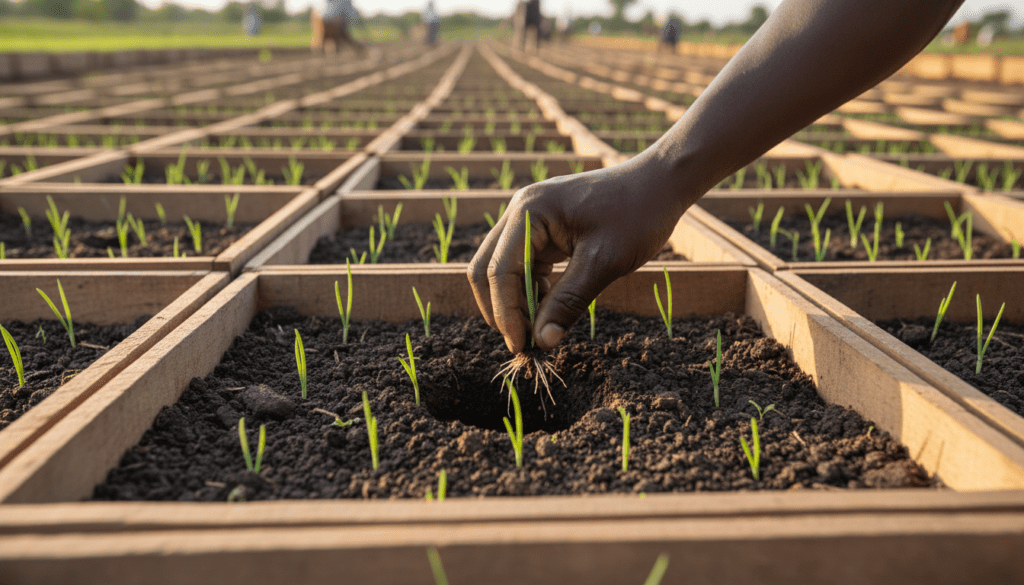
Transplant when seedlings are pencil-thick, usually 6 to 8 weeks after sowing. Water the nursery heavily before pulling the seedlings to minimize root damage. It is a common practice to trim the roots slightly and cut off 20 percent of the green tops. This reduces transpiration shock and helps the seedling establish faster.

Spacing

Proper spacing is vital for bulb size. If you plant too closely, you will get small onions. If you plant too far apart, you waste land. The recommended spacing is 8cm to 10cm between plants and 20cm to 30cm between rows. This population density targets roughly 250,000 to 300,000 plants per acre.

How to Start Bulb Onion Farming in Kenya: Complete 2026 Guide, Costs & Profit Per Acre
Correct spacing for onion plants to ensure large bulb size.

Field Management and Fertilizer Program

Feeding your crop correctly is the difference between a 5-ton harvest and a 20-ton harvest. Onions are heavy feeders. You must follow a strict nutrition program that provides Nitrogen, Phosphorous, and Potassium at the right stages.

How to Start Bulb Onion Farming in Kenya: Complete 2026 Guide, Costs & Profit Per Acre
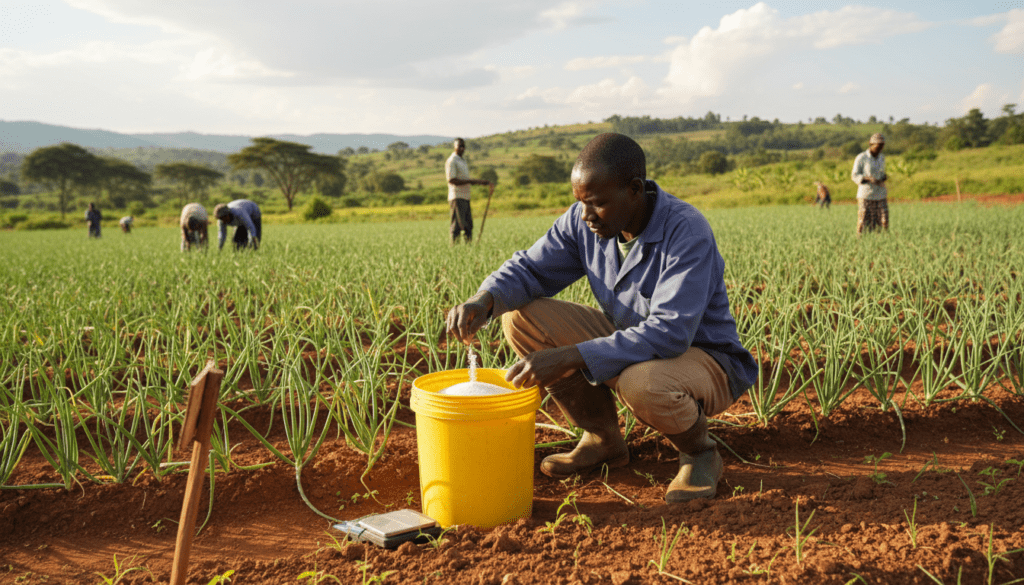
Measuring fertilizer for accurate onion crop nutrition.

Basal Application

During transplanting, apply DAP (Diammonium Phosphate) or a balanced planting fertilizer. Phosphorous is essential for root development. Without a strong root system, the plant cannot support a large bulb later in the season.

How to Start Bulb Onion Farming in Kenya: Complete 2026 Guide, Costs & Profit Per Acre
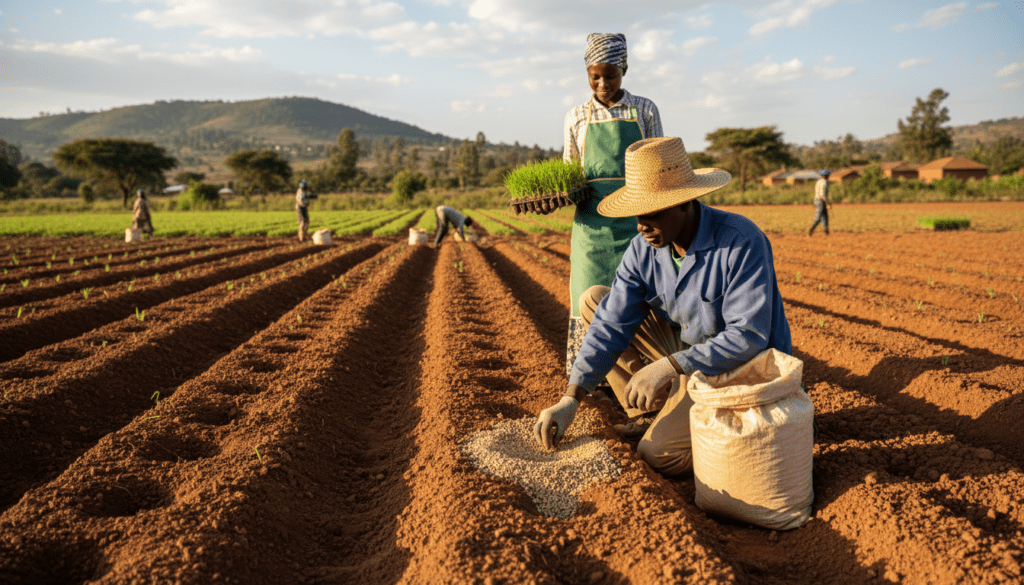
Applying DAP fertilizer during onion transplanting.

Top Dressing

The first top dressing should be done 3 to 4 weeks after transplanting. Use CAN (Calcium Ammonium Nitrate) to boost vegetative growth. You need strong, healthy leaves because each leaf ring corresponds to a layer in the onion bulb.

How to Start Bulb Onion Farming in Kenya: Complete 2026 Guide, Costs & Profit Per Acre
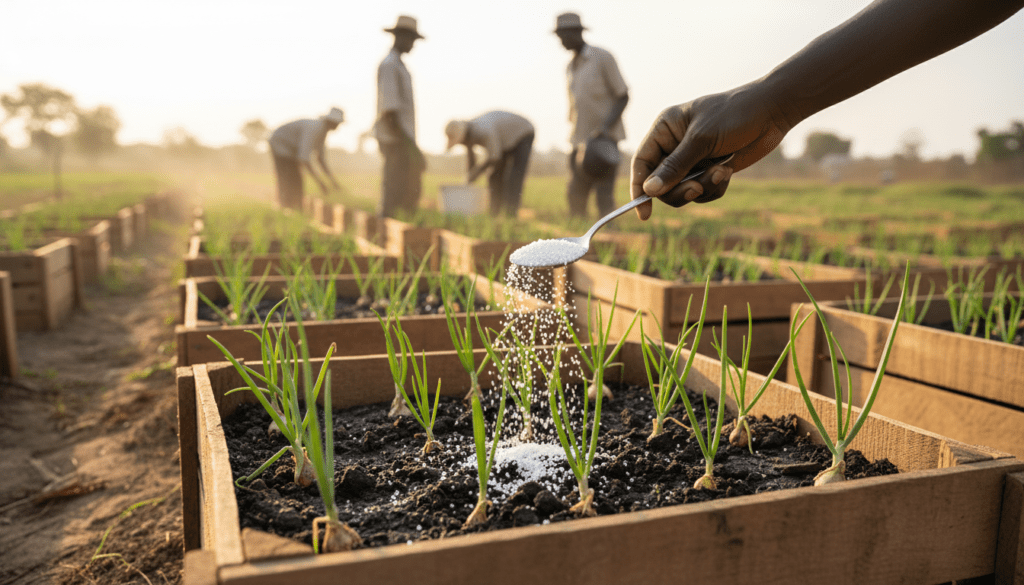
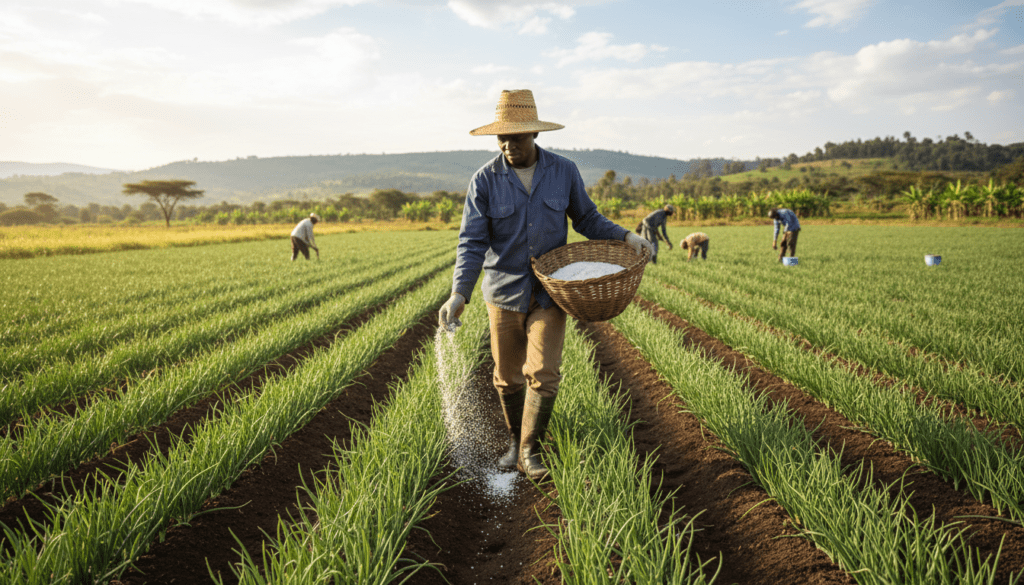
Top dressing onion plants with nitrogen fertilizer.

The second top dressing is done at the onset of bulbing, usually 6 to 7 weeks after transplanting. Here, you should switch to an NPK fertilizer rich in Potassium, such as NPK 17:17:17 or a specialized onion booster. Potassium is the element responsible for transporting sugars from the leaves to the bulb, increasing its size and weight.

How to Start Bulb Onion Farming in Kenya: Complete 2026 Guide, Costs & Profit Per Acre
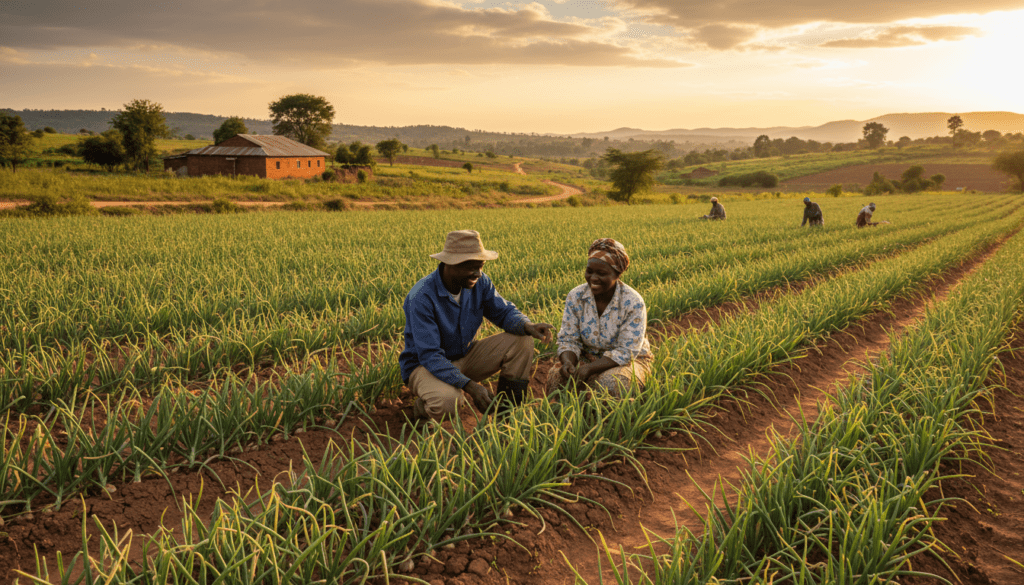
Healthy onion crop at the vegetative stage.

Weed Control

Onions are very poor competitors against weeds due to their upright, slender leaves which do not shade the ground. Weeds will steal nutrients and harbor pests like thrips. You can weed manually or use selective herbicides. Oxyfluorfen (often sold as Goal) is a common pre-emergent herbicide used to control broadleaf weeds in onion fields.

How to Start Bulb Onion Farming in Kenya: Complete 2026 Guide, Costs & Profit Per Acre
Weed-free onion field for maximum yield.

Pest and Disease Control

The biggest challenge in Kenyan onion farming is pest and disease management. Scouting your field daily is mandatory. If you wait until you see severe damage, it is often too late to save the crop.

image 44
Scouting for pests and diseases in an onion crop.

Thrips (The Number One Enemy)

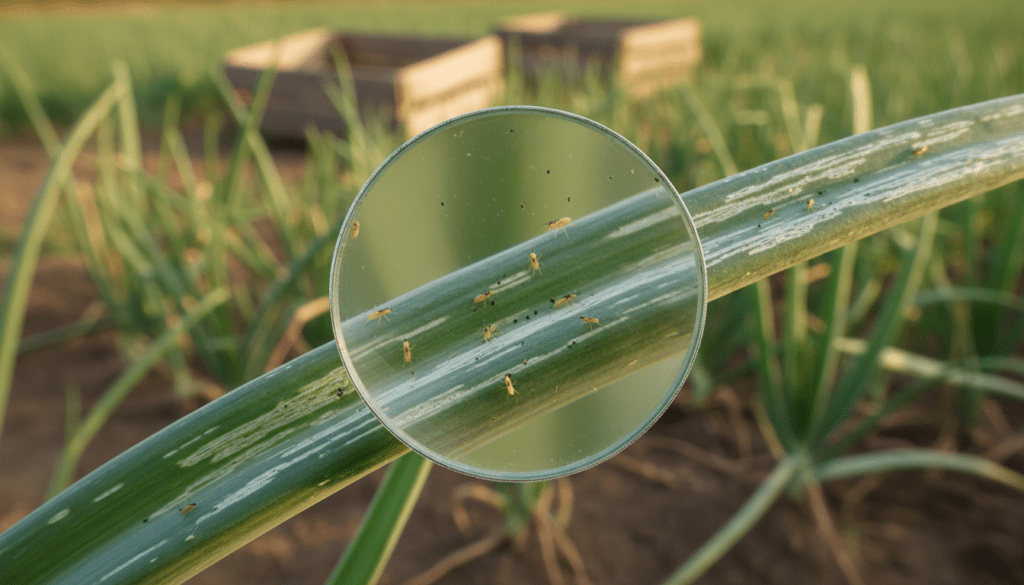
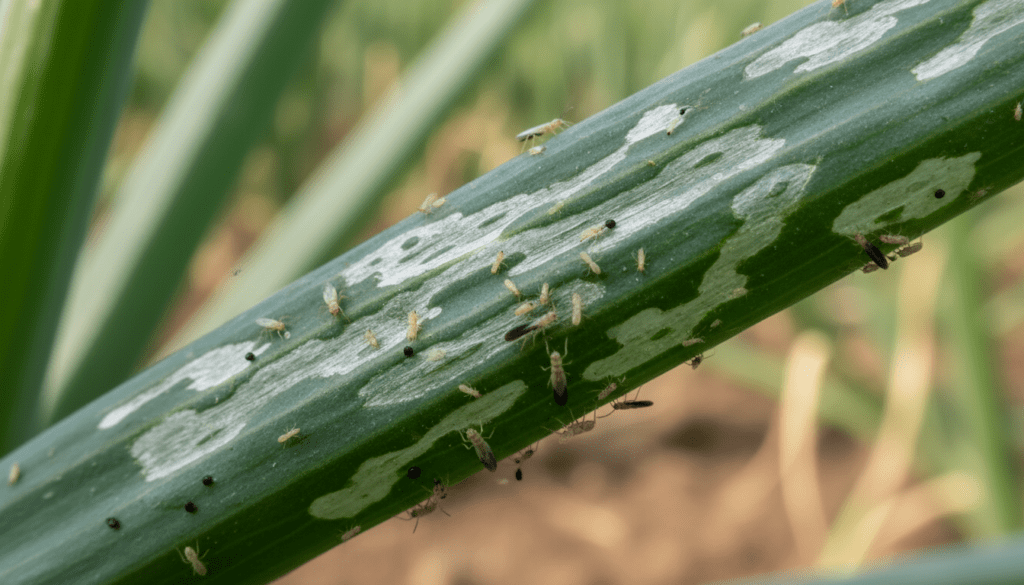
Thrips are tiny insects that hide deep in the leaf axils. They rasp the leaves and suck the sap, causing silvery patches. Severe infestation causes the leaves to dry up and reduces bulb size. To control thrips, use insecticides with active ingredients like Acetamiprid, Imidacloprid, or Spinetoram. Always alternate your chemicals to prevent resistance.

How to Start Bulb Onion Farming in Kenya: Complete 2026 Guide, Costs & Profit Per Acre
Thrip damage on onion leaves.

Downy Mildew

This is a fungal disease that thrives in cold, wet conditions. It appears as a violet-grey fuzzy growth on the leaves. It can destroy a crop in days. Preventive sprays with Mancozeb are good, but for curative action, use Metalaxyl-based fungicides.

How to Start Bulb Onion Farming in Kenya: Complete 2026 Guide, Costs & Profit Per Acre
Downy mildew symptoms on onion plants.

Purple Blotch

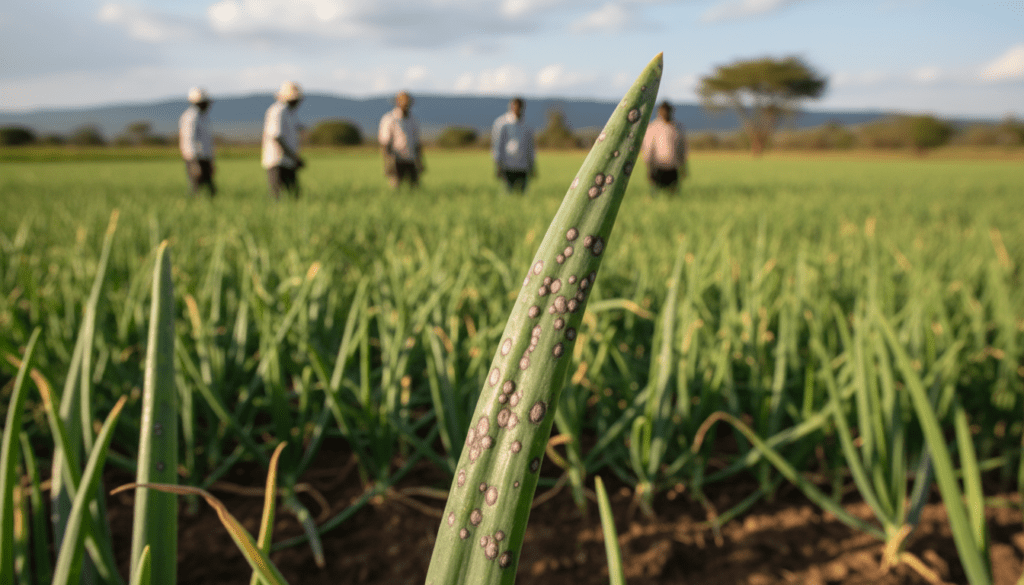
This fungus causes purple lesions with yellow halos on the leaves. It usually attacks older leaves first. Good field hygiene and crop rotation are the best preventative measures. Azoxystrobin-based fungicides are effective for control.
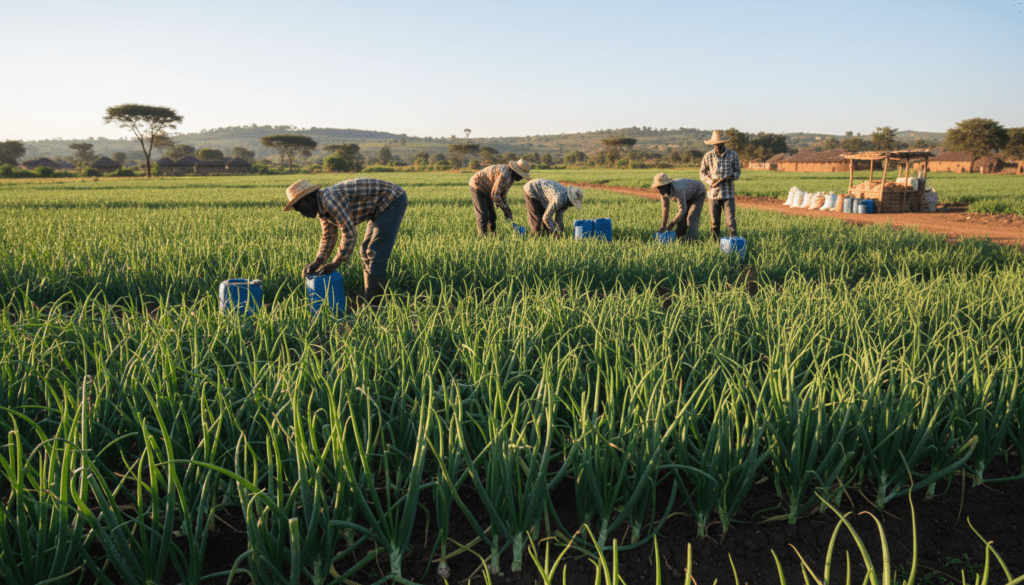
How to Start Bulb Onion Farming in Kenya: Complete 2026 Guide, Costs & Profit Per Acre
Purple blotch disease on onion foliage.
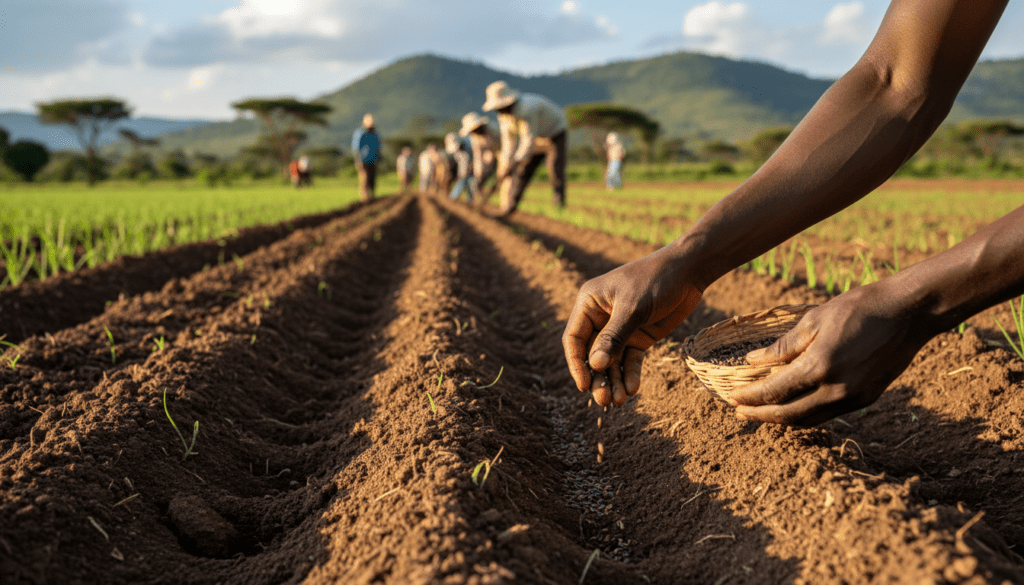
Harvesting and Curing

Harvesting is not just about pulling the crop; it is about timing. You should stop watering the onions 2 to 3 weeks before the expected harvest date. This helps the bulbs dry out and prevents rotting during storage.

How to Start Bulb Onion Farming in Kenya: Complete 2026 Guide, Costs & Profit Per Acre
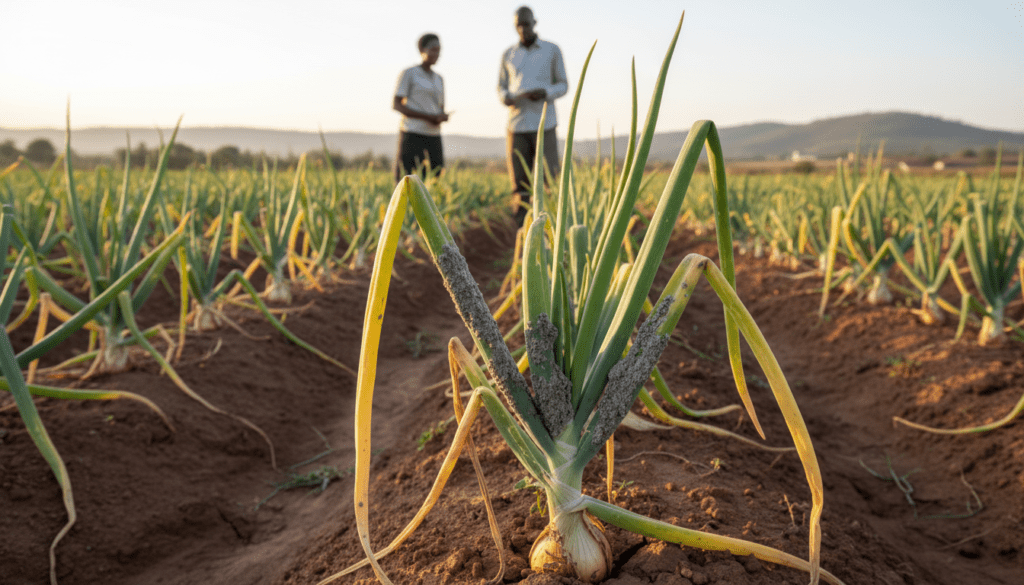
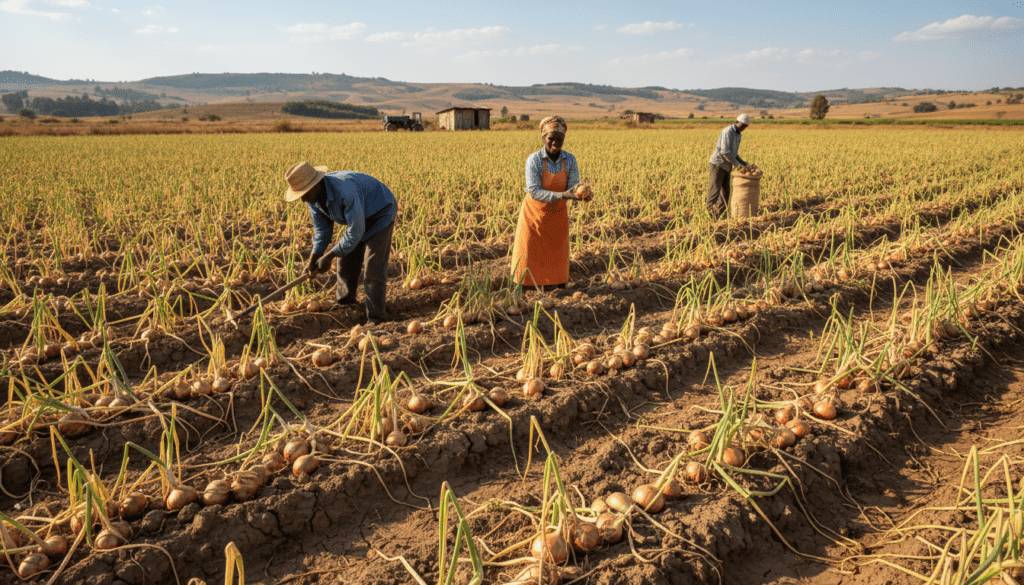
Onion field ready for harvest with fallen tops.

Signs of Maturity

The crop is ready for harvesting when 75 percent of the tops have fallen over (neck fall) and the leaves have started to yellow. Do not wait for all the leaves to dry completely, as the bulbs might start regrowing roots if there is moisture in the soil.

How to Start Bulb Onion Farming in Kenya: Complete 2026 Guide, Costs & Profit Per Acre
Harvesting mature onions in a Kenyan farm.

Curing (Drying)

Curing is the process of drying the outer skin and the neck of the onion to seal it against bacteria. You can cure onions in the field if the weather is hot and dry by arranging them in windrows, covering the bulbs with the leaves of the next row to prevent sunscald. Alternatively, move them to a well-ventilated shed. Proper curing takes 1 to 2 weeks and is crucial for long shelf life.

How to Start Bulb Onion Farming in Kenya: Complete 2026 Guide, Costs & Profit Per Acre
Curing onions in the field to improve shelf life.

Cost of Production Per Acre (2026 Estimates)

Farming is a business, and you must know your numbers. Below is a detailed cost breakdown for one acre of bulb onions in Kenya. Note that these are estimates and costs can vary based on location and labour availability.

ItemDescriptionCost (KES)
:—:—:—
Land PreparationPloughing, Harrowing, Bed making15,000
SeedsHigh quality F1 Hybrid seeds (e.g., 1kg)25,000
Nursery ManagementLabour, trays, media5,000
Drip Irrigation KitDepreciation cost (one season share)10,000
Transplanting LabourCasuals for planting6,000
FertilizersDAP, CAN, NPK, Foliar feeds25,000
Crop ProtectionFungicides, Insecticides, Herbicides20,000
Weeding LabourManual weeding (2-3 times)10,000
Watering/FuelPump fuel or water bill15,000
Harvesting/CuringLabour and bags15,000
MiscellaneousTransport, unexpected costs10,000
**TOTAL****156,000**
How to Start Bulb Onion Farming in Kenya: Complete 2026 Guide, Costs & Profit Per Acre
Financial planning for onion farming costs in Kenya.

Profitability Analysis

The profit potential for onions is what attracts many investors. Let us look at conservative and optimistic scenarios.

Yield Expectations

A well-managed acre of hybrid onions can yield between 15 to 20 tons (15,000kg to 20,000kg). Average management usually yields around 10 to 12 tons.

How to Start Bulb Onion Farming in Kenya: Complete 2026 Guide, Costs & Profit Per Acre
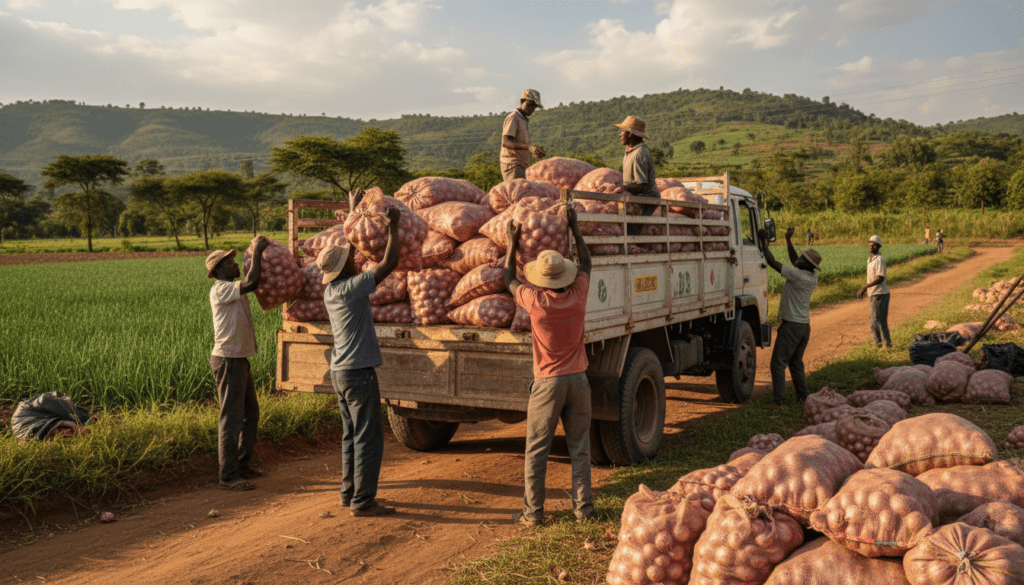
Loading harvested onions for transport to the market.

Market Prices

Market prices in Kenya fluctuate based on supply, usually ranging from KES 30 per kg (glut season) to KES 80+ per kg (scarcity). A safe average price for calculation is KES 45 per kg.

The Calculation

Target Yield: 16,000 kgAverage Farm Gate Price: KES 45 per kgGross Revenue: 16,000 x 45 = KES 720,000Total Cost of Production: KES 156,000Net Profit: 720,000 – 156,000 = KES 564,000

Even with a lower price of KES 35 and a lower yield of 12,000 kg, the revenue would be KES 420,000, leaving a net profit of over KES 260,000 in just 4 months. This represents a return on investment of over 100 percent.

image 33
Successful onion sale transaction.

Market Challenges and Tips for Success

While the numbers look good, the market has pitfalls. The biggest challenge is the influx of onions from Tanzania, which often lowers prices in Kenyan markets. To beat this, you must time your planting.

How to Start Bulb Onion Farming in Kenya: Complete 2026 Guide, Costs & Profit Per Acre
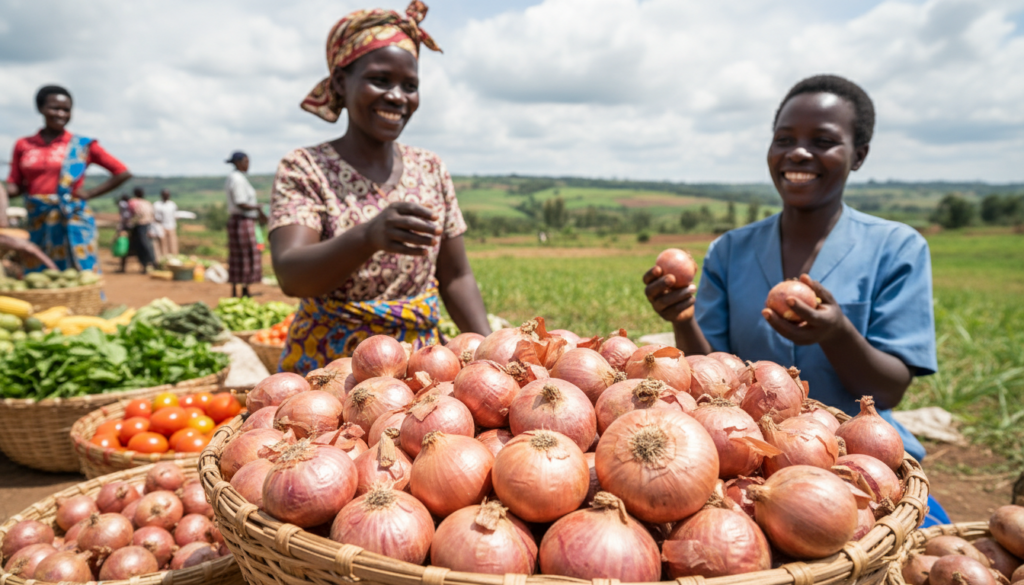
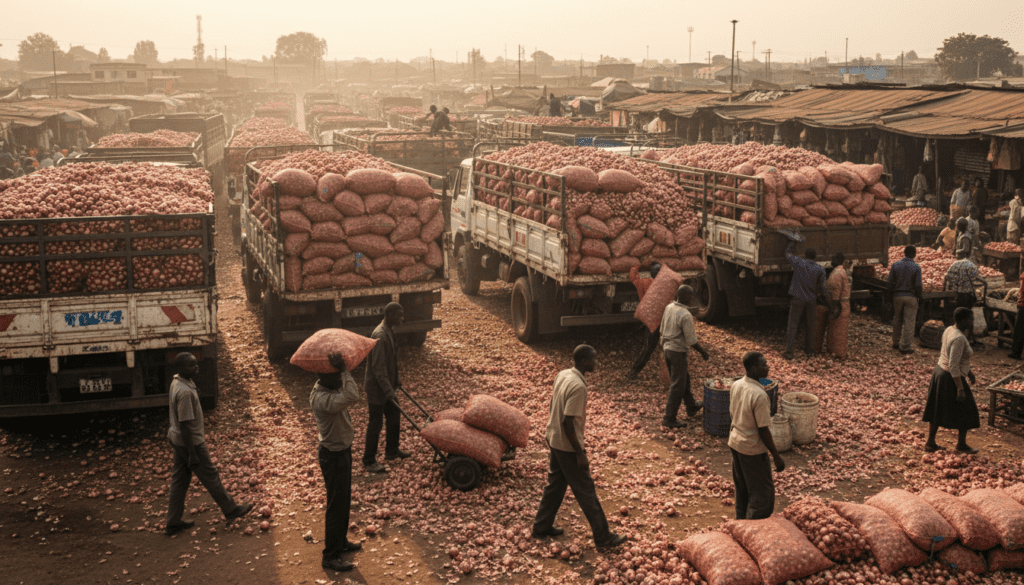
Onion trading at a busy Kenyan market.

Timing is Everything

The best prices are usually found from January to March and May to June. Work backwards from these months to determine your planting date. For example, to harvest in February, you need to transplant in November.

Dealing with Middlemen

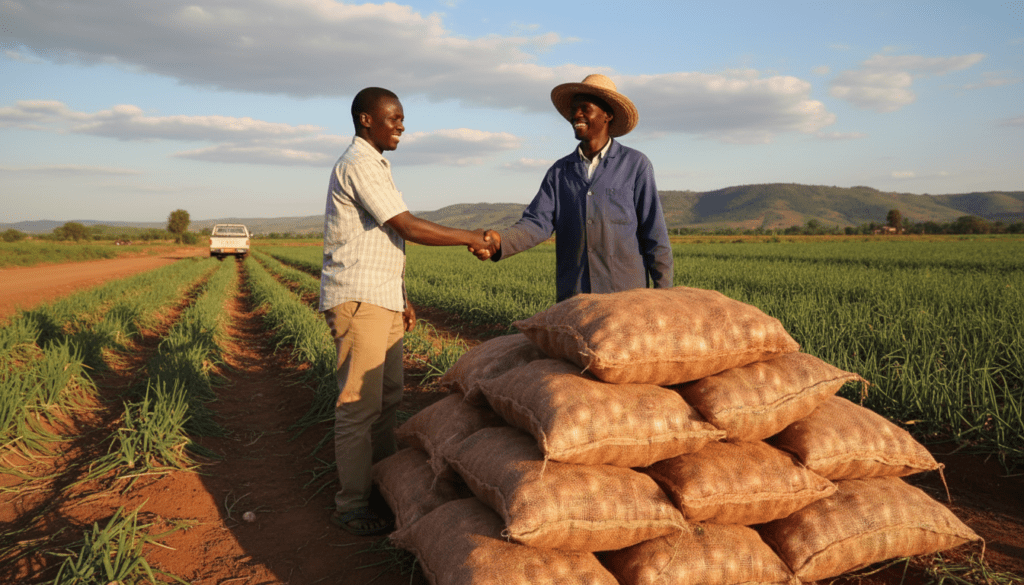
Brokers are a reality in the Kenyan supply chain. To get better leverage, try to sell directly to institutions, schools, or supermarkets. Alternatively, form a group with neighboring farmers to aggregate your produce. A buyer is more likely to give a better price for a 10-ton truckload than for a few bags.

How to Start Bulb Onion Farming in Kenya: Complete 2026 Guide, Costs & Profit Per Acre
Farmers cooperating to sell onions in bulk.

Cure Properly

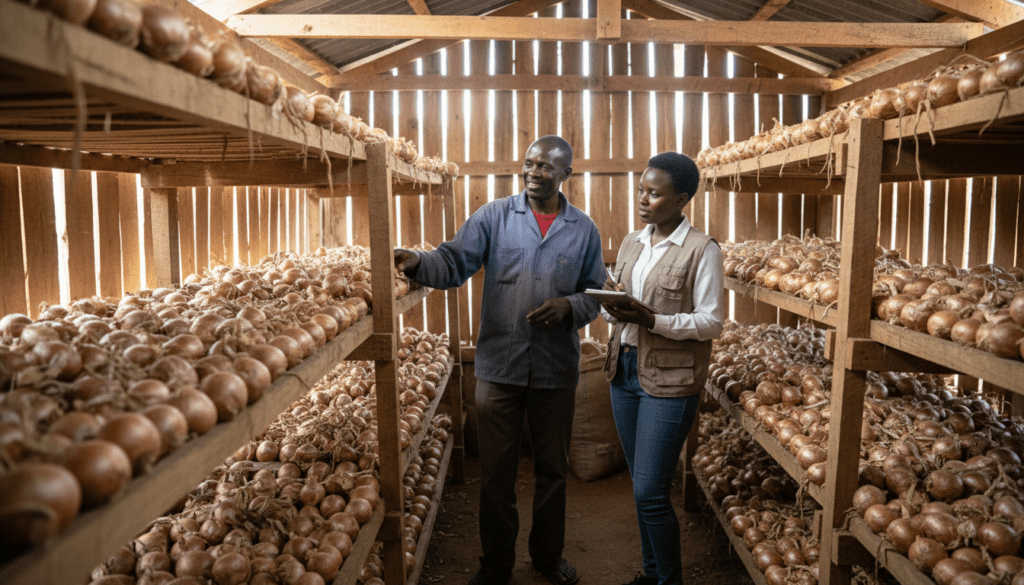
Farmers often rush to sell immediately after harvest because they need cash. If you cure your onions well, you can store them for 2 to 3 months in a well-ventilated store. This allows you to wait for the market glut to clear and prices to rise.

How to Start Bulb Onion Farming in Kenya: Complete 2026 Guide, Costs & Profit Per Acre
Proper storage facility for onions.

Conclusion: Start Your Onion Business Today

Onion farming in Kenya is a serious business that can pay off well if you do it the right way. It is not about guessing. It is about following a proven plan. Success comes from using good seeds, giving the plants the right food (fertilizer) and water, and watching for pests every single day so you can stop them before they cause big damage.

If you are a beginner, do not try to do too much at once. Start with a small piece of land so you can learn how the onions grow and how to handle the work. Once you see how the crop performs, you can slowly add more land.

Remember these three keys to making money:

  • Watch the Market: Check when onions are in short supply in your area and plan your planting so you can harvest during those times when prices are high.
  • Cut Waste: Keep your costs low by using drip irrigation to save water and by catching pests early so you do not waste money on expensive chemicals later.
  • Quality First: A well-dried onion (curing) lasts longer and fetches a higher price than one that is poorly handled. Take your time during the drying stage to seal the skin.

Onion farming is a journey. It takes hard work and patience, but the rewards are real. Start with what you have, stay consistent, and keep learning from every harvest. Your path to a successful farming business starts with the very first seed you plant today.

Frequently Asked Questions about Bulb Onion Farming in Kenya (2026)

1. Is bulb onion farming in Kenya profitable in 2026?
Yes. With good management, one acre of hybrid bulb onions can generate several hundred thousand shillings in profit in a 4–5 month cycle, even after paying for seeds, fertilizers, labour and irrigation.

2. How much capital do I need to start 1 acre of bulb onions?
For 2026, a realistic starting budget for one acre is about KES 150,000–170,000, depending on land preparation costs, seed type, labour rates and whether you already have a drip irrigation kit.

3. What is the best bulb onion variety for Kenyan markets?
Popular high‑yielding red bulb varieties include Jambar F1, Neptune F1 and Red Pinoy F1, while Red Creole is a cheaper open‑pollinated option for farmers with a smaller seed budget.

4. How long do bulb onions take to mature in Kenya?
Most hybrid bulb onions take about 3–4 months after transplanting to reach maturity, so from sowing in the nursery to final harvest you should plan for roughly 4–5 months.

5. What spacing should I use for bulb onions per acre?
A common commercial spacing is 8–10 cm between plants and 20–30 cm between rows, giving roughly 250,000–300,000 plants per acre for good bulb size and high yield.

6. Do I need drip irrigation for bulb onion farming?
You can grow onions under rain‑fed conditions, but drip irrigation is highly recommended because it saves water, reduces fungal diseases and allows you to apply fertilizers more efficiently.

7. Which areas in Kenya are best for bulb onion farming?
Warm, well‑drained areas between about 500 m and 2,000 m above sea level such as parts of Kajiado, Naivasha, Machakos, Laikipia, Meru and other semi‑arid zones with access to irrigation perform very well.

8. What are the most common onion pests and diseases?
Thrips are the number one insect pest, while major diseases include downy mildew and purple blotch, all of which require regular scouting and a planned spray program or integrated pest management.

9. When is the best time to plant onions for good prices?
Many farmers target planting so that they harvest in the drier months like January–March or May–June, when market supply is lower and prices per kilogram are usually higher.

10. Where can I sell my bulb onions in Kenya?
You can sell through major wholesale markets such as Wakulima (Marikiti) in Nairobi and Kongowea in Mombasa, local town markets, brokers, or directly to supermarkets, schools, hotels and institutions for better prices.

Conclusion

Bulb onion farming in Kenya is a serious business that rewards diligence and patience. It is not a get-rich-quick scheme, but a science that requires investment in good seeds, proper nutrition, and water management. By following the guidelines in this article, managing your costs, and keeping an eye on the market trends, you can successfully navigate the challenges and reap the sweet rewards of onion farming. Start small, learn the ropes, and scale up as you gain confidence.

How to Start Bulb Onion Farming in Kenya: Complete 2026 Guide, Costs & Profit Per Acre
Future of onion farming in Kenya.

Read More

How to Grow Coriander at Home Using Old Tyres: Easy Step-by-Step Guide

How to Grow Coriander at Home Using Old Tyres: Easy Step-by-Step Guide

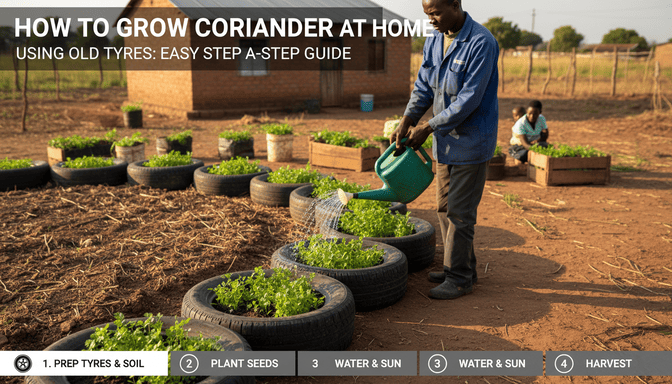
Farming in Kenya is changing. You no longer need acres of land in the village to grow your own food. In busy towns like Nairobi, Mombasa, and Kisumu, space is tight, and innovative farming is becoming a necessity. One of the most practical ways to grow vegetables is by using old automobile tyres. Among the best crops for this method is Coriander, which we locally call Dhania.

Dhania is a must-have spice in almost every Kenyan kitchen. Whether you are frying Sukuma Wiki or making fresh Kachumbari, you need that fresh aroma. The problem is that market prices jump up and down, and the herbs you buy at the supermarket often lack flavor. Growing coriander at home in old tyres solves these issues. It saves you money, it uses up waste that would otherwise litter the environment, and it guarantees you fresh produce.

This guide will walk you through exactly how to set up a tyre garden for coriander. We will cover how to mix your soil, how to treat the seeds so they actually grow, and how to deal with pests. This method is perfect for beginners and requires very little money to start.

How to Grow Coriander at Home Using Old Tyres: Easy Step-by-Step Guide
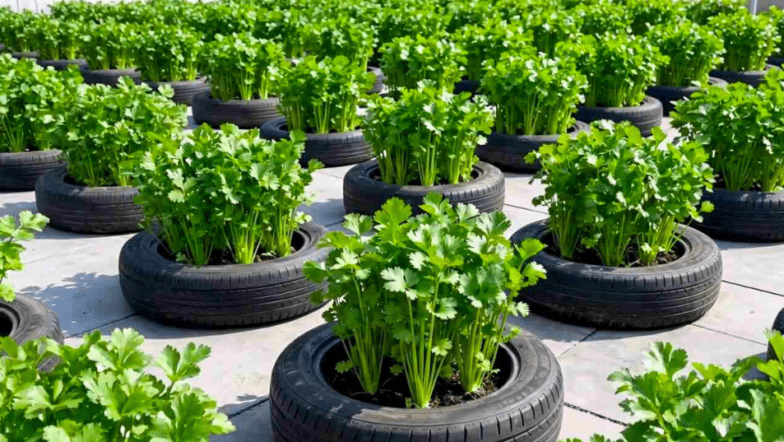
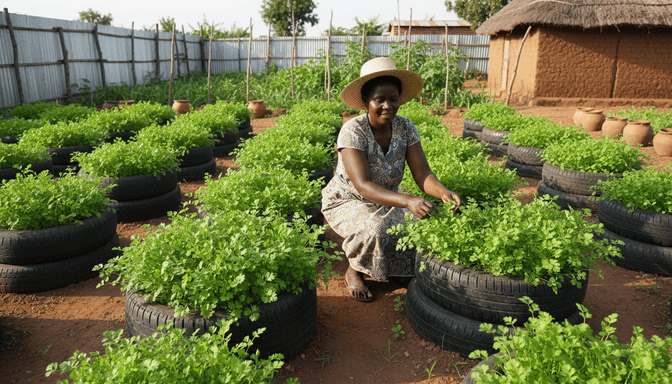
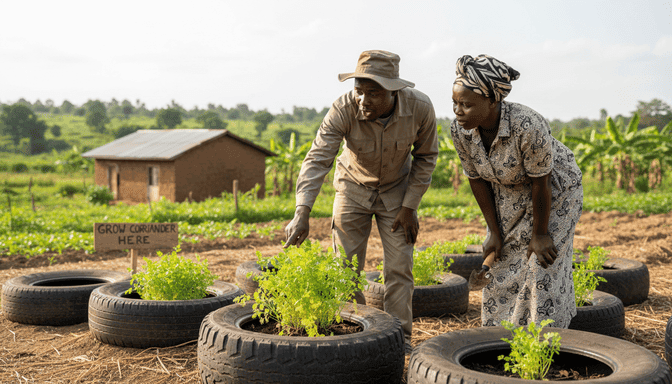
A Kenyan home garden showing successful coriander farming in recycled old tyres.

The Advantages of Tyre Farming for Coriander

Using old tyres is often called container gardening. Tyres are everywhere in Kenya. You can find them discarded by the road or buy them cheaply from Jua Kali mechanics. They are tough and will not crack in the hot tropical sun like cheap plastic pots often do.

The black rubber absorbs heat from the sun. Coriander seeds need warmth to wake up and start growing. The heat held by the tyre warms the soil mix, which makes germination happen faster. This is very helpful during the cold season in June and July. This extra warmth can cut down germination time by several days compared to planting directly in the cold ground.

Tyres also help you control weeds. When you plant in a tyre, you decide exactly what soil goes in there. Weeds from the surrounding ground cannot creep in easily. This cuts down the hard work of weeding, making it a great method for busy people who want a garden but have limited time.

How to Grow Coriander at Home Using Old Tyres: Easy Step-by-Step Guide
Coriander seeds germinating inside a recycled car tyre container.

Step 1: Sourcing and Preparing the Tyres

Your first task is to get the tyres. You do not need massive truck tyres; standard car tyres are the best size for coriander. Visit your local vulcanizer or tyre repair shop. They are often happy to get rid of them for free or for as little as KES 50.

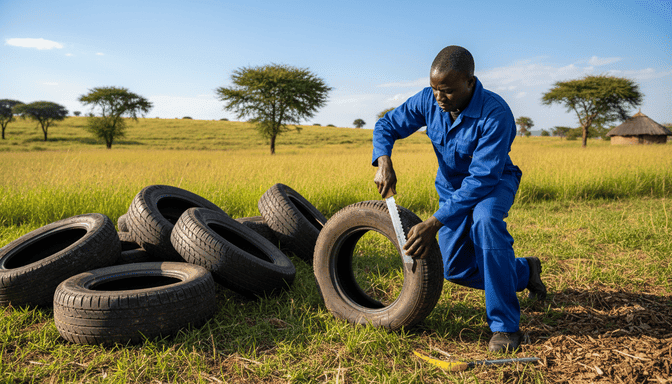
Once you have the tyres, you have to prepare them. An uncut tyre has a rim that holds water. If water sits there, it breeds mosquitoes. To stop this and to give yourself more planting space, you should cut off the top side wall. Use a sharp knife or a heavy-duty cutter. If the rubber is tough, keep dipping your knife in water or oil to make it slide through easier.

After cutting, wash the tyres with soapy water and a hard brush. This is important because used tyres might have oil, brake fluid, or road dirt on them. Scrubbing them ensures your food grows in a clean environment. Let them dry in the sun for a day before you use them.

How to Grow Coriander at Home Using Old Tyres: Easy Step-by-Step Guide
Preparing old tyres for gardening by cutting off the side rims to increase planting space.

Step 2: Formulating the Perfect Soil Mix

Coriander has soft roots that cannot push through hard, compacted clay. If you just dig up red soil from your compound and throw it in the tyre, the plants will fail. The soil will cake up and choke the roots.

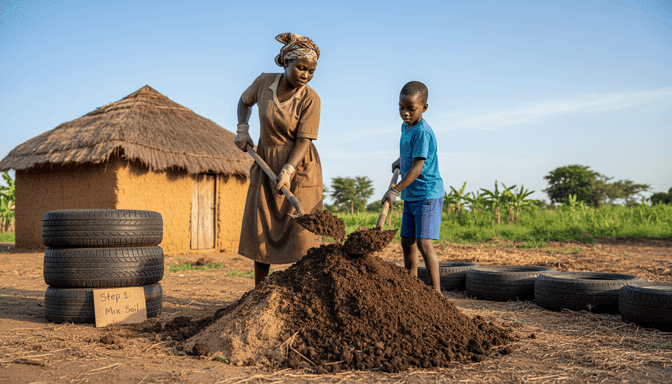
You need a mixture that lets water pass through but still stays moist. The best recipe for a tyre garden is a 1:1:1 ratio. This means one bucket of topsoil, one bucket of well-rotted manure (cow or goat is best), and one bucket of river sand. If you cannot find river sand, you can use old sawdust or rice husks.

Mix these three things together thoroughly. The sand creates air gaps for drainage so roots don’t rot. The manure provides the food the plant needs to grow leaves. The topsoil gives the roots something to hold onto. Organic manure is usually enough for coriander, so you don’t necessarily need chemical fertilizers at this stage.

How to Grow Coriander at Home Using Old Tyres: Easy Step-by-Step Guide
Heavy clay soil will stunt growth: Mixing soil, manure, and sand to create a fertile growing medium for coriander farming.

Step 3: Selecting and Preparing Coriander Seeds

For the best results, start with high-quality seeds. The “Cilantro” variety is the industry standard for Kenyan farmers because it produces broad, high-yield leaves and carries the strong, pungent aroma that buyers demand.

You can source reliable, certified seeds from the following distributors:

  • Kenya Seed Company: Known for widespread availability and consistent germination rates across various climates.
  • Simlaw Seeds: Offers specialized vegetable varieties that are well-adapted to local soil conditions.
  • Royal Seeds: A reputable supplier for professional-grade seeds that often outperform generic options.

A standard 50g packet typically retails between KES 150 and KES 250. This quantity is more than enough to sow multiple vertical towers or several standard garden beds, making it a cost-effective investment for your farm.

Why You Must Process Your Seeds

Most beginners fail because they plant the seed ball whole. You must remember that a coriander “seed” is technically a dry fruit containing two individual seeds inside a protective hull. If planted whole, the hull acts as a barrier to moisture, leading to slow, erratic, and uneven germination.

The Scarification Technique

How to Grow Coriander at Home Using Old Tyres: Easy Step-by-Step Guide
Splitting coriander seeds to speed up germination for home gardening.

To guarantee rapid and uniform growth, you must physically crack the hull before planting. This process, called scarification, mimics natural weathering to allow water to reach the embryo immediately.

  • Containment: Place your seed balls on a flat, solid table or inside a heavy-duty cloth bag to prevent them from flying away.
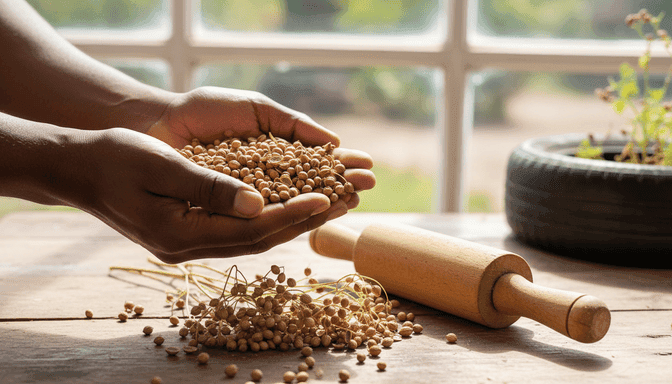
  • The Method: Use a smooth wooden block, a kitchen rolling pin, or a glass bottle to apply firm, even pressure. Roll over the seeds gently but decisively.
  • The Goal: You are aiming for a clean crack that separates the ball into two distinct halves.
  • The Caution: Do not apply too much force. If you turn the inner seeds into powder or fine dust, they will be dead and useless.

By taking these few extra minutes to prep your seeds, you shorten the dormancy period significantly. You will see green sprouts emerging days earlier than if you had planted them raw, and your entire crop will reach maturity at the same time for a more efficient harvest.

Step 4: Sowing the Seeds

Before you plant, think about where your tyres are sitting. Coriander likes morning sun but hates the scorching afternoon heat. If it gets too hot, the plant panics and produces flowers too early, which ruins the flavor. Partial shade is best.

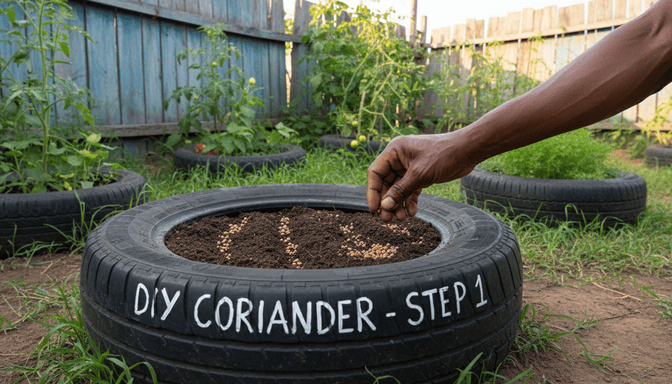
Fill your tyres with the soil mix, leaving about an inch of space at the top. Water the soil first so it settles. Then, make shallow lines across the soil with your finger or a stick. Space these lines about 15cm apart.

Sprinkle your split seeds along these lines. Do not pour them in a heap. If they are too crowded, the stalks will be thin and weak. Try to drop a seed every 2 or 3 centimeters. Cover them lightly with a little bit of soil. Do not bury them deep; they need to be near the surface to push through easily.

How to Grow Coriander at Home Using Old Tyres: Easy Step-by-Step Guide
Sowing coriander seeds in rows within a recycled tyre garden.

Step 5: Watering and Moisture Management

Watering is where most people go wrong. Coriander loves water, but it hates swimming in it. Because tyres sit above the ground, the wind hits the sides and dries the soil out faster than a normal garden. Check your soil every day.

Water early in the morning or late in the evening. If you water in the middle of the day, the sun will evaporate the water before the roots get it, and you might burn the leaves. Use a watering can with a “rose” nozzle that makes a gentle spray. A heavy stream of water from a hose or bucket will wash your seeds away or expose the roots.

For the first week or so, keep the soil damp. You can even cover the tyre with a wet gunny bag to keep the moisture in until you see green sprouts. Once the plants are up, only water when the top of the soil feels dry.

How to Grow Coriander at Home Using Old Tyres: Easy Step-by-Step Guide
Gentle watering is essential. A strong stream of water can uproot delicate young seedlings.ALT: Correct watering technique for coriander farming using a watering can.

Step 6: Thinning and Weeding

Two or three weeks after planting, your coriander will be about 5cm tall. You will likely see that some spots are too crowded. You must thin them out. This means pulling out the tiny, weak plants so the big ones have room to grow.

If you skip this step, the plants will fight for nutrients and turn yellow. Don’t throw away the baby plants you pull out; they are very tasty in salads. Aim to leave about 10cm of space between the plants that remain.

Weeding a tyre garden is fast. Because the space is small, you can pull weeds by hand in just a few minutes. Remove weeds immediately. They steal food from your crops and hide pests. Keep the area around the tyres clean too, so bugs don’t have a ladder to climb up.

How to Grow Coriander at Home Using Old Tyres: Easy Step-by-Step Guide
 Weeding and thinning a coriander tyre garden to ensure healthy crop growth.

Step 7: Pest and Disease Control

Coriander is tough, but it has enemies. In Kenya, aphids (wadudu wa kijani) and whiteflies are the most common trouble. They suck the juice from the leaves, making them curl up and turn yellow.

Since this is for your home kitchen, avoid harsh poisons. Use safe, natural remedies. A mixture of neem oil and water works well. You can also make a spray by crushing garlic and hot pilipili, soaking it in water for a day, and spraying it on the pests.

During the rainy season, you might see a white powder on the leaves. This is a fungus called powdery mildew. It happens when plants are too crowded and air cannot flow. Thinning your plants helps prevent this. Also, try not to water the leaves in the evening; wet leaves at night encourage fungus.

How to Grow Coriander at Home Using Old Tyres: Easy Step-by-Step Guide
 Scouting for pests like aphids and whiteflies on coriander leaves.

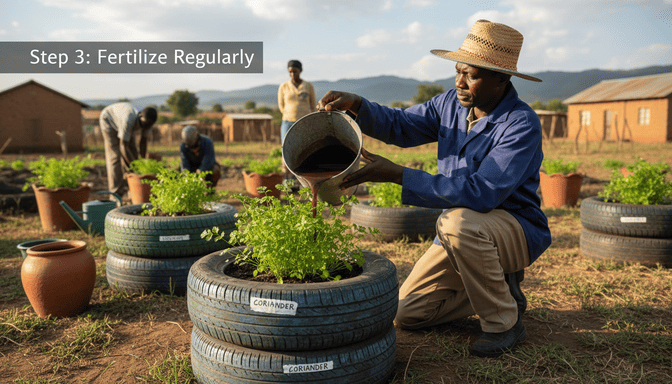
Step 8: Fertilizer Application

Even though you added manure at the start, coriander grows leaves very fast and gets hungry. About 3 to 4 weeks after they sprout, give them a boost. We call this top dressing.

The best option is organic liquid fertilizer. You can make “manure tea” by soaking a sack of cow dung in a drum of water for a week. Dilute the dark liquid until it looks like light tea and water your plants with it.

If you prefer store-bought fertilizer, you can use CAN. Dissolve a tablespoon in a 10-liter watering can and apply it to the soil. Do not get it on the leaves or they will burn. This nitrogen boost will turn the leaves a deep, beautiful green.

How to Grow Coriander at Home Using Old Tyres: Easy Step-by-Step Guide
Applying organic liquid manure tea to coriander plants for nitrogen boost.

Step 9: Harvesting Techniques

Your coriander should be ready to eat in 4 to 6 weeks. In hot places like Mombasa, it grows very fast. In cooler areas like Limuru, it takes a little longer.

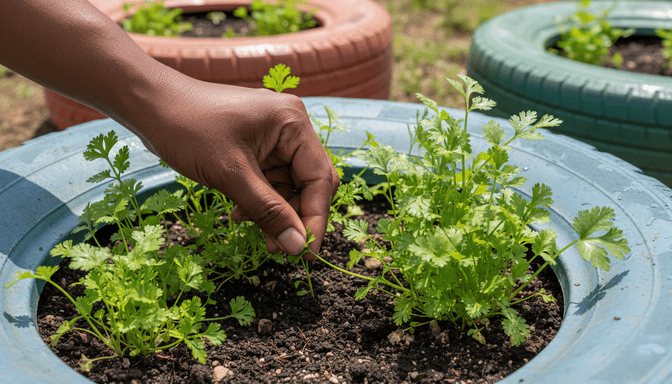
You have two choices for harvesting. The first is “cut and come again.” Take a knife or scissors and cut the big outer leaves, but leave the small center leaves growing. The plant will keep producing for another few weeks. This is great for home use.

The second way is uprooting. This is what commercial farmers do. You pull the whole plant out, roots and all. Shake off the soil. You usually do this when the plant is big but before it starts to grow flowers. Once you see flowers, the leaves become bitter and tough.

How to Grow Coriander at Home Using Old Tyres: Easy Step-by-Step Guide
 Harvesting fresh coriander from a home garden in Kenya.

Step 10: Post-Harvest Handling and Storage

Dhania wilts incredibly fast once it leaves the soil. If you are selling to neighbors, don’t harvest until they order. If it is for your own fridge, wrap the roots in a wet paper towel and put the bunch in a plastic bag. It stays fresh in the fridge for about a week this way.

A traditional method used in many Kenyan kitchens is to put the bunch in a jar of water, standing up like flowers in a vase. Keep it in a cool corner away from the sun and change the water every day. This keeps the leaves fresh for 3 or 4 days.

Do not wash the coriander until you are ready to cook with it. If you wash it and then store it, it will rot.

How to Grow Coriander at Home Using Old Tyres: Easy Step-by-Step Guide
Storing fresh coriander in water to keep it fresh in a Kenyan kitchen.

Financial Breakdown: Is It Worth It?

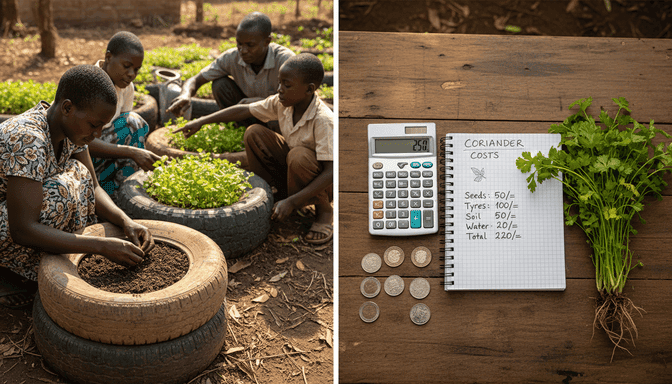
Let us look at the cost of growing coriander in tyres for a small household or micro-business.

ItemUnit Cost (KES)QuantityTotal Cost (KES)
:—:—:—:—
Old Tyres5010500
Manure (Debe)505250
Seeds (Packet)2001200
Top SoilFree0
Water/LaborVariable100
Total Investment1,050

Potential Return:

A single tyre can produce approximately 10 to 15 market-size bunches of Dhania over a cycle if managed well.

10 tyres x 12 bunches (average) = 120 bunches.

Market price per bunch = KES 10 to KES 20.

Total Revenue = KES 1,200 to KES 2,400.

The first harvest pays for your setup. After that, you only need to buy seeds and manure, which means your profit goes up. Plus, you save money by not buying vegetables at the market every day.

How to Grow Coriander at Home Using Old Tyres: Easy Step-by-Step Guide
Calculating the profit and cost of coriander farming in Kenya.

Troubleshooting Common Problems

Even with the best care, things can go wrong. Here is how to fix common issues:

Yellow Leaves: This usually means the plant is hungry for nitrogen or you are overwatering. If the soil is soggy, stop watering for a few days. If the soil is dry, use the manure tea mentioned in Step 8.

Plants Falling Over: This is often a disease called “damping off.” It happens when the soil is too wet and the seeds were planted too close together. Thin out the plants and reduce watering.

Early Flowering (Bolting): If your coriander flowers when it is still small, it is stressed by heat. The plant thinks it is dying and tries to make seeds quickly. Shade your tyres during the hottest part of the day or use mulch to keep the roots cool.

How to Grow Coriander at Home Using Old Tyres: Easy Step-by-Step Guide
 Diagnosing nutrient deficiencies and diseases in coriander plants.

Conclusion

Vertical farming in recycled tires is one of the most efficient, low-cost strategies for urban and peri-urban agriculture in Kenya. By repurposing waste materials, you eliminate high infrastructure costs while maximizing small spaces—whether you are working from a high-rise balcony in Nairobi or a small backyard in Eldoret. This method isn’t just about saving money; it is about taking control of your food source and producing organic, nutrient-dense herbs right at home.

Success with coriander comes down to consistency. Follow these steps carefully:

  • Start Manageable: Begin with two or three tire towers to master the water requirements and soil drainage.
  • Scale Up: Once you observe your first harvest, you can quickly expand your operation to meet local market demand or personal consumption needs.
  • Prioritize Soil Health: The time you invest in mixing high-quality soil today is an investment in your future yields. Keep your soil aerated and nutrient-rich to ensure long-term productivity.

You now have a clear path to a steady, fresh supply of Dhania. Farming is a learning process, so don’t wait for the perfect conditions, start with what you have today, monitor your progress, and refine your technique with every cycle.

FAQ: Growing Coriander in Old Tyres at Home

Can I really grow coriander in old tyres?
Yes! Old tyres make excellent containers for coriander. They retain heat, allow good drainage, and are perfect for small spaces or urban gardens.

What type of coriander seeds should I use?
The “Cilantro” variety is popular in Kenya for its large leaves and strong aroma. Reliable brands include Kenya Seed Company, Simlaw, and Royal Seeds. A 50g packet costs around KES 150–250 and is enough for several tyres.

Do I need special soil for coriander?
Yes. Coriander prefers light, airy soil. Mix topsoil, well-rotted manure, and sand in a 1:1:1 ratio. This helps water drain, roots breathe, and plants grow healthy leaves.

How often should I water coriander in tyres?
Water early in the morning or late in the evening. Keep the soil damp but not soggy. Avoid watering at midday or overwatering, as this can rot the roots or wash away seeds.

How long does it take for coriander to grow?
Coriander generally takes 4–6 weeks to reach harvestable size. In hotter areas, it grows faster; in cooler regions, it may take a bit longer.

How do I prevent pests and diseases?
Common pests include aphids and whiteflies. Use neem oil sprays or a mixture of crushed garlic and hot chili. Avoid chemical pesticides for home-grown coriander. Ensure proper spacing and avoid wetting leaves at night to prevent fungal infections.

Can I reuse tyres for multiple planting cycles?
Yes! Once you harvest, remove old soil, refresh it with compost or manure, and you can plant a new batch of coriander.

How do I harvest coriander for continuous supply?
Use the “cut and come again” method: cut the outer leaves, leaving the inner leaves to keep growing. For commercial harvest, uproot the whole plant before it flowers.

Is coriander profitable to grow in tyres?
Yes! Even a small setup of 10 tyres can yield 120 bunches of coriander per cycle, generating revenue between KES 1,200–2,400. Your initial investment is usually recovered after the first harvest.

Can I grow coriander in urban apartments?
Absolutely. Tyre gardening is ideal for balconies, terraces, and small compounds. You just need sunlight, proper watering, and the right soil mix.

How to Grow Coriander at Home Using Old Tyres: Easy Step-by-Step Guide
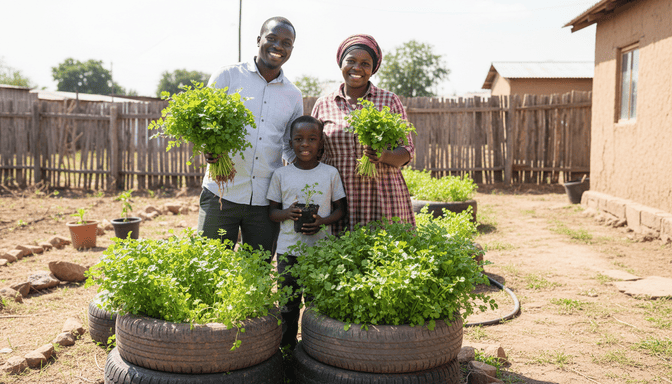
Farming is a family activity. Start your tyre garden today and enjoy fresh, healthy produce.ALT: A Kenyan family enjoying the harvest from their home tyre garden.

Read More

Crop & Livestock Insurance Kenya (2026): Costs & Top Providers

Crop & Livestock Insurance Kenya (2026): Costs & Top Providers

Agricultural insurance in Kenya has evolved into a critical safety net for farmers, protecting against climate shocks, pests, and market volatility. In 2026, modern digital platforms and government subsidies have made coverage more accessible, with premiums averaging 3.5% to 6% of the production cost. This guide outlines the best providers, cost structures, and regional strategies to secure your shamba against unforeseen losses.

The agricultural sector contributes significantly to Kenya’s economy, yet it remains highly vulnerable to unpredictable weather patterns. Recent data indicates that climate variability affects over 70% of agricultural output in the region. Coverage is no longer a luxury but a necessary input for sustainable farming.

Technological advancements have streamlined the coverage process, allowing for faster onboarding and claims settlement. Farmers can now access policies via USSD codes or mobile apps, bypassing traditional paperwork. This shift has democratized access, bringing financial security to even the smallest landholders.

What Are the Best Crop and Livestock Insurance Policies for 2026?

The most effective policies for 2026 are Area Yield Index Coverage (AYII) for crops and Index-Based Livestock Coverage (IBLI) for pastoralists. Top-performing “varieties” of coverage include Multi-Peril Crop Coverage (MPCI) for large-scale farmers and hybrid seed-embedded micro-coverage for smallholders. These policies leverage satellite data and automated weather stations to trigger faster M-Pesa payouts without lengthy field assessments.

Selecting the right coverage “variety” or policy type is as crucial as choosing the right seed. For 2026, the market has shifted away from traditional indemnity-based models toward technology-driven index solutions. Understanding these options ensures you get value for your money.

1. Area Yield Index Insurance (AYII)

AYII is currently the gold standard for small-scale maize, wheat, and sorghum farmers in Kenya. Instead of visiting every individual farm to assess damage, insurers measure the average yield of a specific “unit area” (usually a ward or village). If the area’s average yield drops below a historical benchmark due to drought or pests, all insured farmers in that zone receive a payout.

This model significantly reduces premium costs because it eliminates expensive administrative overheads like individual farm inspections. APA Coverage and CIC Group are leaders in this space, often partnering with county governments to subsidize premiums. It is particularly effective for staple crops grown by many farmers in the same region.

Farmers in high-potential areas like Trans-Nzoia and Bungoma have seen great success with this model. It aligns payouts with the general performance of the season, ensuring fairness. However, it does not cover localized risks like hail damage on a specific farm.

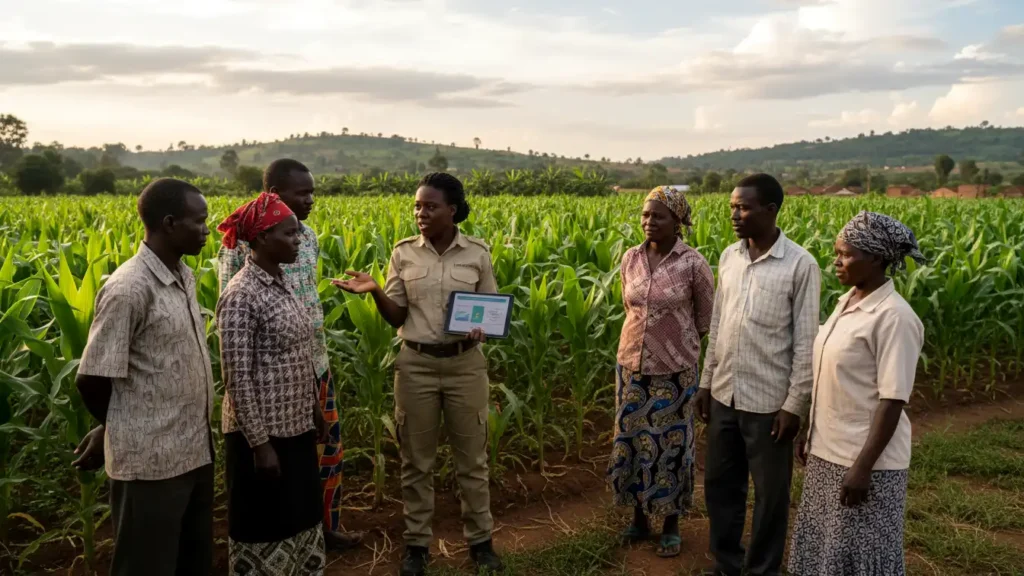
Agricultural officer using a tablet to explain insurance policy terms to a group of maize farmers

2. Index-Based Livestock Insurance (IBLI)

For pastoralists in arid regions, IBLI uses satellite imagery to monitor forage availability (greenness of vegetation). When forage becomes scarce due to drought, the policy triggers a payout to help farmers buy feed and keep their animals alive. This is critical for keeping livestock healthy before they succumb to starvation.

The International Livestock Research Institute (ILRI) pioneered this technology, which is now sold by commercial insurers. It is designed to be proactive rather than reactive. Payouts are often released before animals die, allowing herders to purchase fodder or water trucking services.

3. Multi-Peril Crop Insurance (MPCI)

This is a comprehensive cover designed primarily for medium to large-scale commercial farmers. It covers losses from a wide range of risks including fire, lightning, storm, hail, and flooding. Unlike index coverage, MPCI requires an individual assessment of the farm before and after the loss.

UAP Old Mutual is a key provider of this tailored coverage. It is more expensive than index coverage due to the administrative cost of visits. However, it offers the most accurate compensation for specific losses suffered by an individual enterprise.

4. Hybrid/Embedded Micro-Insurance

A rapidly growing trend in 2026 is insurance embedded directly into the cost of inputs. When you buy a bag of certified seeds from companies like Kenya Seed Company or Syngenta, a small insurance premium is included. You register the bag via USSD code, and if the season fails, you are compensated with replacement inputs.

Expert Tip: “Never ignore the waiting period clauses. For livestock policies, coverage usually starts 15-30 days after the premium is paid. Ensure your animals are tagged and verified early to avoid claim rejections.” — Senior Underwriter, Nairobi.

Expert Tip: “Never ignore the waiting period clauses. For livestock policies, coverage usually starts 15-30 days after the premium is paid. Ensure your animals are tagged and verified early to avoid claim rejections.” — Senior Underwriter, Nairobi.

Where to Get Crop & Livestock Insurance Kenya (2026): Costs & Top Providers in Kenya?

You can purchase agricultural insurance through established underwriters like CIC GroupAPA Insurance, and Kenya Orient, or via aggregators like Digifarm and Pula Advisors. In 2026, many farmers buy coverage directly through banking apps (KCB, Equity) or via USSD menus linked to seed purchases. Always verify the agent’s license with the Insurance Regulatory Authority (IRA) before transacting.

For a deep dive into how the top providers stack up, read our detailed comparison of the Top 5 agriculture insurance companies in Kenya.

The procurement landscape for agricultural insurance has digitized, moving from physical offices to mobile-first platforms. Here is where you should source your coverage in 2026.

Top Digital & Physical Providers

CIC Group (Agri-Business) remains the market leader offering the widest range of livestock and crop policies. They have strong networks in cooperatives and offer specialized products for dairy and horticulture. Their “Co-op Insurance” model is highly trusted among SACCO members.

APA Insurance is excellent for Area Yield Index Insurance and specialized horticulture covers (greenhouses). They have partnered deeply with the government on subsidy programs. Their digital claims process is rated highly for speed and transparency.

UAP-Old Mutual is known for Multi-Peril Crop Insurance suitable for medium-to-large scale commercial farming. They provide strong technical support and agronomy advice alongside their policies. Their products often appeal to farmers with bank loans requiring comprehensive collateral protection.

ACRE Africa operates as a specialized intermediary that designs micro-insurance products sold through input dealers and aggregators. They connect insurers with smallholder farmers who were previously uninsurable. Their scratch-card insurance models attached to seed bags are revolutionary.

Digifarm (Safaricom) offers bundled insurance products directly on your phone. You can pay premiums using M-Pesa and receive claims directly to your mobile wallet. This platform integrates credit, inputs, and insurance into a single digital ecosystem.

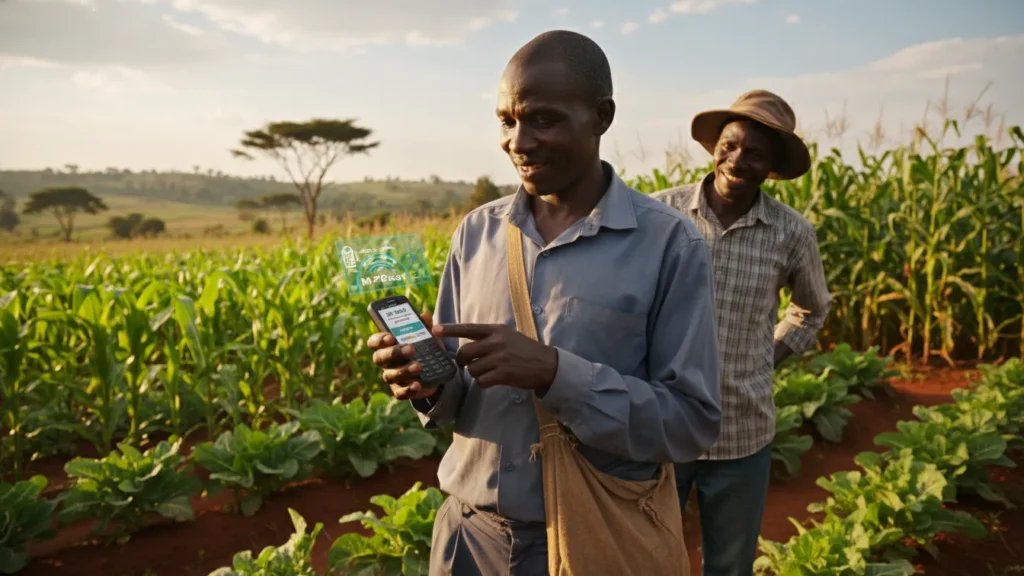
A farmer transacting on a mobile phone to pay for crop insurance premiums via M-Pesa

Buyer’s Caution: Verification List

Before paying any premium, perform these checks to avoid fraud. First, text the insurer’s name to the Insurance Regulatory Authority (IRA) verification number to confirm they are licensed for agricultural products. This simple step can save you from fake agents.

Second, demand a “Key Facts Statement” (KFS). This is a simplified 1-page summary of what is covered and what is excluded. Do not rely solely on verbal promises made by sales agents.

Third, ensure you receive an official digital receipt immediately. Do not pay cash to individual agents without an official receipt book. Mobile money payments to official paybills are safer as they create a digital paper trail.

How Do Insurance Costs Compare Across Different Kenyan Counties?

Insurance costs vary significantly by region based on climate risk profiles. Turkana (High Risk) premiums can reach 8-10% for livestock due to frequent drought. Uasin Gishu (Medium Risk) crop premiums average 4-6% for maize. Kiambu (Low Risk) dairy and horticulture premiums are generally lower, around 3.5-4.5%, due to better infrastructure and lower weather volatility.

Geography is the primary driver of insurance premiums in Kenya. Underwriters analyze historical weather data and claim frequency to set rates for each county. Understanding your region’s risk profile helps in budgeting.

1. Turkana & Marsabit (Arid/Pastoralist Focus)

Turkana faces severe drought risks, making it a high-premium zone for livestock insurance. However, the Kenya Livestock Insurance Program (KLIP) often subsidizes these costs significantly. Farmers here rely heavily on IBLI to protect camels and goats from starvation.

Without subsidies, commercial rates are steep, reflecting the high probability of payout. The government often steps in to cover up to 50% of the premium for vulnerable households. This makes coverage affordable for the poorest herders.

2. Uasin Gishu & Trans-Nzoia (The Grain Basket)

As major maize and wheat producers, these counties have a mature insurance market. Premiums are moderate because the weather is relatively predictable, though changing rain patterns are increasing rates slightly. Most farmers here use Multi-Peril Crop Insurance (MPCI) tied to bank loans for fertilizer and machinery.

The high density of farmers allows insurers to pool risk effectively. This keeps premiums competitive compared to other regions. Aggregators often negotiate bulk rates for cooperatives in these areas.

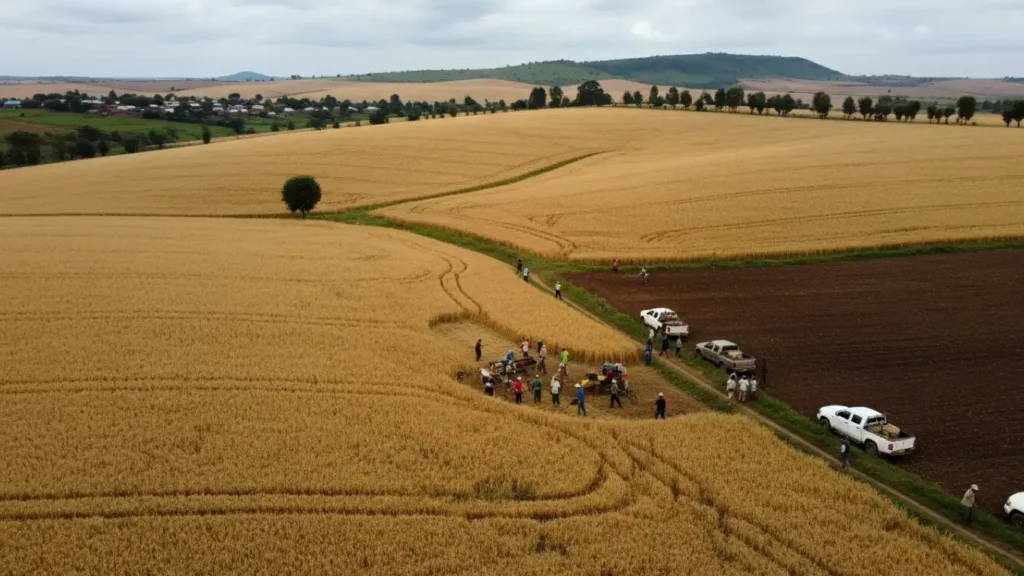
Aerial drone view of vast wheat fields ready for harvest under a cloudy sky

3. Kiambu & Murang’a (Intensive Dairy & Horticulture)

Kiambu features high-value intensive farming. Insurance here focuses on “Named Peril” policies for greenhouses (covering windstorm and hail) and high-yield dairy cows (covering death and theft). Because risks like theft or fire are more manageable than regional drought, premiums are competitive relative to the high value of the assets insured.

Dairy farmers in this region often access insurance through their milk processors. Premiums are sometimes deducted directly from milk payments. This arrangement simplifies the payment process and ensures continuous coverage.

4. Nakuru & Narok (Mixed Farming)

These counties have diverse agricultural activities ranging from wheat to potatoes. The risk profile is mixed, with some areas prone to flash floods while others face dry spells. Insurance products here are often customized to specific zones within the county.

Potato farmers in Nyandarua and Nakuru are increasingly adopting seed potato insurance. This covers the high cost of certified seeds against rot or germination failure. Premiums are generally around 4-5% of the input cost.

When Should You Apply for Coverage During the Farming Calendar?

Timing is non-negotiable; you must purchase crop insurance before planting or at the onset of rains. For the Long Rains (March-May), finalize policies by late February. For the Short Rains (October-December), secure coverage by late September. Livestock insurance typically has open windows but requires a 15-30 day waiting period before coverage becomes active to prevent “adverse selection.”

Insurance operates on strict deadlines to prevent fraud. Attempting to insure a crop after germination or an animal that is already sick will result in immediate rejection. Planning your insurance purchase is as important as planning your fertilizer application.

12-Month Insurance Activity Calendar

January – February: This is the primary purchase window for the Long Rains. Finalize your budgets and pay premiums now. If you are a dairy farmer, this is a good time to tag new calves and update your policy.

March: This is the deadline for planting declarations. You must submit returns to insurers stating the acreage planted and seed variety used. Rains typically begin, marking the start of the risk period.

April – May: This is the monitoring phase. Keep detailed records of rainfall and farm activities. Notify insurers immediately if you notice flooding or early pest infestation.

June – July: Mid-season assessments occur during these months. For MPCI, adjusters may visit to inspect crop health. For Index insurance, satellite data is aggregated to check for drought triggers.

August – September: Harvest declarations are due for the Long Rains. If your yield is below the guaranteed threshold, file your claims now. This is also the time to prepare for Short Rains coverage.

October: The purchase window for Short Rains opens. Pay premiums for the second season promptly. Late payments are rarely accepted once the rains have started.

November – December: Claim settlements are processed for the Long Rains. You should receive payouts during this period. Use this time to review your annual performance and adjust coverage for the next year.

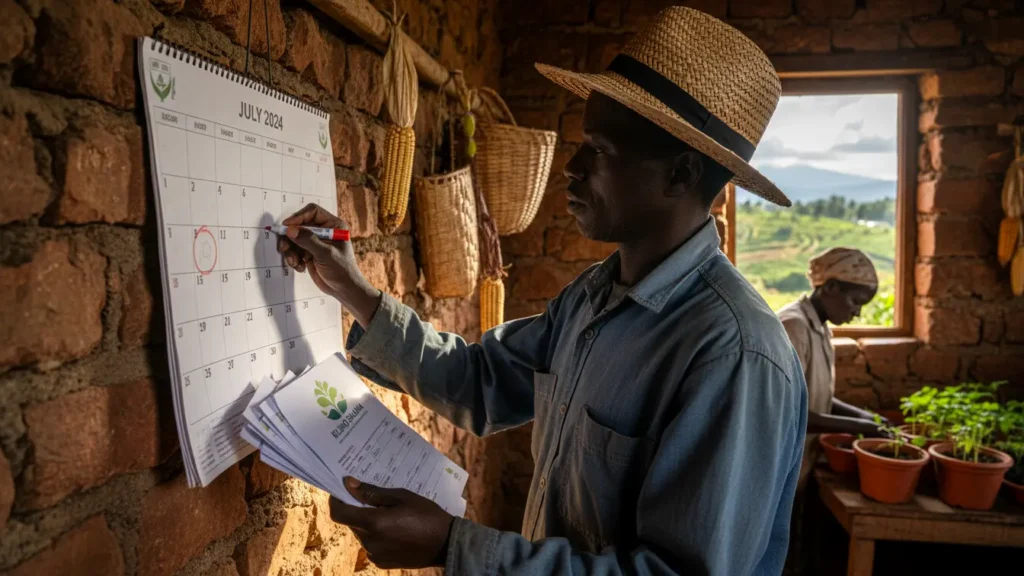
A farmer marking dates on a wall calendar while holding insurance documents

What Are the Financial Costs and Returns of Agricultural Insurance?

For a standard acre of maize, premiums cost between KES 1,500 and KES 2,500 per season depending on coverage depth. The break-even point is reached if you suffer a significant loss once every 5-7 years. While it adds to upfront costs, insurance unlocks cheaper credit from banks, often lowering loan interest rates by 1-2%, which offsets the premium expense.

Farmers often view insurance as a “dead cost,” but in 2026, it is a financial tool that safeguards working capital. It transforms agriculture from a gamble into a calculated business investment. Let’s break down the numbers for a typical 5-acre commercial maize farm.

Cost-Benefit Analysis Table (5 Acres Maize – Uasin Gishu)

Cost ItemWithout Insurance (KES)With Insurance (KES)
Land Preparation & Inputs120,000120,000
Insurance Premium (4%)04,800
Total Production Cost120,000124,800
Scenario: Total Crop FailureLOSS: -120,000PAYOUT: +100,000
Net Financial Position (Failure)-120,000 (Debt)-24,800 (Recoverable)
Bank Loan Interest Rate14% (High Risk)12% (Secured)

Analysis: By spending KES 4,800 on premiums, the farmer avoids a catastrophic KES 120,000 loss. Furthermore, banks often mandate insurance for agribusiness loans. If you have a valid policy, banks view you as a lower risk, potentially reducing your interest rate.

This interest saving alone can sometimes pay for the insurance premium. For example, a 2% reduction on a KES 120,000 loan saves KES 2,400. This covers half the cost of the premium immediately.

Break-Even Context

You do not need a payout every year for insurance to be profitable. If one catastrophic drought wipes out your shamba every ten years, the payout from that single event usually exceeds the total premiums paid over that decade. It ensures you stay in business for the next season.

How Does Insurance Impact the Agricultural Supply Chain and Value Addition?

Insurance de-risks the entire supply chain, encouraging aggregators and processors to contract smallholder farmers. When farmers are insured, input suppliers are more willing to offer seeds and fertilizer on credit. For value addition, processors like Brookside or Unga Ltd prefer sourcing from insured cooperatives because supply consistency is guaranteed even during adverse weather years.

Insurance is the grease that keeps the agricultural supply chain moving. In 2026, value chain integration is tighter than ever. Large buyers are increasingly demanding that their suppliers have risk mitigation measures in place.

De-Risking Input Credit

Agrovets and input suppliers are often reluctant to lend to farmers due to fear of crop failure. Insurance bridges this gap effectively. Companies like Apollo Agriculture bundle insurance with fertilizer and seed loans.

If the crop fails, the insurance pays off the loan directly to the supplier. This protects the farmer’s credit score from default. It also ensures the supplier maintains a healthy balance sheet.

Contract Farming Stability

Exporters of french beans or avocados require consistent volumes to meet international orders. They are increasingly mandating that their contracted farmers hold valid insurance. This ensures that if a specific region is hit by hail, the financial blow doesn’t cause the farmer to abandon agriculture.

This stability allows farmers to recover and plant again quickly for the next cycle. It builds long-term trust between the buyer and the farmer. Without insurance, one bad season can end a contracting relationship.

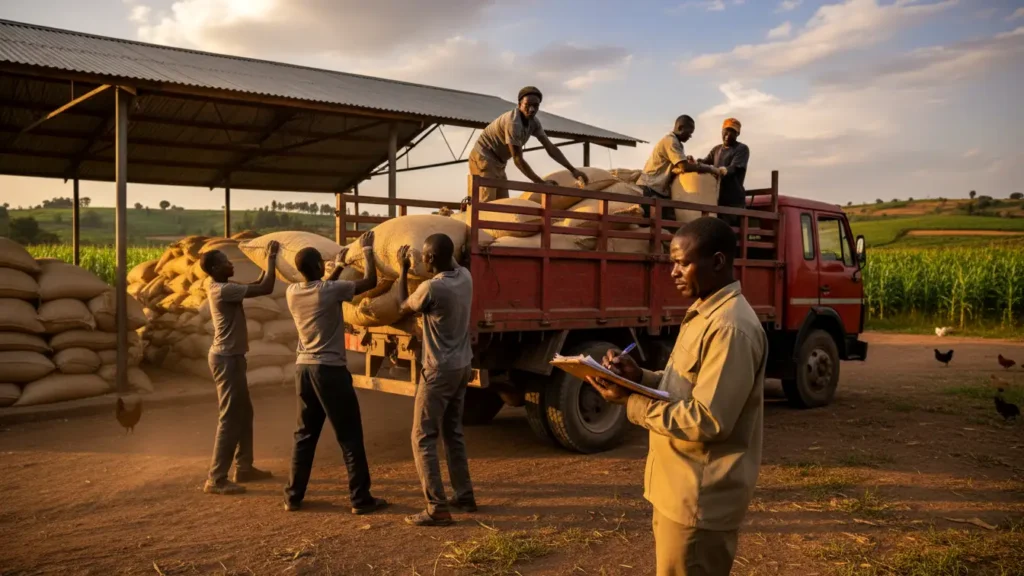
A truck being loaded with bags of maize at a cooperative depot while a manager checks a clipboard

How to File a Successful Insurance Claim in 2026

Filing a claim can be stressful, but following the right procedure ensures a smooth settlement. The process has become more digital, but specific steps must be followed. Understanding these steps before a loss occurs is vital.

Step 1: Immediate Notification

Notify your insurer immediately upon noticing damage. Most policies require notification within 24 to 48 hours of the event. You can often do this via a mobile app, USSD code, or a toll-free call.

Step 2: Documentation and Evidence

Take clear photos of the damaged crops or dead livestock. For livestock, preserve the ear tags as proof of identity. Do not dispose of the carcass or harvest the damaged crop until the insurer gives the go-ahead.

Step 3: The Assessment

For index insurance, this step is automated via satellite or weather station data. For indemnity insurance, an adjuster will visit your farm. Be present during the visit to answer questions and sign the assessment form.

Step 4: Settlement

Once the claim is approved, payment is processed. In 2026, most smallholder claims are settled via M-Pesa. Larger commercial claims are paid via bank transfer.

What Is the 2026 Outlook for Kenyan Agricultural Coverage?

The outlook for 2026 is robust, driven by climate urgency and digital adoption. We expect to see a surge in “parametric” products where payouts are triggered automatically by sensors, removing human bias and delay. The integration of AI in yield estimation will make premiums more accurate and affordable for individual smallholders.

Government involvement will likely deepen through expanded subsidy programs. The goal is to reach universal coverage for vulnerable pastoralists. Additionally, blockchain technology may soon be used to make policy contracts smart and self-executing.

Call to Action: Do not wait for the clouds to gather before thinking about protection. Start small. For the upcoming season, allocate 5% of your input budget to a simple Area Yield Index cover. Contact CIC Agribusiness or visit your local Digifarm agent today to get a quote. Your farm is a business—protect it like one.

Farmers Also Ask (FAQ)

1. What usually is not covered by crop insurance?

Standard policies exclude losses caused by negligence (e.g., poor weeding), theft of crops in the field, and post-harvest losses (e.g., rot in storage). Malicious damage and war are also standard exclusions. Always read the “Exclusions” section of your policy.

2. Can I insure my small one-acre farm?

Yes. Modern “micro-insurance” products are designed specifically for smallholders. You can buy coverage for as little as half an acre, often bundled with seed purchases. Aggregators pool many small farmers together to make this viable for insurers.

3. How long does it take to get paid after a loss?

It depends on the policy. Index-based insurance (weather/satellite) usually pays out within 14-21 days after the season data is finalized. Traditional indemnity insurance requiring field visits can take 30-60 days to process after the claim is filed.

4. Does livestock insurance cover theft?

Standard Index-Based Livestock Insurance (IBLI) only covers death due to drought (lack of forage). However, “comprehensive” livestock policies available for high-value dairy cows (zero-grazing) often cover theft, accident, and disease, but they cost more

5. Is government-subsidized insurance available?

Yes. The Kenya Agricultural Livestock and Research Organization (KALRO) and the Ministry of Agriculture operate the Kenya Agricultural Insurance Program (KAIP) and KLIP. These programs can subsidize up to 50% of the premium for vulnerable farmers in specific counties.

6. What happens if I replant after a crop failure?

If you suffer early germination failure and replant, some policies offer a “replanting benefit” (usually 15-25% of the sum insured) to cover the cost of new seeds. You must notify the insurer immediately before replanting to qualify.

7. Can I insure crops against monkey or elephant damage?

Generally, no. Damage by wild animals is usually considered a “wildlife conflict” issue handled by the Kenya Wildlife Service (KWS). However, some specialized Multi-Peril policies may include it if explicitly stated, but it is rare for standard policies.

8. How do I prove the value of my dairy cow for insurance?

You will need a valuation report from a veterinary officer. The vet assesses the cow’s breed, age, production history, and health to assign a market value. This value becomes the “Sum Insured” upon which premiums are calculated.

9. Can I pay premiums in installments?

Most agricultural policies require upfront payment before the risk period begins (before planting or grazing season). However, digital platforms and SACCOs may offer financing where they pay the insurer upfront and you repay the SACCO in installments.

10. What is a “franchise” or “deductible” in crop insurance?

This is the portion of the loss you bear yourself. For example, if your policy has a 10% deductible, the insurer will not pay for losses less than 10%. They only pay for severe losses that exceed this threshold to avoid handling tiny administrative claims.

0

Search for products

Back to Top
Product has been added to your cart
Enable Notifications OK No thanks